Rice Lake TransAct 3.5 User Manual
Page 73
Importing and Exporting Data
Admin
74
Version 3.5
TransAct will generate an
Export File Name
based on the current date. To change the
Export File Name,
select an existing export file name from the list or enter a different file name in the
Export File Name
box
.
During the export process, a prompt to overwrite the existing file will appear when an existing
file name is used.
To view an existing file, select the file and click the
View
button.
Notepad
or
Write
will be used
to display the file.
During the export process,
TransAct
creates an export log file. Typically this file is stored in the same
location as the export file. When
Log to Application Directory
is checked, the export log file will always
be placed in the
TransAct
application directory.
A warning appears when an invalid filename is selected. To select another file, Click
OK
.
To view the definition file, click the
View
button. The file will be opened using
Notepad
or
Write
.
Once the
Export
and
Definition Files
have been selected, click the
Export
button.
TransAct
uses the
definition file to format data in the export file.
An error message appears when errors are encountered. Errors can be encountered when an improper
Transaction Table
field is used or mis-typed, or when one of the comma delimiters is missing.
To clear the error message, click
OK
. To help determine what might be wrong, click the
View Log
button. Correct the problem with the export definition file and try again.
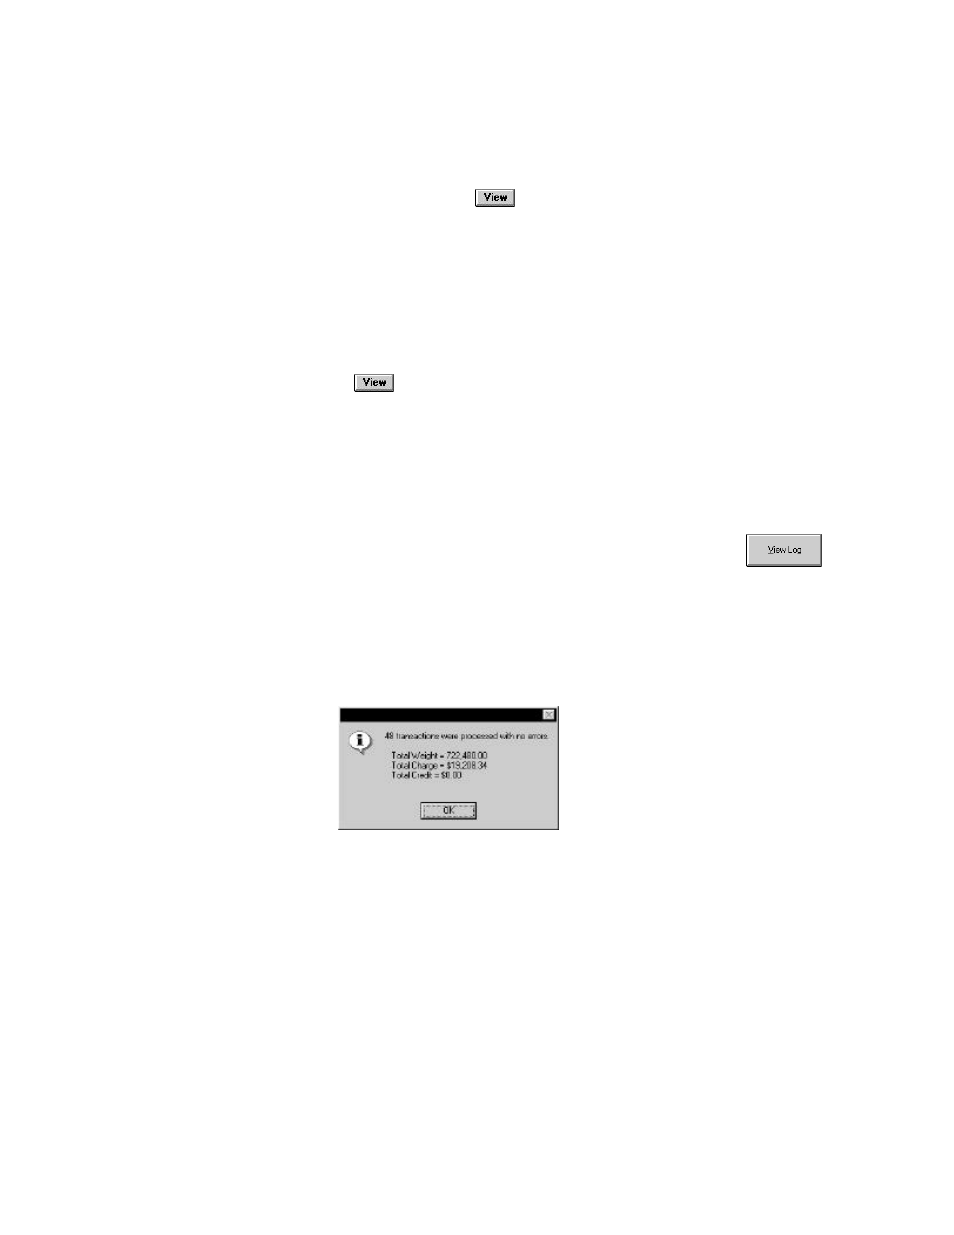
When data has been exported with no errors, a summary message similar to the following appears. To
continue, click
OK
.
Figure 56. Export Complete Message
Sample Export Definition File
Example Number 1
This example will send the following to the export file.
Ticket Number-Ticket Sequence,
1453-2,