Rice Lake TransAct 3.5 User Manual
Page 149
Statements/Posting (TransAct Plus)
Accounting
150
Version 3.5
To make statement processing as smooth as possible, we recommend using the
Discounts and Account
Flags
table to mark accounts that should not be billed. Accounts marked as
Not Billed
will not be
processed.
To select every account in the database, click the
Select All
button.
NOTE:
Hold the
Shift
key on the keyboard and click a beginning account and ending account to
select continuous customer accounts. Hold the
Ctrl
key on the keyboard and click on each
individual account to select discontinuous customer accounts.
Once accounts have been selected, click the
Done
button.
When previewing statements before printing, use the navigation buttons at the top of the screen to view
all the statements/invoice.
Table 7
describes each of these buttons.
When billing is complete, transactions, payments, and credits are marked as having been billed. Once
these items have been marked, they cannot be edited, voided, or unmarked.
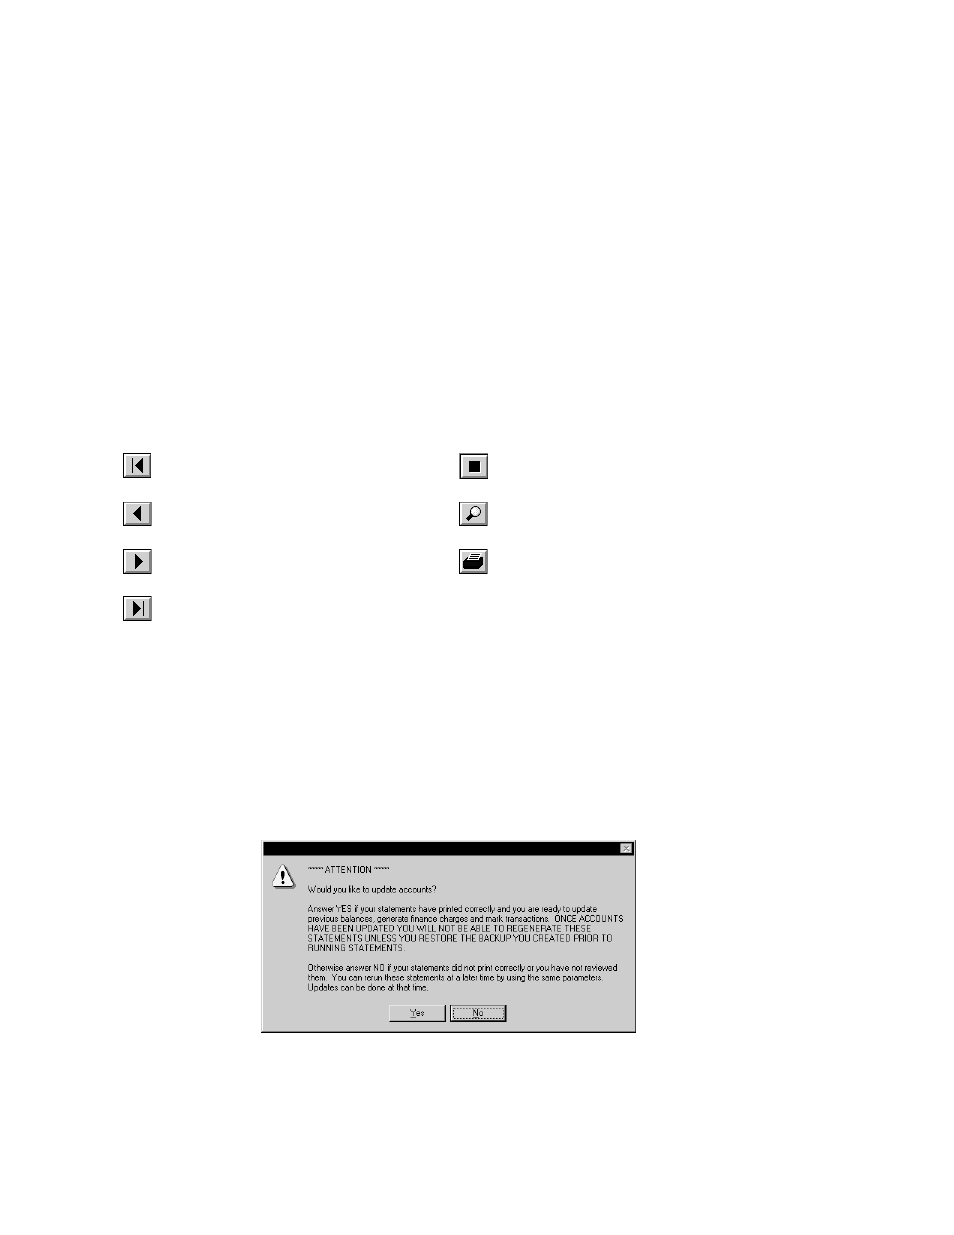
After statements have been printed and reviewed, TransAct Plus will prompt the user before moving
to another portion of the program (e.g. the
Weigh
form). The following message will appear before the
user is allowed to move to a different function within TransAct Plus.
Figure 134. Mark Billed Transactions
Table 7. View Statements Buttons
View the first statement/invoice.
The Stop button allows the user to stop
generation of the statement/invoice.
View the previous statement/invoice.
Magnify/Un-magnify the statement/invoice.
View the next statement/invoice.
Print the statement/invoice.
View the last statement/invoice.