AVer IWH5000 series User Manual
Page 112
104
6. User can select Video size, Frame rate, Video and Quality Mode of camera. And scroll
the bar to adjust the Quality, Brightness, Contrast, Hue, Saturation, and Sharpness of
the camera.
Recording Setting
- Save Original Format: Save the video that is compressed by IP camera’s
compress mode.
- Transcode by MPEG4 Encoder: DVR system is decoding the video and compress
video again by using MPEG4 encoder.
Preview Setting: preview setting will relate to the Save Original Format.
- Decode key frame for Preview: When previewing video, DVR system only shows
key frame and one frame per second.
- Enable live display performance optimization: The live video performance will be
optimized while display.
- Enable update when motion: The video will update only when compare the key
frame has motion found, and then, the video will be displayed.
Schedule Connect
User can select a certain date and time to connect with IP camera. The blue block
means connect with IP camera and the white block means disconnect with IP camera.
Select the connection status (blue or white) and click the date and time block to set the
connection schedule.
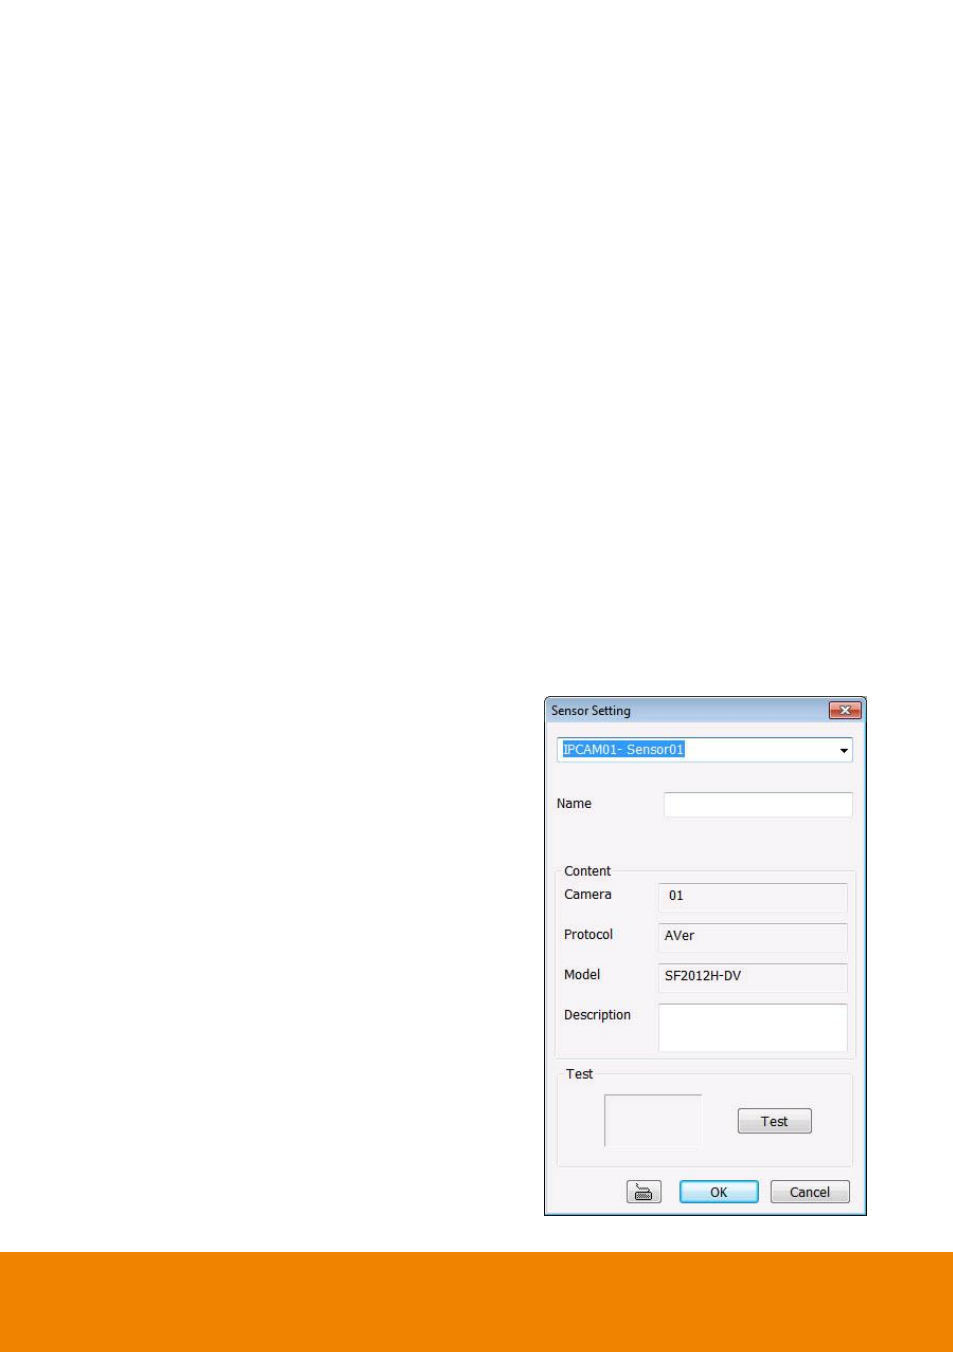
I/O Control: To setup the sensor and relay devices that is installed on IP camera.
- Sensor Setting: To setup sensor that is
embedded on the camera.
1. Click the drop-down list and select
the sensor ID number.
2. Enter sensor name in Name column
3. The system automatically detects
the camera and input relates
information. In the Content section,
enter sensor description.
4. In the test section, click Test to
check the sensor status. Red is high
and Green is low.
5. Click OK to exit and accept the
setting and Cancel to exit without
saving the setting.