E-flite Beechcraft Bonanza 15e ARF User Manual
Page 28
28
Beechcraft Bonanza 15e ARF Assembly Manual
Note: Use your radio to center the flap servo before
installing the servo hatch in the wing. The servo
mounting location and pushrod length will position
the flap with the trailing edge deflected 1/2-inch
which is the mid-position. This measurement is made
at the inboard end of the flap relative to the fixed
portion of the wing trailing edge.
If using a 3-position switch to activate the flaps,
center the arm on the servo with the switch in the
middle position. If using a 2-position switch use a
channel such as aileron or elevator to center the arm
on the servo.
□□
Step 18
Position the flap hatch over the opening and insert
the pushrod in the inside hole of the servo arm.
Secure the pushrod to the arm with a snap keeper.
□□
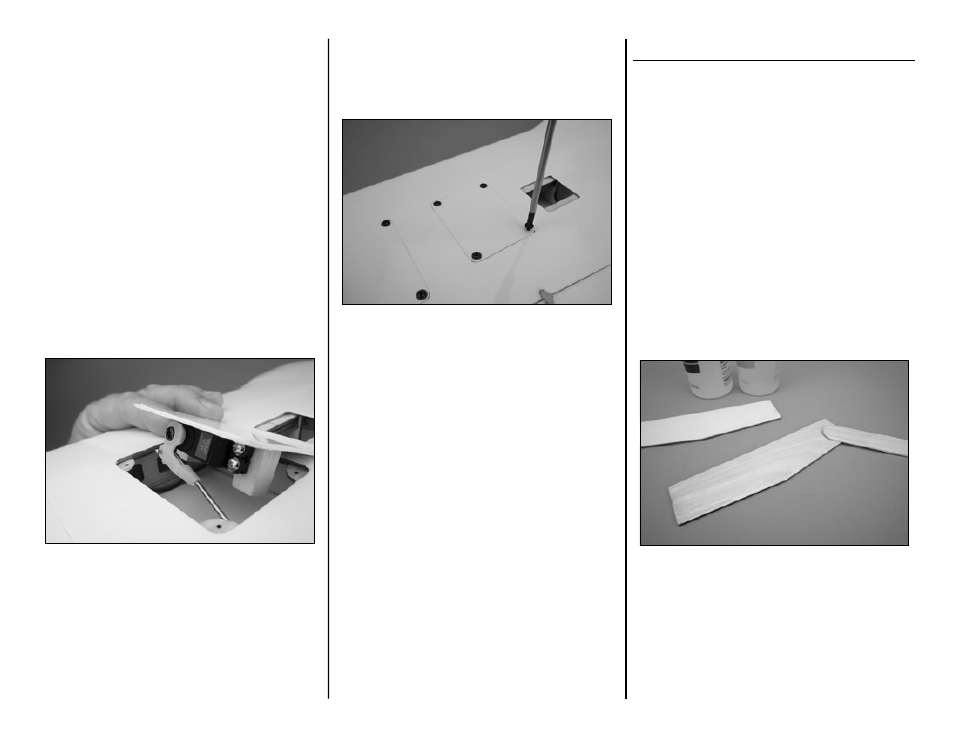
Step 19
Use a #1 Phillips screwdriver to install the flap hatch
to the wing with four #2 x 3/8-inch wood screws.
□
Step 20
Repeat steps 1 through 19 to install the flap servo
and pushrod in the opposite wing panel.
Wing Joining
Parts Required
Wing panels
Plywood wing joiners (2)
Nylon wing bolts (2)
Tools Required
30-minute epoxy
Mixing sticks
Mixing cups
Low-tack tape
Binder clips
#64 rubber bands
Paper towels
Rubbing alcohol
□
Step 1
Mix a small amount of 30-minute epoxy and use a
mixing stick to apply a thin layer to one face of a
plywood wing joiner.