Operation – Barco DX-700 User Manual
Page 88
88
DX-700 • User’s Guide • Rev 02
4. Operation
Using the Setup Wizard
•
Select {Yes} to assign the output to operate in the selected
delay mode.
•
Select {No} to disable the selected delay mode in the DX-700.
Once a selection is made (either {Yes} or {No}), the Output Frame Rate Menu
appears. Please continue with step
.
18.
(
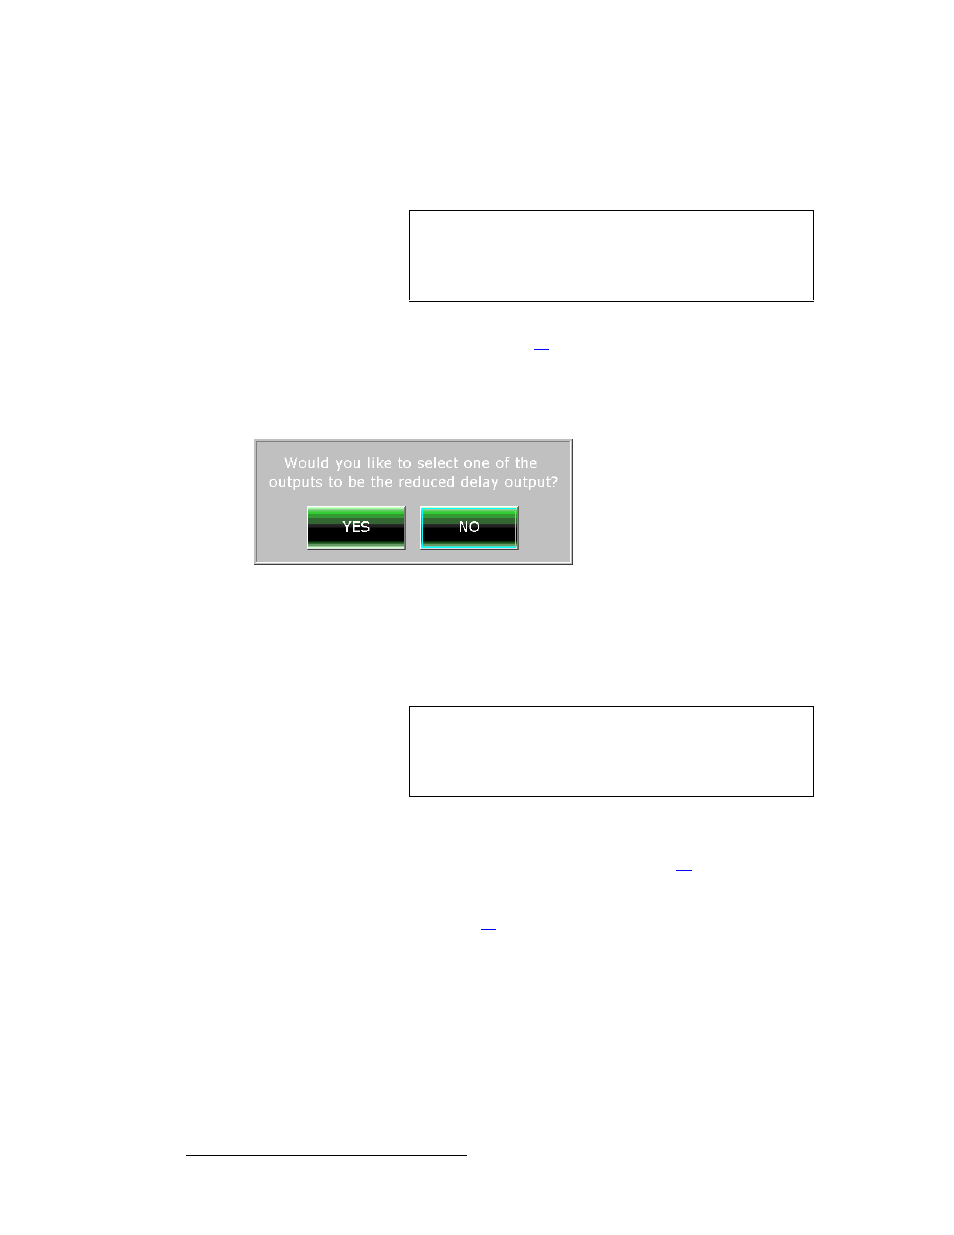
Two or more outputs are set up
) If there are remaining outputs to set up, you
will be prompted to continue. If you elect to continue, and if you have pre-selected
the “reduced” or “minimum” delay modes, you will be prompted to select a specific
output as the reduced or minimum delay output.
Figure 4-17.
Select specific output as the delay mode output
•
Select {Yes} to display the Delay Output Selection Menu,
which is essentially identical to the Output Selection Menu.
Select an output and press {OK} in the confirmation dialog.
•
Select {No} to disable the selected delay mode in the DX-700.
Once a selection is made (either {Yes} or {No}), two branches are available:
~
If dissimilar types of tiles were set up on each output, the Test Pattern
Check Menu
appears. Please continue with step
~
If similar types of tiles were set up on each output, the Display Layout
Menu
appears, which enables you to group outputs if desired. Please
continue with step
20
.
Important
Choosing {Yes} does not enable the selected delay mode
immediately. The mode will be enabled once an input is
selected and routed to the designated output, from within the
Input Wizard
routine.
Important
Choosing {Yes} and selecting an output does not enable the
selected delay mode immediately. The mode will be enabled
once an input is selected and routed to the designated output,
from within the Input Wizard routine.