Brandmotion 2000-3801 User Manual
Page 11
Section 3: Buick Verano Instructions, 2012 – Current
2000-3801 Instructions 10-10-12.doc
Page 11 of 24
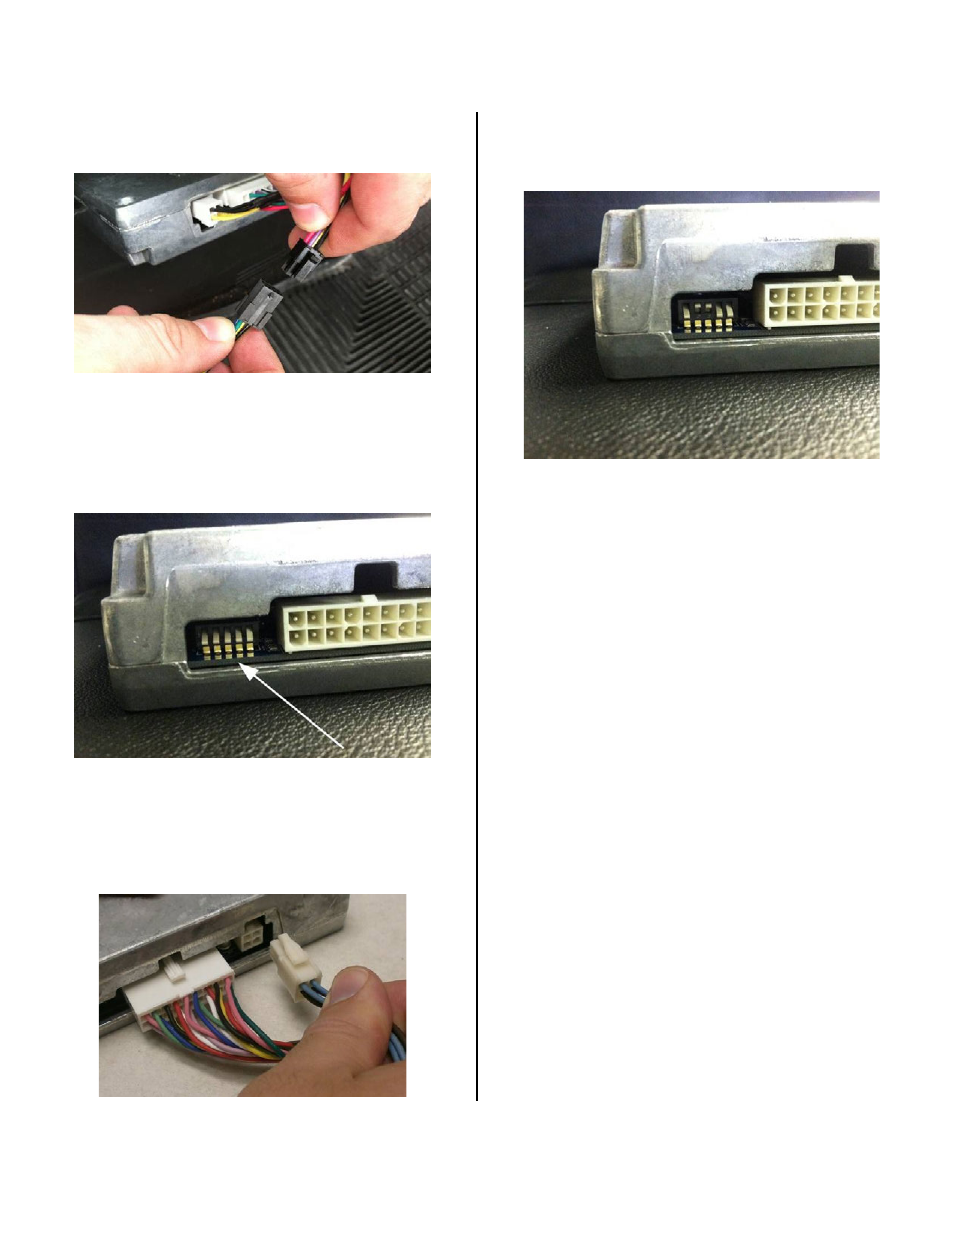
16. Connect the DPS turn-on switch to the remaining
connector on the DPS harness. (Figure 12)
Figure 12
17. Reconnect negative battery cable of vehicle.
18. Place DPS module with the Bongiovi DPS Acoustics
side face down. Then confirm the DPS unit’s dip
switches are all set to the “down” position –
“DDDDD”. (Figure 13)
Figure 13
19. Turn vehicle ignition key to “ON” position. Turn on
radio head unit for 10 seconds. (Note: There
should be no sound from the speakers).
Disconnect white 4-pin connector from back of
DPS module. (Figure 14)
Figure 14
20. Set the DPS dip switches for Buick Verano. The
second and third switches should be flipped to the
“up” position – “DUUDD”. (Figure 15)
Figure 15
21. Plug white 4-pin connector into DPS module and
wait 10 seconds. (Note: There should be no sound
from the speakers). Disconnect white 4-pin
connector from back of DPS module.
22. Plug white 4-pin connector back into DPS module.
After a few seconds you should hear sound from
the radio. Ensure radio head unit is working
properly including all speaker channels.
If you do not hear any sounds, recheck connections
and repeat Steps 18 through 22.
23. Disconnect negative battery cable.
24. Remove passenger hush panel by using a 7mm
socket driver to remove the bolts.
25. Using supplied 24” wire ties, secure DPS module
under front of console or behind carpet on
passenger side upper foot well.
26. Reassemble vehicle.
27. Reconnect negative battery cable.
28. Place Bongiovi DPS Badge on left side of IP center
trim.