Rockwell Automation 1440-PK02-05M2 XM-720 Machine Monitor User Manual
Page 42
Publication GMSI10-UM001C-EN-E - June 2011
42 Configuring the XM-720
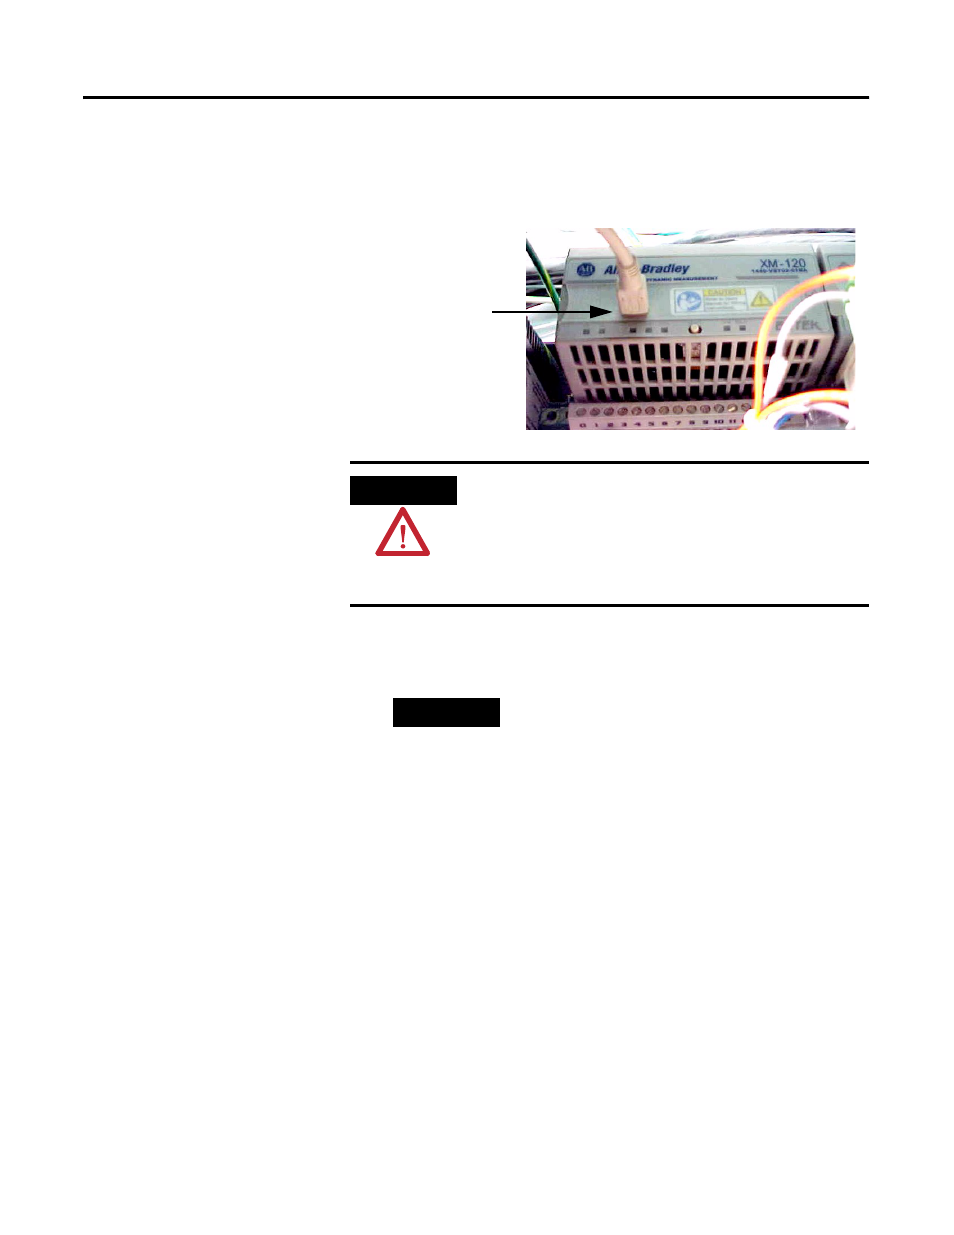
3. Connect the computer’s serial port to the XM-120/121/122 module’s
mini-connector using the special serial cable that is shipped with the
XM-720 monitor. The mini-connector is accessed from the top or side
of the XM-720 enclsure.
4. Power up the XM-720 module if you haven’t already done so, and start
the XM Serial Configuration Utility program. Click the Start program,
and then choose Programs > Entek > XM > Serial Config Utility.
5. Click the Configure button on the XM Serial Configuration Utility
screen. The Configuration Tool for the connected XM module appears.
WARNING
If you connect or disconnect the serial cable with power
applied to the module or the serial device on the other end
of the cable, an electrical arc can occur. This could cause an
explosion in hazardous location installations. Be sure that
power is removed or the area is nonhazardous before
proceeding.
TIP
The Configuration Utility defaults to the COM 1
serial port. If you are not using COM 1, select the
correct COM port on the XM Serial Configuration
Utility screen.
When you are connected to an XM module, the XM
Serial Configuration Utility automatically detects the
type of module. The module type appears on the
XM icon, and the connection icon changes to show
the connection.
Cable connects to the
mini-connector on top
of the
XM-120/121/122
module.