ERICO 3000 ERITECH SYSTEM User Manual
Page 39
INSTALLATION, OPERATION AND MAINTENANCE MANUAL
37
www.erico.com
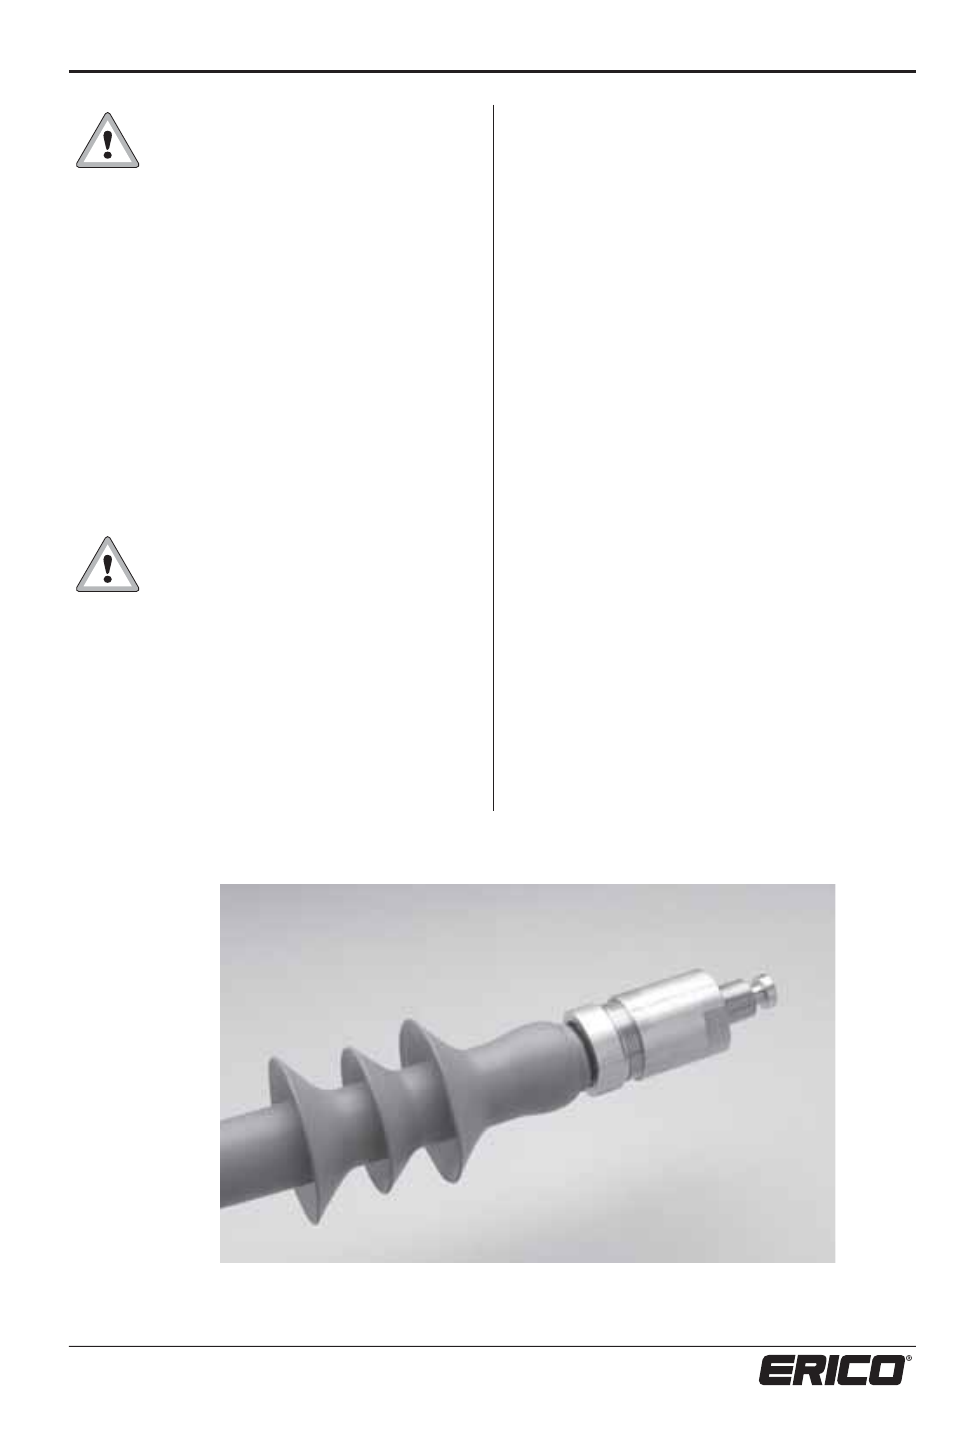
Photo 11: Installed compression coupling.
The coupling must be tightened
using spanners / wrenches, as
tightning by hands will not be
adequate.
22. Using the roll of silicone tape (grey),
overwrap half layers from 20 mm (
3
⁄
4
in.) over
the end of the coldshrink to 30 mm (1
1
⁄
8
in.)
over the coupling so that it covers the joint
between the main coupling and compression
nut, (refer to figure 24 on page 39).
Wrap with moderate tension (10 to 100%
stretch). Apply one final layer with no stretch.
Press down, to avoid the end lifting before
fusion of the tape takes place.
The finished termination must be
protected against any abrasion
and sharp edges during transport
or installation, as the coldshrink
tubes are susceptible to ripping or
tearing if nicked or scuffed.
23. The structure bonding braid MUST be
electrically connected via a 6 mm
2
(8 AWG)
length of insulated copper cable to the
specified conductive structural point, as
described in the ERITECH
®
SYSTEM 3000
Installation, Operation & Maintenance
Manual.
Connecting the ERITECH
®
DYNASPHERE
24. Feed the downconductor (and
structure bonding cable) through the
FRP mast so that the entire termination
is protruding from the top of the mast.
Remove the lock screw in the base of the
ERITECH
®
DYNASPHERE terminal, then
screw the terminal all the way onto the
termination coupling thread. Replace the
lock screw back into position so that it
locks the thread into place and will stop
the terminal from unscrewing.
25. Carefully pull the downconductor
(and structure bonding cable) back down
through the FRP mast so that the terminal
base sits correctly in the top of the mast.
Twist the FRP mast at least one complete
turn at the base of the terminal to remove
any stress on the termination sheds
(flanges) and to seat the terminal correctly.