Apple QuickTime VR User Manual
Page 69
2
Enter the width and height in pixels of the scene in the playback window.
The playback window is what the user sees when your QTVR scene opens.
3
Choose quality and correction levels for panoramic imaging.
The Panoramic Imaging settings determine the quality and speed of the panorama during
playback. (They do not affect the quality of the stored panorama.)
Static settings affect the
panoramic image when it is not moving.
Motion settings affect the panoramic image while it
is being moved by the viewer.
The
quality settings determine the general display quality of the panorama. The lower the
quality settings, the faster the responsiveness to the user. In most cases, you should choose
the Normal quality setting for motion and the High quality setting for static.
The
correction settings determine how much the image is processed to make it look correct
on the screen. You should usually choose Full correction when the image is a true panorama.
You can choose None when the image is planar, such as a map.
Note: You should use the same correction settings for both static and motion to avoid
discontinuity between viewing the moving and the static image.
4
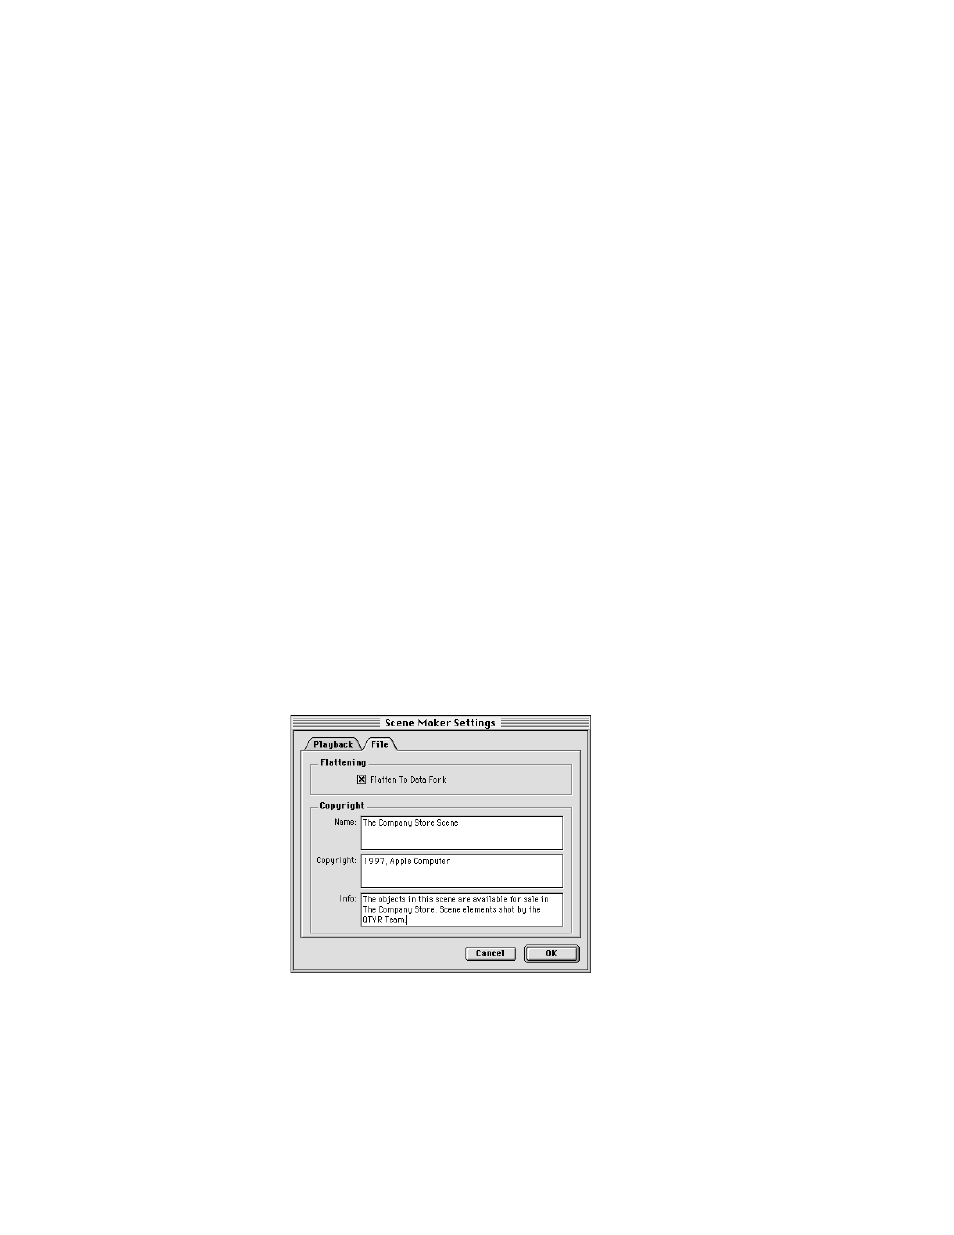
Click the File tab.
If you plan to distribute your QTVR scene to other users, be sure the checkbox labeled
Flatten To Data Fork is selected. A flattened file can be played independently of the source
files used to create the scene. If you don’t flatten the file, the source files must reside in the
same location as the scene file.
Note: Files must be flattened to play on Windows computers.
Adding copyright information to your QTVR scene is optional.
Making QTVR Scenes
69