Apple QuickTime VR User Manual
Page 65
Creating links
1
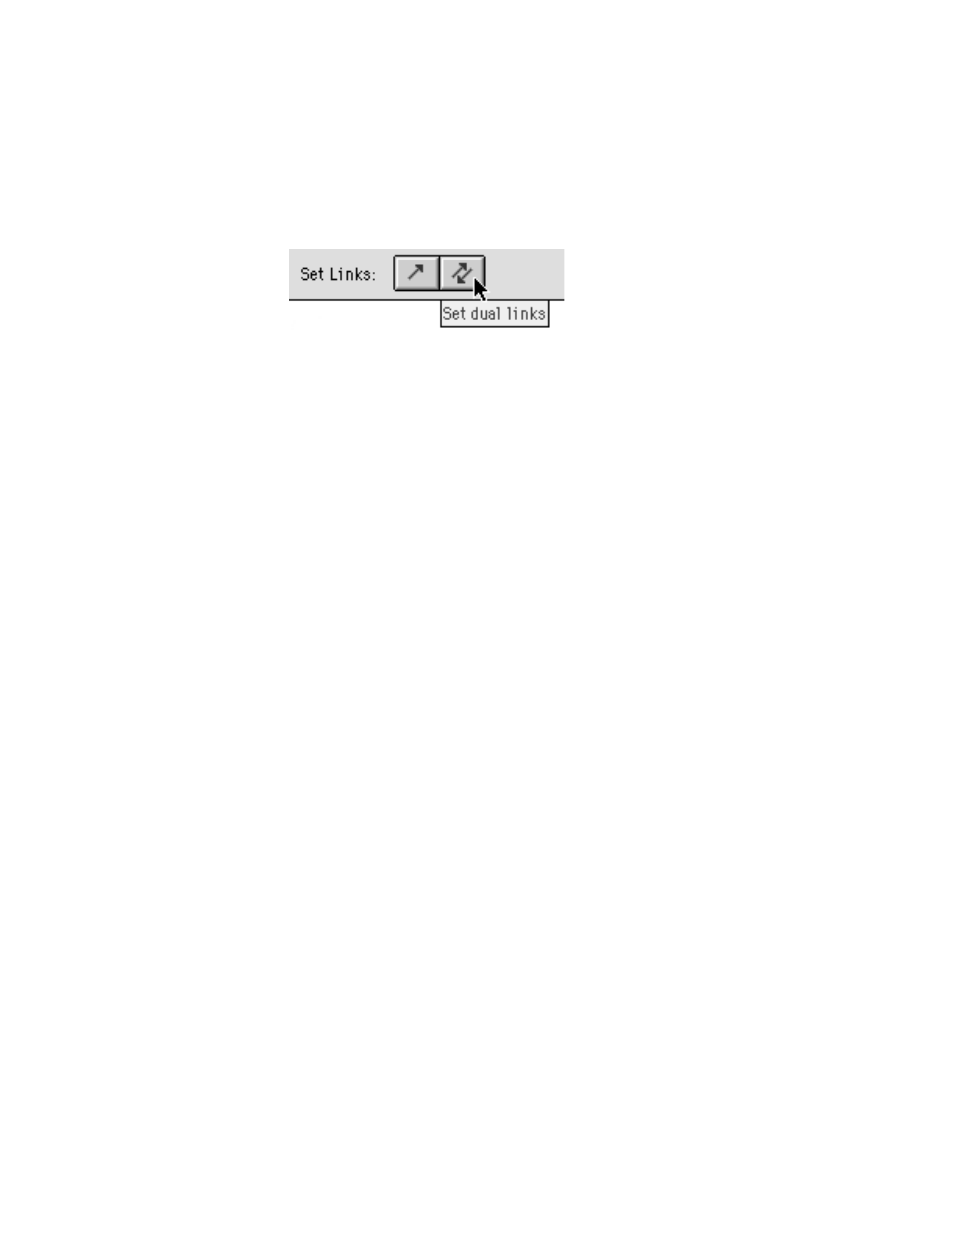
Click the Set Dual Links button.
Dual links let the user move back and forth between nodes in a scene. One-way links let the
user move from one node to the next (for example, in a game).
2
Place the pointer over a node. Press and hold the mouse button, drag the pointer to another
node, and then let go of the mouse button.
A dual link between the two nodes appears.
If you are using the sample source material on the
QuickTime VR Authoring Studio CD,
create a dual link between the Company Store panorama and the Apple Icon Garden
panorama. Then create a dual link between the Company Store panorama and the Twentieth
Anniversary Macintosh object.
Note: When you double-click the arrow that connects two nodes in the Scene Maker
window, a Link Info dialog box appears. You can enter comments and other information
about the link in this box.
Defining hot spots and setting destinations
Once you have defined a link, you must define a hot spot—the area in the scene that, when
clicked, takes the user to the panorama or other object to which it is linked. If the link is to a
QTVR panorama or object, you must also set the destination—the view that is displayed when
the panorama or object appears.
1
Place the pointer over one of the linked nodes in the scene, then press and hold the mouse
button. Choose Edit Hot Spots from the pop-up menu that appears.
If you are using the sample source material on the
QuickTime VR Authoring Studio CD, edit
the hot spot for the Company Store panorama.
Two windows open: the Hot Spot Editor and a window containing an image of the node
you’re linking from. The Hot Spot Editor window contains a list of the nodes in the scene to
which you’ve created links from this node.
Making QTVR Scenes
65