Apple QuickTime VR User Manual
Page 55
Creating absolute objects
The view a user sees of an absolute object depends upon where on the object the user clicks.
Because of the spatial relationship between where the user clicks and what the user sees,
absolute objects are used in different ways from all other object types (that is, object, scene,
and drag-only). Take a look at the absolute objects on the
QuickTime VR Authoring Studio
CD. There are two examples: a rock climber and a color grid.
Open the rock climber object and click several different locations. Each time you click, the
climber appears in a different location on the climbing wall. There are 18 images in the
object, arranged in a 3-row–by–6-column grid.
Open the 6 x 6 object. As you click different locations, a colored cube appears where you
click. There are 36 images in this object, arranged in a 6-row–by–6-column grid.
Each click calls up one view of the object. With other object types, views of an object are
presented in a linear sequence to give the illusion of smooth rotation. The views of absolute
objects can be accessed in any order.
Follow these steps to make your version of the rock climber:
1
Double-click the QuickTime VR Authoring Studio icon.
2
Choose New from the File menu, then select Object Maker. In the dialog box that appears,
type a name for your Object Maker document and click Save.
The Object Maker window appears.
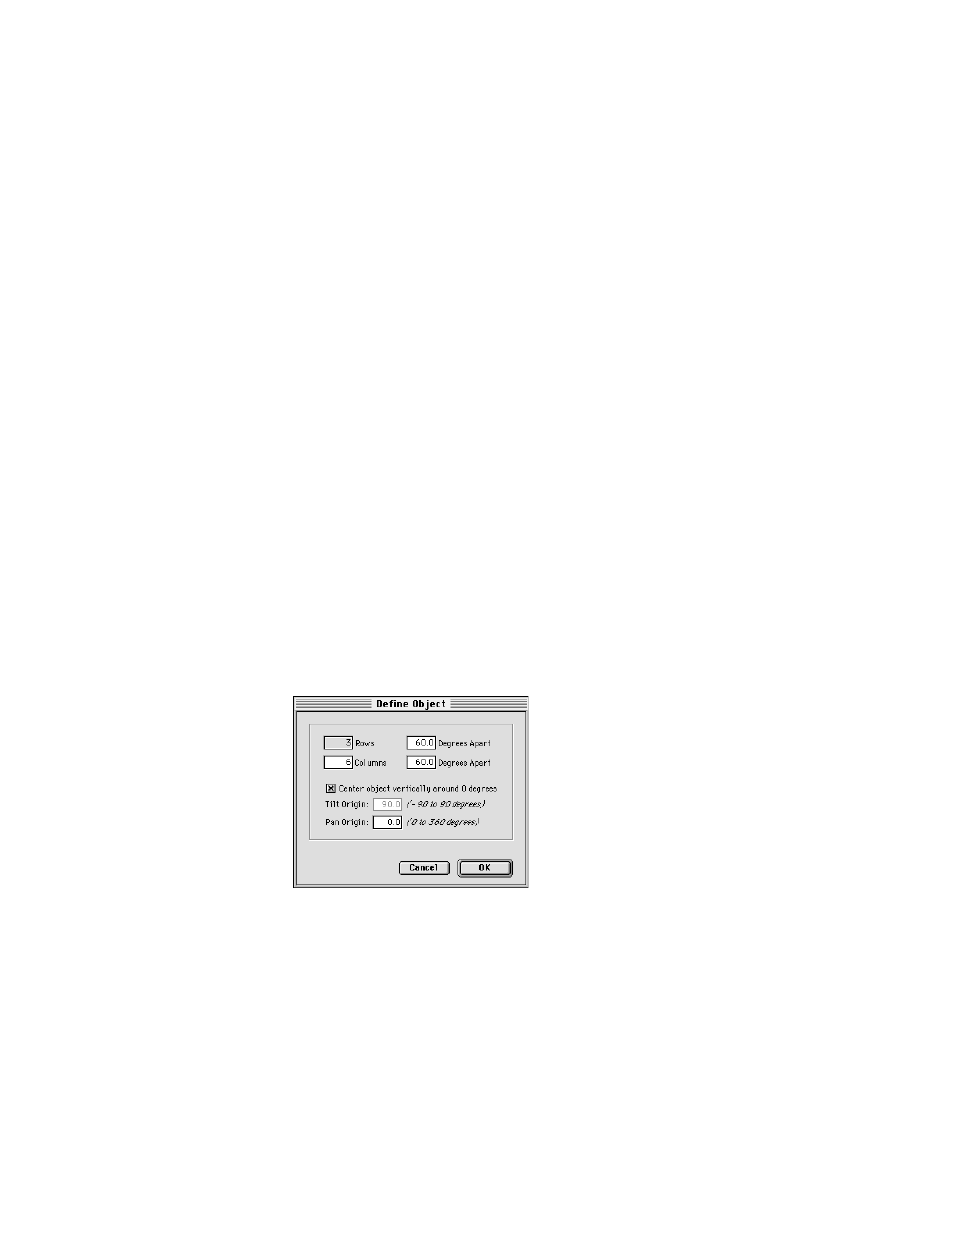
3
Click “Define object.” Enter the number of rows and columns in your object and the degrees
separating each row and column. Then click OK.
The number of rows and columns defines how many images are in the object. For the rock
climber example, enter 3 rows and 6 columns.
The value for degrees apart roughly corresponds to how far the user must move the pointer
for a click to show a different view. For the rock climber example, enter 60 degrees for the
rows and 60 degrees for the columns.
Making Objects
55