Apple QuickTime VR User Manual
Page 56
4
Click Add Files.
A dialog box opens. Select the images you want to use for your object, then click OK. (Add
the rock climbing files located on the
QuickTime VR Authoring Studio CD.)
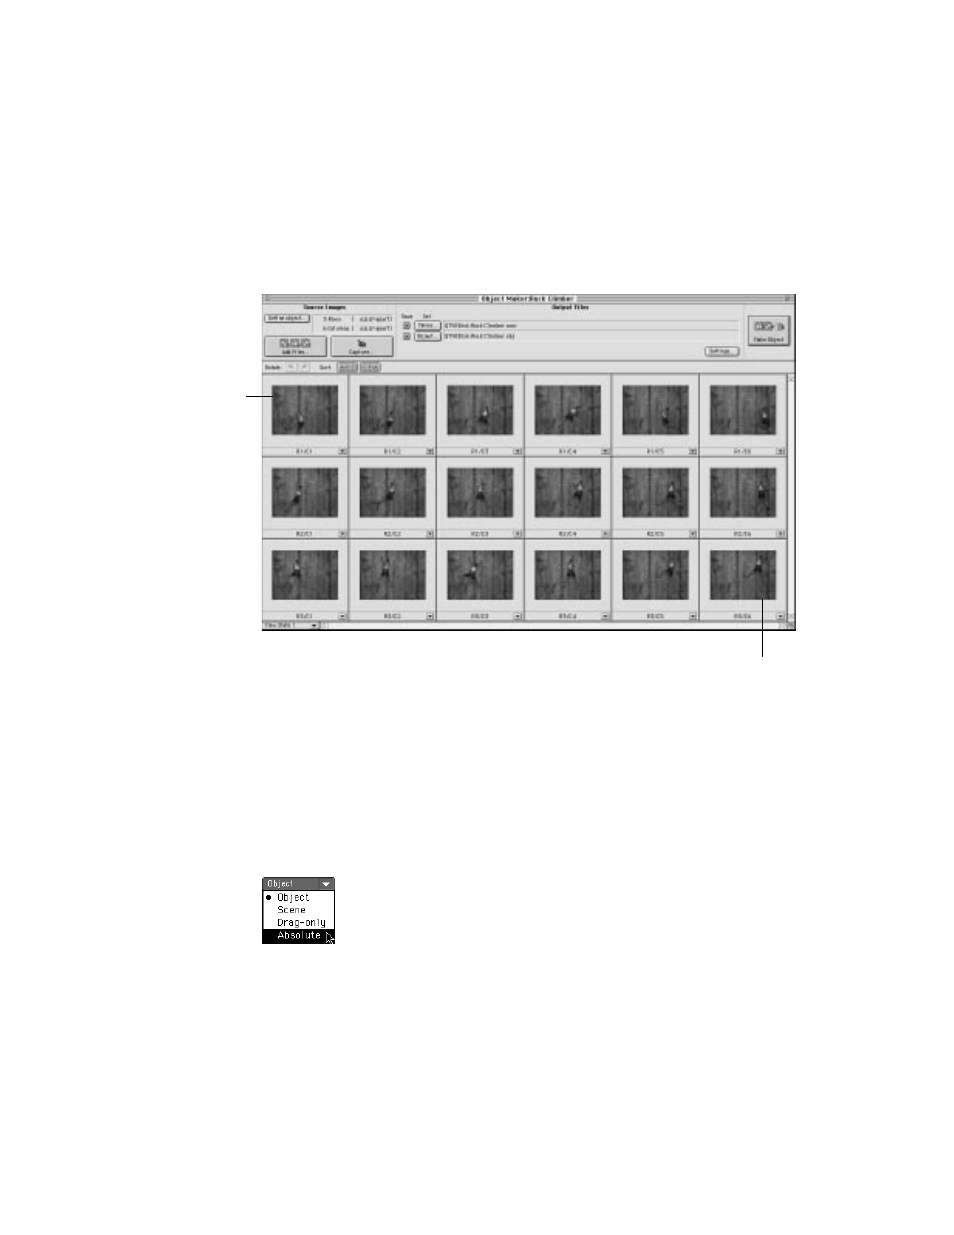
The images you select appear in the Object Maker window.
Be sure the images are in the correct sequence. Once the object is made, the image in row 1,
column 1 appears when the user clicks the lower-right part of the object. The images appear
sequentially from row 1, column 1 through the last row, last column as the user clicks from
right to left and from the bottom to the top of the object.
5
Follow steps 8 though 11 in “Using the Object Maker,” earlier in this chapter.
6
Click the Object tab and adjust the object settings.
Be sure to choose Absolute from the Object Type pop-up menu.
56
Chapter 5
When the user clicks the
lower-right part of
the object, this image
is displayed.
When the user clicks the upper-left part
of the object, this image is displayed.
- Numbers '09 (254 pages)
- Keynote '09 (247 pages)
- Pages '09 (279 pages)
- Boot Camp Mac OS X v10.6 Snow Leopard (18 pages)
- Boot Camp Mac OS X v10.6 Snow Leopard (19 pages)
- iWork '09 (372 pages)
- Mac OS X v10.6 Snow Leopard (7 pages)
- GarageBand '08 (102 pages)
- iDVD '08 (35 pages)
- GarageBand '09 (122 pages)
- iWeb (37 pages)
- iMovie '08 (50 pages)
- Boot Camp (Mac OS X v10.5 Leopard) (25 pages)
- Boot Camp (Mac OS X v10.5 Leopard) (27 pages)
- Mac OS X v10.5 Leopard (16 pages)
- Mac OS X (622 pages)
- Mac OS X Server (Version 10.6 Snow Leopard) (197 pages)
- Mac OS (42 pages)
- Mac OS X Server (Upgrading and Migrating For Version 10.4 or Later) (97 pages)
- iMovie HD (83 pages)
- iMovie HD (47 pages)
- MAC OS 7.6.1 (4 pages)
- Mac OS X Server (Extending Your Wiki Server For Version 10.5 Leopard) (45 pages)
- Mac OS X Server Ver 10.4 (35 pages)
- Mac OS X Server v10.6 (76 pages)
- Mac OS X Server v10.6 (97 pages)
- Macintosh Japanese Language Kit (30 pages)
- Xserve (Early 2008) DIY Procedure for Hard Drive (3 pages)
- Xserve (8 pages)
- Xserve (60 pages)
- GarageBand 3 (98 pages)
- Remote Desktop 3.1 (191 pages)
- Motion 5.1.1 (1090 pages)
- Workgroup Server 8150/110 (144 pages)
- Aperture (476 pages)
- Xserve Intel (Late 2006) DIY Procedure for Optical Drive Cable (7 pages)
- Xserve Intel (Late 2006) DIY Procedure for Optical Drive Cable (6 pages)
- Network Services Location Manager Network (8 pages)
- Macintosh System 7.5 (65 pages)
- Macintosh System 7.5 (126 pages)
- Macintosh System 7.5 (114 pages)
- DVD Studio Pro 4 (656 pages)
- Keynote '08 (204 pages)
- Xsan 2 (Second Edition) (11 pages)
- LiveType 2 (157 pages)