Apple QuickTime VR User Manual
Page 50
5
Use the controls in the Capture Controls window to adjust the brightness, color, and contrast
of the image.
6
Check to be sure the object is centered in the Video window; make adjustments to the object
if necessary.
Use the crosshairs and guides in the Video window to be sure the object support is centered
in the window. Rotate the object 360 degrees, and as you rotate it check to be sure the object
remains in the field of view of the Video window. You can move the guides in the Video
window by dragging the guide markers.
7
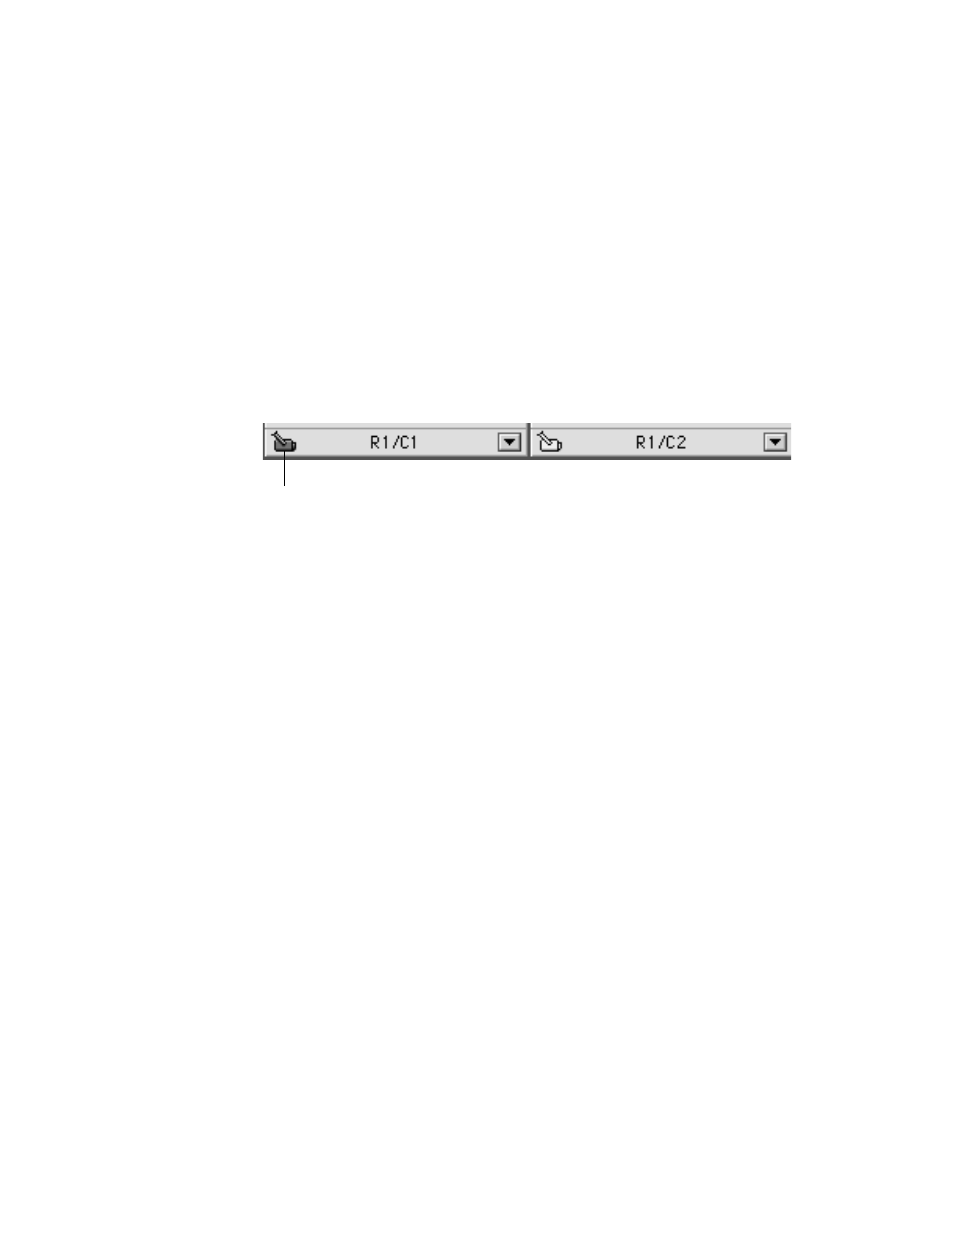
In the Object Maker window, select the row 1, column 1 view frame by clicking the camera
icon in the lower left of the row 1, column 1 view frame.
Note: The shaded camera icon appears only when you capture images directly.
8
Click Capture Frame in the Capture Controls window.
The first image appears in row 1, column 1.
9
Position the object or camera for the next image.
Move either the camera or the object by the number of degrees you specified in the Define
Object window. The one you move depends upon the type of setup you have. If you are
starting a new row, you may need to move both the camera and the object.
10
Select the next view frame in the Object Maker window by clicking the camera icon.
If you click the checkbox labeled “Auto-select next cell after capture” in the Capture Controls
window, you do not need to select the next view frame manually.
11
Click Capture Frame.
The second image appears in row 1, column 2.
12
Repeat steps 9, 10, and 11 until you have captured the correct number of images to fill the
number of rows and columns you defined earlier.
50
Chapter 5
The shaded camera indicates the image
will be captured into this row and column.