Apple QuickTime VR User Manual
Page 63
2
Move the circle to a location on the map and click.
An icon representing a panorama node appears and the circle changes back to an arrow. The
node’s name, Untitled, appears just below it.
Tip: If you double-click a node button, the pointer does not change back to an arrow after
you add the node, so you can add as many nodes as you like. To change the pointer back to
an arrow, click the Select Nodes button.
3
Type a new name for the panorama node.
If you are using the sample source material on the
QuickTime VR Authoring Studio CD,
name the panorama The Company Store.pano.
4
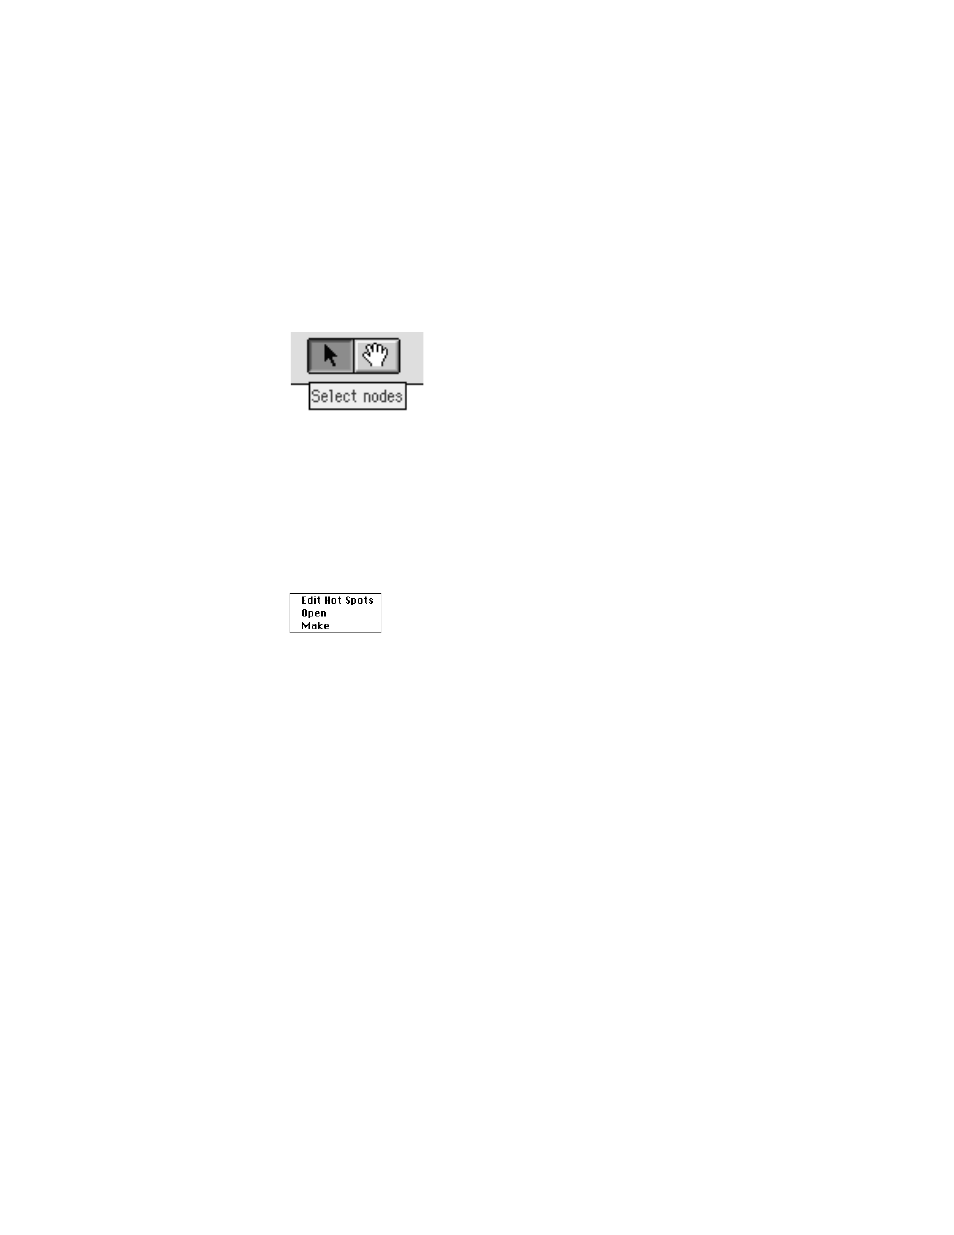
Place the pointer over the panorama node you just created, then press and hold the
mouse button.
A pop-up menu appears.
m Edit Hot Spots—Opens the Hot Spot Editor window (you’ll do this later).
m Open—Opens the tool for the node (in this case, the Panorama Stitcher).
m Make—Processes the node. (In this case, choosing this command would stitch a
panorama if images had already been added with the Panorama Stitcher.)
5
Choose Open.
The Panorama Stitcher window appears.
6
Create the panorama.
If you are using the sample source material on the
QuickTime VR Authoring Studio CD, use
the images provided for the Company Store panorama. Follow the steps for stitching a
panorama described in Chapter 4. Be sure to save the PICT, tile movie, and panorama files in
the same location as your Scene Maker document.
7
Close the Panorama Stitcher window after the panorama has been stitched.
Making QTVR Scenes
63