Apple QuickTime VR User Manual
Page 10
Fundamentals of the QuickTime VR Authoring
Studio interface
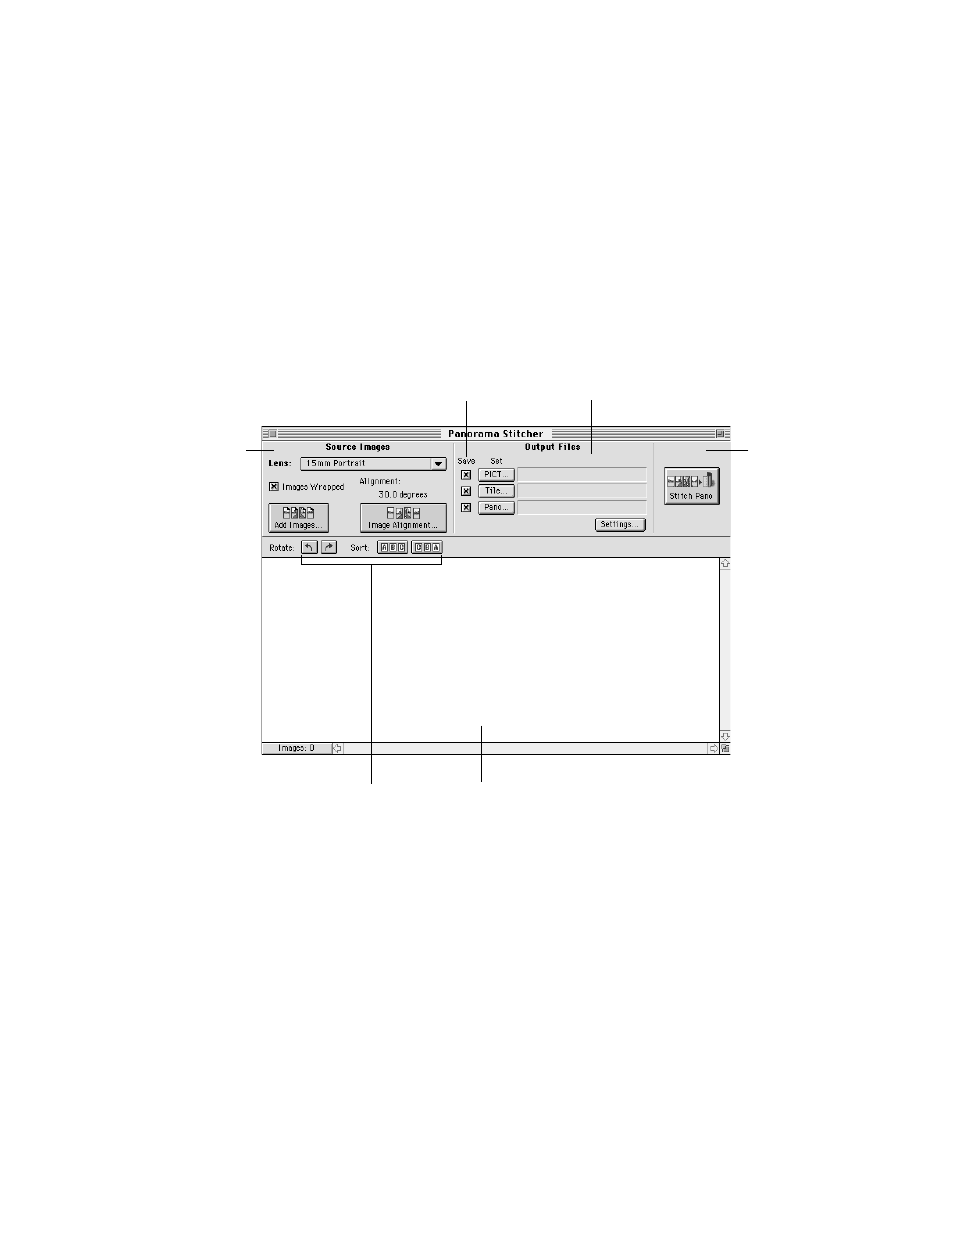
When you open one of QuickTime VR Authoring Studio’s five tools, the window for that tool
appears. The windows for the Object Maker, Panorama Maker, Panorama Stitcher, and Scene
Maker have similar layouts. Each has a section for defining source images, another for
defining output files (the files the tool creates as it processes your QTVR media), a process
button, and a section where you can view source material.
10
Chapter 2
You save output files by clicking the
checkbox next to the file you want to
save. You can save intermediate files
as well as final QTVR media files.
This area
contains a
button
associated
with a
process, such
as stitching a
panorama
or creating
a scene.
You define locations and
names for output files here.
The number and type of files
depend on the tool.
You define source
images here. The
number and type of
buttons that appear
depend on the tool.
You use the Rotate
and Sort buttons to
move images in
the bottom part
of the window.
Images used in panoramas and objects
are displayed in this part of the
window. Icons for scene nodes and
Project Manager elements appear in
this area.