Installation instruc tions – Poison Spyder JK FRONT CRUSHER FLARES User Manual
Page 6
INSTALLATION
INSTRUC
TIONS
Poison Spyder Customs • JK FRONT CRUSHER FLARES INSTALL
Page 6
©2010 POISON SPYDER CUSTOMS, INC. • 951-849-5911 • WWW.POISONSPYDER.COM
FIGURE 21
16. Align the Upper Sub-Frame Bracket as
shown in figure 22, and slide it upward
between the outer fender sheet metal and
the inner tub brace. It may be a tight fit, and
could require a firm shove or two. Position it
so that the threads of the u-nuts are roughly
aligned with the 5 corresponding holes in the
outer fender.
FIGURE 22
Re-use three (3) of the OEM metric hex head
bolts to attach the Upper Sub-Frame Bracket,
bolting them through the holes along the
bottom of the bracket.
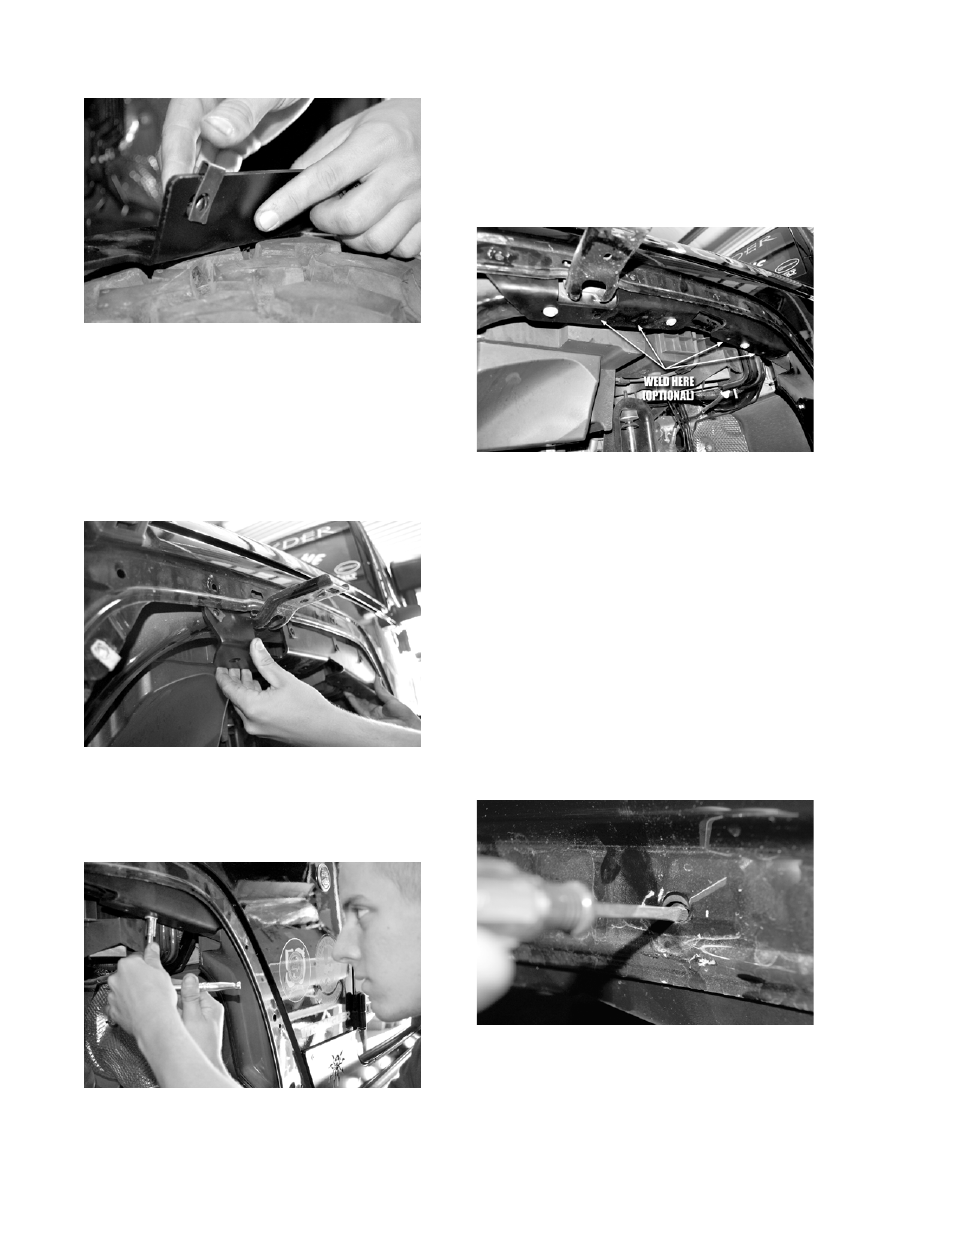
FIGURE 23
17. (OPTIONAL) If you plan to use your Jeep in
extremely tough conditions, you may choose
to add some strengthening welds to the
Upper Sub-Frame Brace. We have provided
four (4) extra holes in the bottom surface of
the brace, as shown in Figure 24, where you
may plug-weld it to the heavy-gauge metal of
the inner tub support.
FIGURE 24
If you choose to weld, use the fine-tip felt
pen to mark the areas through the holes,
then remove the Upper Sub-Frame Bracket.
Sand or grind the paint from the area of the
Jeep’s inner tub where you intend to weld.
Also, use a die grinder or rat-tail file to remove
the powder-coat from the inner edges of the
weld holes in the bracket. Then re-install
the bracket and plug-weld at the designated
holes. Allow the welds to cool, then apply
some paint to protect the welds from rust.
18. Use a small screw-driver or spud bar to
finish aligning the u-nuts with the holes in the
outer fender. The u-nuts “float” somewhat
and have some room for adjustment.
FIGURE 25
19. Re-Install the Crusher Flare, but only install
one of the flat head cap screws at this time,
using one of the holes along the top edge,
with the u-nut you installed previously. This