Confirming images in enlarged view, Printing all images in an album – Toshiba Gigashot K Series User Manual
Page 105
Owner’s Manual
81
Hard Disk Camera GSC-K80HE/GSC-K40HE
6. Use the jog dial to select a setting and press the OK button.
7. Use the jog dial to change the settings and press the OK button.
8. Move the OK button to
to select [PRINT] and press the OK button.
Printing begins.
When printing ends, the prints setting screen in step 2 reappears.
If there is no further printing, press the MENU button.
When the [DISCONNECT USB CABLE.] message appears, disconnect
the USB cable from the camera and printer.
Confirming Images in Enlarged View
In step 2, slide the zoom lever towards T.
Sliding towards W in enlarged view will return to the PictBridge settings
screen.
Printing all Images in an Album
In step 2, after pressing the OK button before specifying the number of
images, select [SELECT ALL] using the jog dial, then press the OK button.
Next, move the OK button to
or
to specify the number of images.
PAPER SIZE : Selects the paper size for printing.
LAYOUT
: Selects the printing layout.
PAPER TYPE : Selects the type of paper used for printing.
PRINT DATE : Chooses whether to print the photography date.
The options that can be set differ depending on the connected printer.
If you change the paper size, the options for layout and paper type are
cleared.
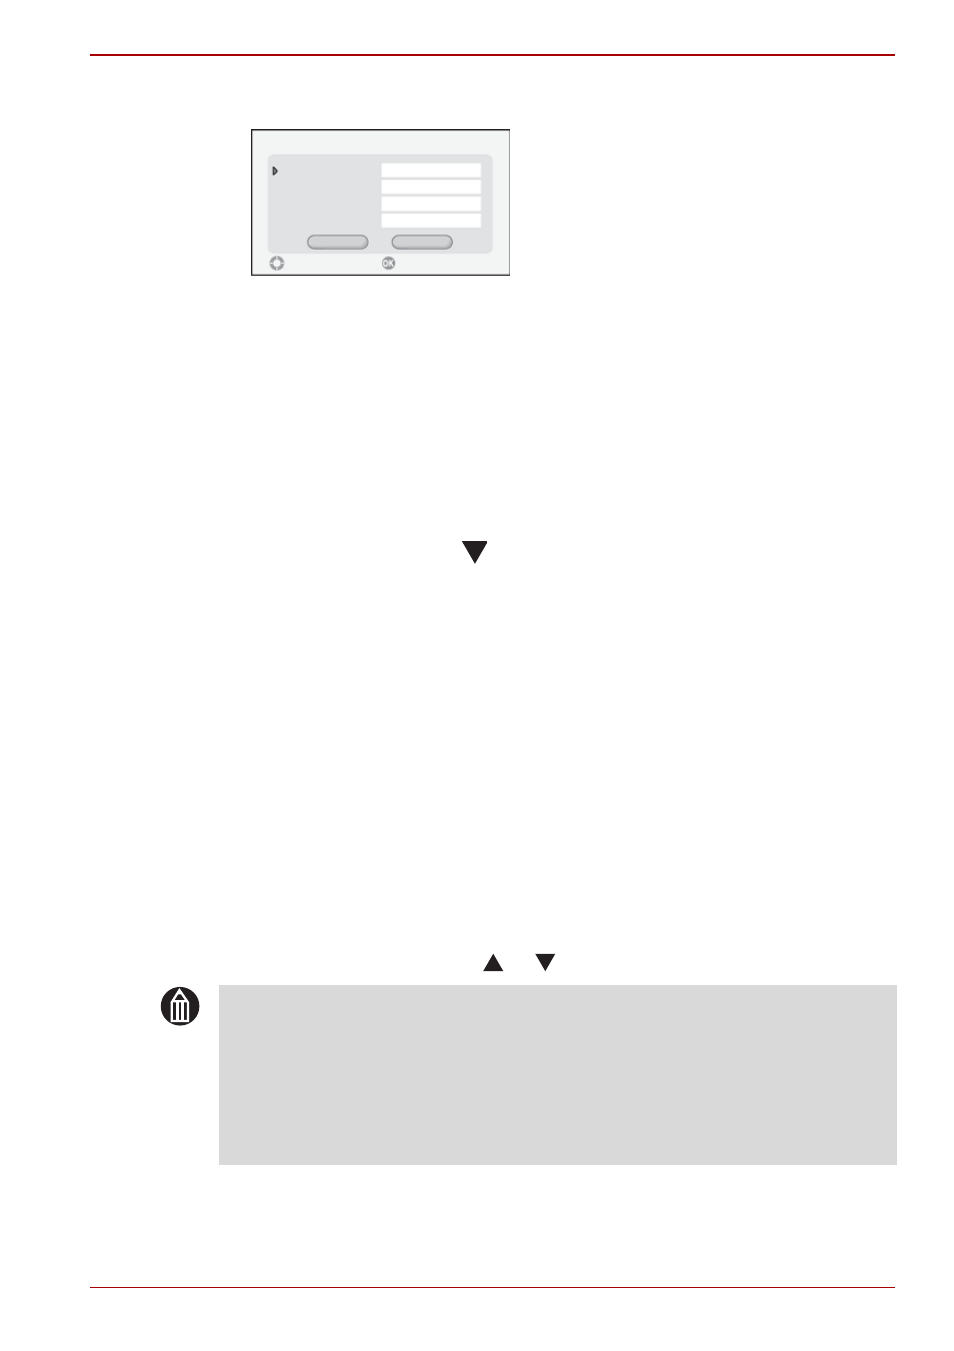
PictBridge
SELECT
PAPER SIZE
LAYOUT
PAPER TYPE
PRINT DATE
CANCEL
PRINTER SETTINGS
PRINTER SETTINGS
PRINTER SETTINGS
PRINTER SETTINGS
CHANGE
MEMO
You can specify up to 99 prints.
Note that some types of printer are not compatible with PictBridge.
Use the AC adapter when connecting the camera to a printer.
You cannot specify images on the hard disk drive and an SD card at the
same time.