6 info, Setting automatic info, Selecting automatic info – Seiwa Starfish 2nd Edition User Manual
Page 30: Displaying expanded info page (full info), Info on objects with pictures
32
User Manual
[MENU] hold for 3 seconds + use the cursor key to select data window to
customize + [ENTER] + use the cursor key to choose selection + [ENTER]
Once [ENTER] is pressed the data type is set. The selection window is closed and
the Text Area changes according to the selected data type. Press [CLEAR] to exit
the edit mode.
2.6
INFO
Placing the cursor on cartographic objects the information related to the object
nearby is shown.
Setting Automatic Info
Automatic Info allows you to get the information on any cartographic object just
by placing the cursor on it. You can select the type of it:
[MENU] + "Display Options" + [ENTER] + "Auto Info" + [ENTER]
The possible settings are Off (no automatic info shown at all), On Points (only on
points e.g. Rocks, Buoys, Lights, Tide Stations) and On All (on all objects, points,
lines and areas).
NOTE
Choosing "On All" the Automatic Info will be shown most of the times the
cursor is moved.
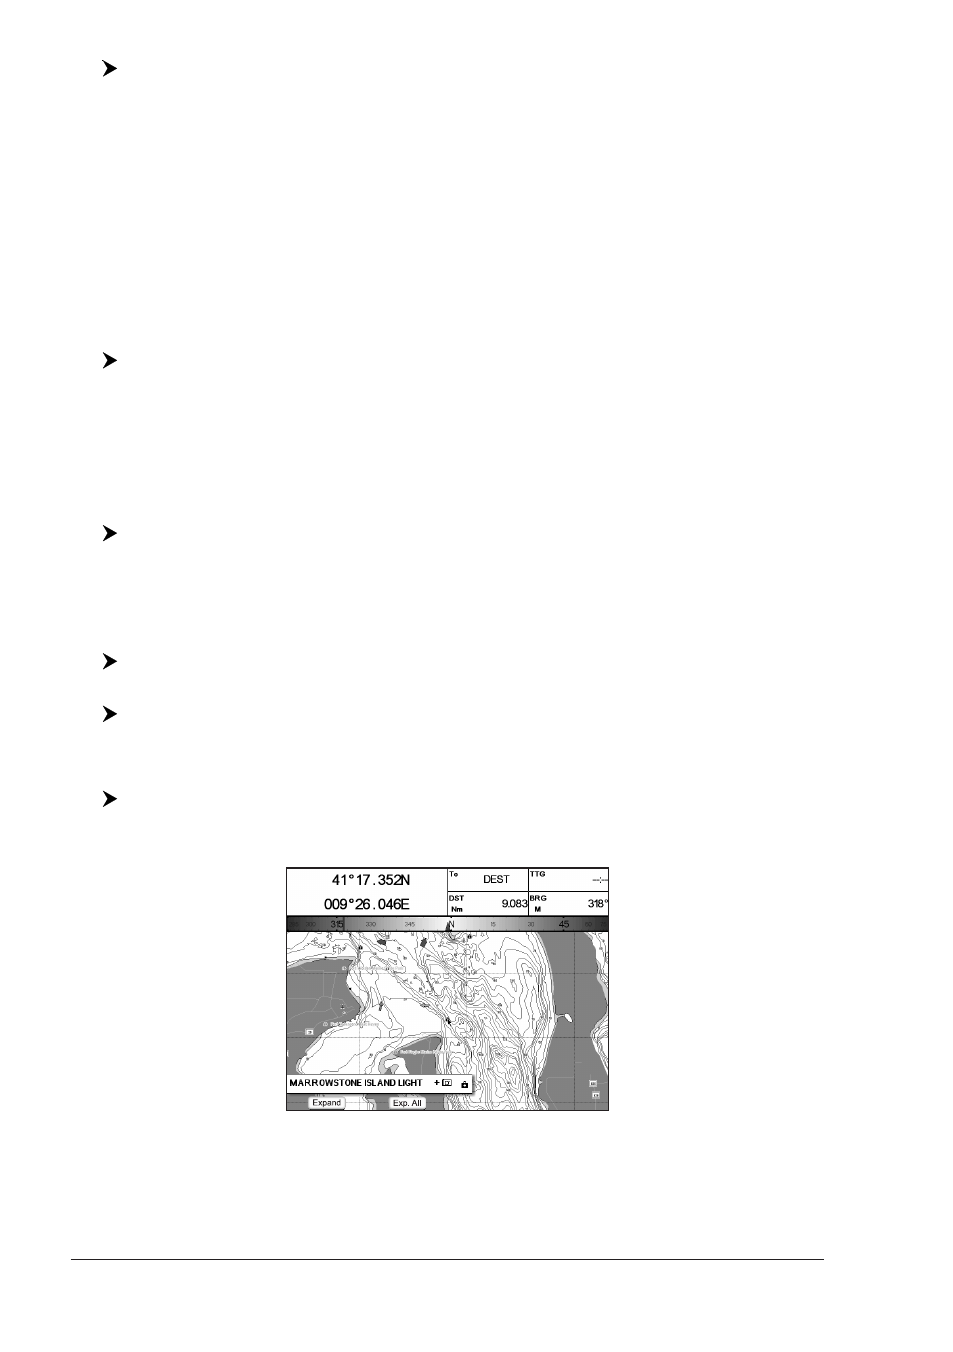
Selecting Automatic Info
Move the cursor on the object
The pop-up window with the basic info of the objects is displayed. To get full
details of the object press [E
XPAND
].
Displaying Expanded Info page (Full Info)
To show the Expanded Info page:
Place the cursor on objects + [ENTER] + "Info" + [ENTER]
MARLIN/OYSTER:
Place the cursor on objects + [INFO]
Info on objects with Pictures
To get the information on objects with pictures:
Move the cursor on the object
On the Quick Info, if at least one of the objects found has one or more pictures
associated, there is a camera icon:
Fig. 2.6 - Example of Quick Info on objects with picture
Press [E
XPAND
] to see the Full Info page, there is the small camera icon on a
corner of the square containing the object icon (or a big photo icon centered on
the square for the object without icon):