FUTEK VCal Sensor Verification User Manual
Page 48
Futek Advanced Sensor Technology – Futek VCal™Documentation
Rev. 1.8.0
07/26/05
©Futek Advanced Sensor Technology 2005
48
Example Calibration Verification (Signature Test):
1. The first step in performing a Signature Test Calibration is to fill in all the required information on the Information Tabs (
Info
,
Initial,
and
Setup
), be sure to check the checkbox next to Signature Test (at the bottom of the Info tab), and also to check either Primary or
Subsequent, whichever applies to your particular test. Once you have filled in all the appropriate information to configure your test, you can
press the
Begin Test
button on the Setup tab. Doing this will bring up the Test Grid, filled in per your configuration settings.
2. If you are performing this test right now, you would connect your sensors and proceed through the Instructions for Performing a Main Test
first, (see
pgs. 46 - 47
), and when you have completed and saved your test, continue with Step 3.
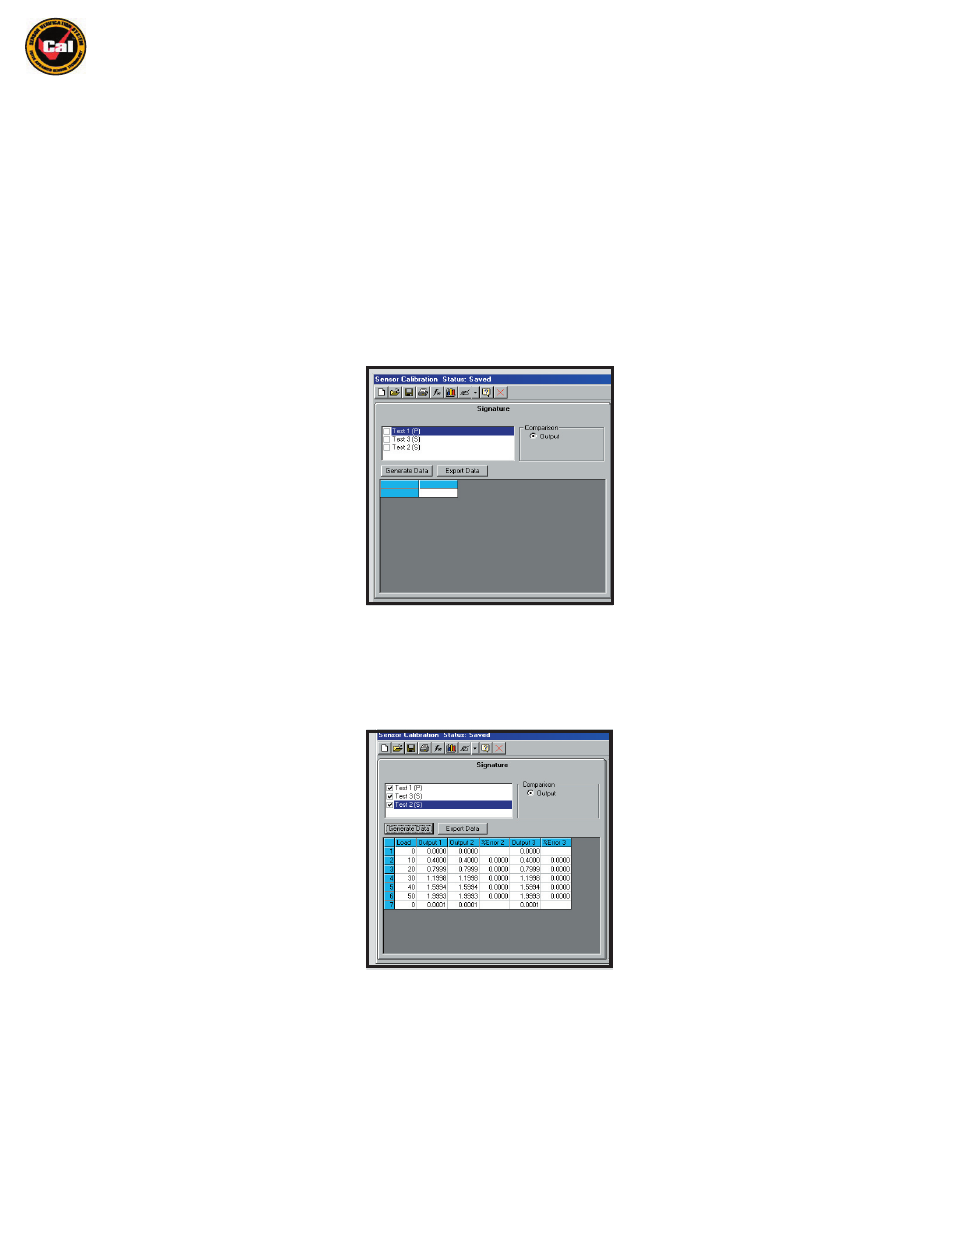
3. If you are comparing the results of previously performed calibrations which you have loaded from the database, you would then click on the
down-arrow icon just to the right of the ‘Signing Hand’ icon. This will bring up the pull-down menu where you can select the Signature Test
option. Clicking this option will bring up the Signature screen . . .
4. Here you can select which saved tests you wish to compare the results of. Select all that are appropriate to your needs. You can also select
which output characteristic you wish to compare the results of , here you can only compare one characteristic at a time. For this example I am
going to pick all three tests, and I will select Output as my characteristic to compare. Next you would press
Generate Data
, and that would bring
up this screen . . .
5. You have successfully completed your Signature Test. If you wish to save the comparison results to a file you may press the
Export Data
button, and follow the directions there to save your results.