Brocade Fabric OS Encryption Administrator’s Guide Supporting RSA Data Protection Manager (DPM) Environments (Supporting Fabric OS v7.2.0) User Manual
Page 130
110
Fabric OS Encryption Administrator’s Guide (DPM)
53-1002922-01
Viewing and editing switch encryption properties
2
•
Operational
•
need master/link key
•
Online
-
Set State To: Identifies if the state is enabled or disabled. You can click the line item in the
table to change the value, then click OK to apply the change.
-
Total Targets: The number of encrypted target devices.
-
HA Cluster Peer: The name and location of the high-availability (HA) cluster peer (another
encryption engine in the same group), if in an HA configuration. If no peer is configured, No
Peer is displayed.
-
HA Cluster Name: The name of the HA cluster (for example, Cluster1), if in an HA
configuration. HA Cluster names can have up to 31 characters. Letters, digits, and
underscores are allowed.
-
Media Type: The media type of the encryption engine. Options are Disk and Tape, or
Disk/Tape when both are present.
-
Re-Balance Recommended: Indicates if LUN rebalancing is recommended for an
encryption engine that is hosting both disk and tape LUNs. Options are Yes and No.
-
System Card Status: The current status of system card information for the encryption
engine. Options are Enabled and Disabled.
Exporting the public key certificate signing request from properties
To export the certificate signing request (CSR) under Public Key Certificate Request, complete the
following steps.
1. Click Export, then browse to the location where you want to save the certificate and click Save.
Alternatively, you may also copy the CSR and paste it to a file.
2. Submit the CSR to a certificate authority (CA) for signing. CA signing requirements and
procedures differ per key manager appliance.
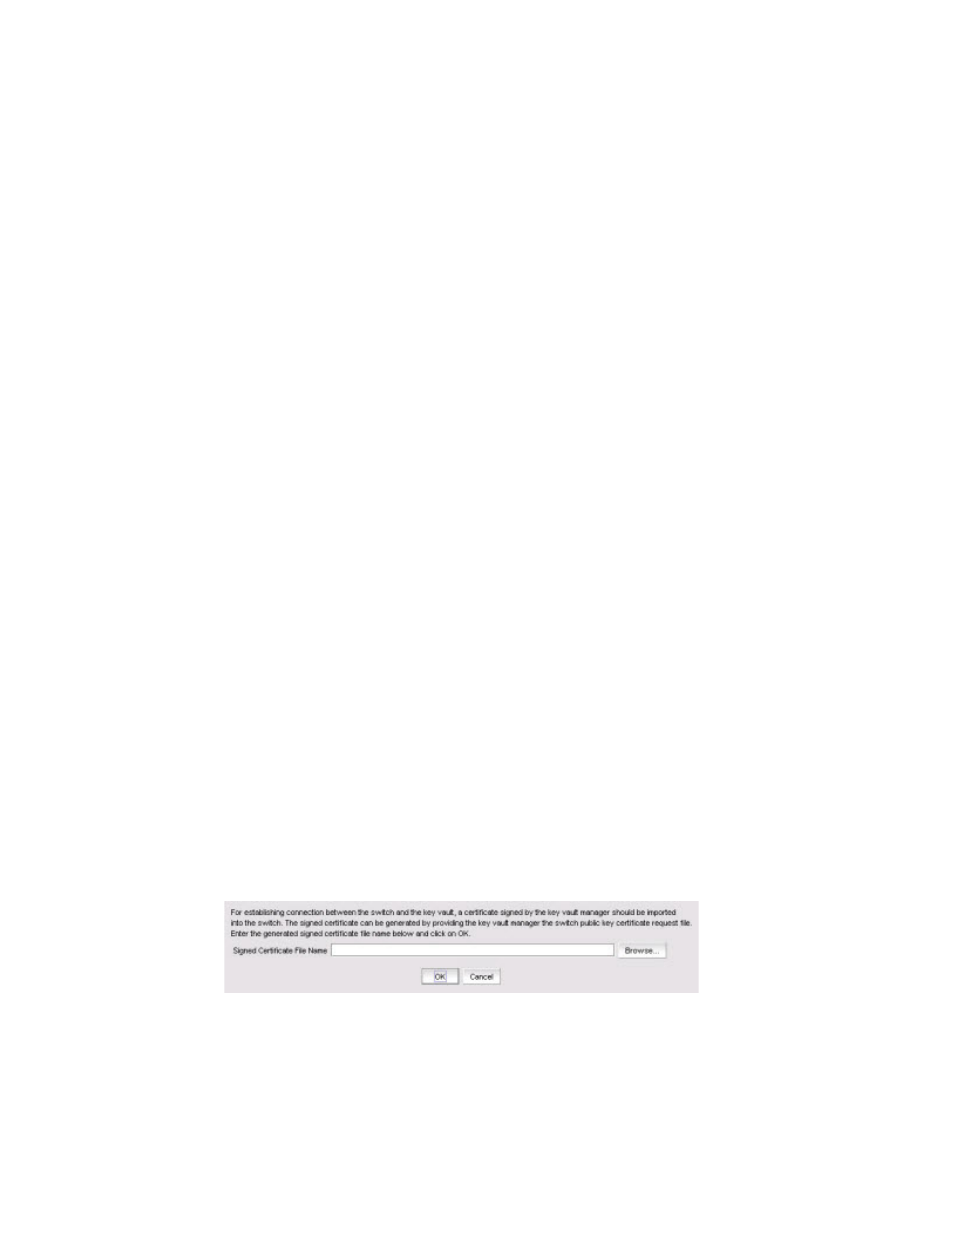
Importing a signed public key certificate from properties
To import a signed public key certificate, complete the following steps.
1. Click Import.
The Import Signed Certificate dialog box displays. (Refer to
FIGURE 81
Import Signed Certificate dialog box
2. Enter or browse to the file containing the signed certificate, then click OK.
The file is imported onto the switch.