Stored screens, Message screens, Providing instructions to the oit operator – Maple Systems OIT Family (ASCII) User Manual
Page 25: Notifying the oit operator of alarm conditions, Displaying up to 25 register monitors, Chaining to other message screens, Displaying blinking characters, Beeping on display for two seconds, Help screens are available
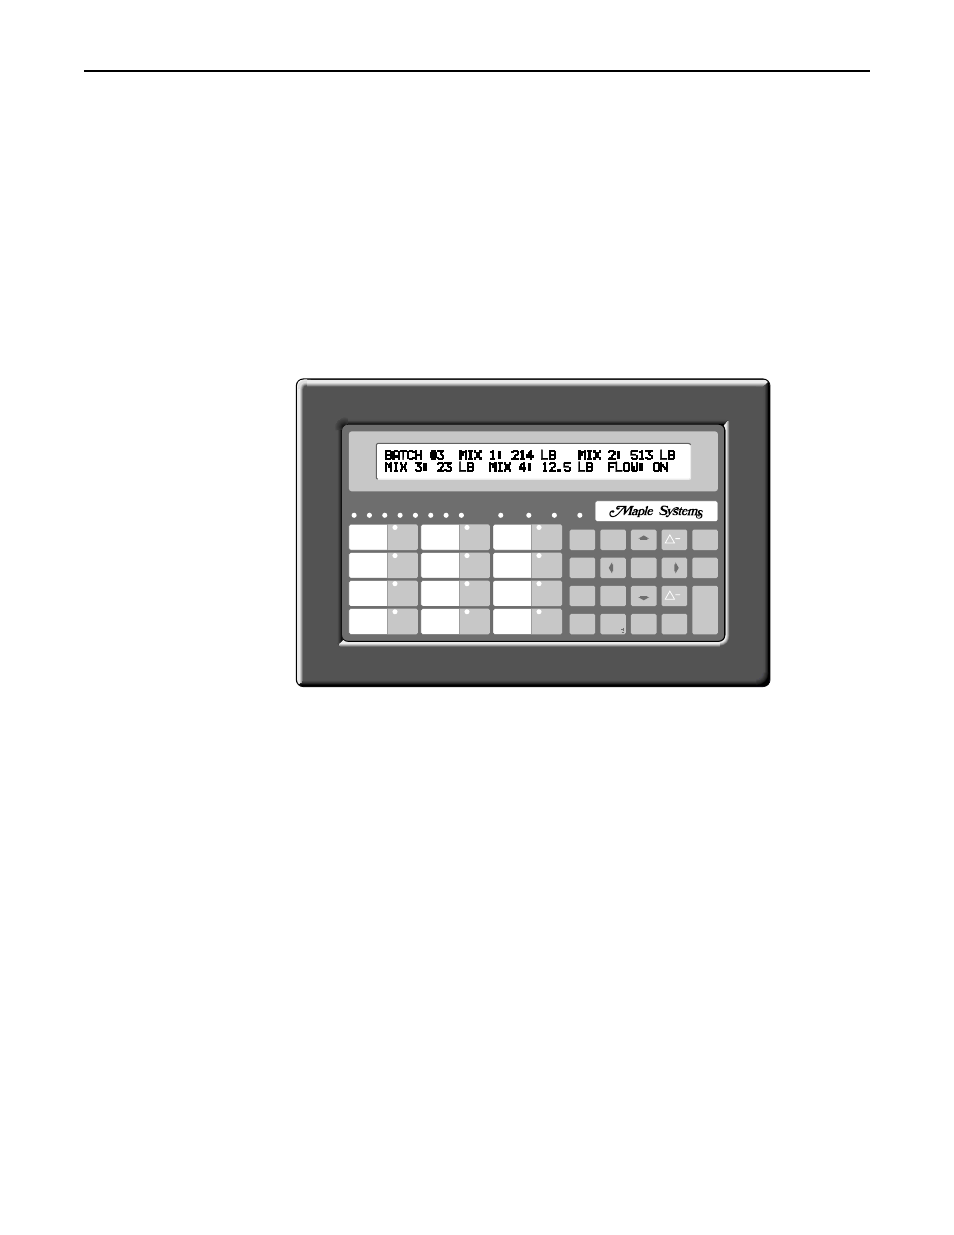
Stored Screens
Each Maple OIT is capable of displaying up to 500 pre-programmed screens of text and
graphics characters. Screens are created for:
•
Providing instructions to the OIT operator.
•
Notifying the OIT operator of alarm conditions.
•
Displaying current values from the OIT’s data and coil registers. This provides the OIT
operator with information about the control process
•
Modifying the values in the OIT’s data and coil registers. This provides the OIT operator
with a means of changing the operating parameters of a control system.
There are five different screen types for display on OITs: Message, Recipe, Alarm, Menu,
and Help screens. Each screen type has a different function for which it has been customized.
Message Screens
Message screens are the simplest and most often used type of screen. They were designed to
convey information to the OIT operator and to provide the OIT operator with a means of
changing the operating parameters of the control system. Message screens are capable of:
•
displaying text and characters from the extended character set
•
displaying up to 25 register monitors
•
chaining to other message screens
•
sending the screen contents to a printer for hard copy
•
displaying the current time and/or date from the OIT’s real time clock
•
displaying one line of horizontal scrolling text up to 128 characters long
•
displaying blinking characters
•
displaying for a preset length of time from 1 to 255 seconds
•
beeping on display for two seconds
•
help screens are available.
24
OIT Family Operation Manual (ASCII)
1010-0088, REV02
2
3
4
6
5
7
8
MESSAGE ALARM
RUN
1
0
7
4
8
5
1
2
9
6
3
.
PAGE
ACK
ALARM
DOWN
MESSAGE
PAGE
UP
NEXT
LAST
MESSAGE
TOGGLE
HELP
SETUP
SCREEN
DELETE
CLEAR
E
N
T
E
R
F1
F5
F9
F2
F6
F10
F3
F7
F11
F4
F8
F12