Controlled Products Systems Group 222X383 User Manual
Page 82
Installation and Maintenance Manual
74
D0119, Rev. F
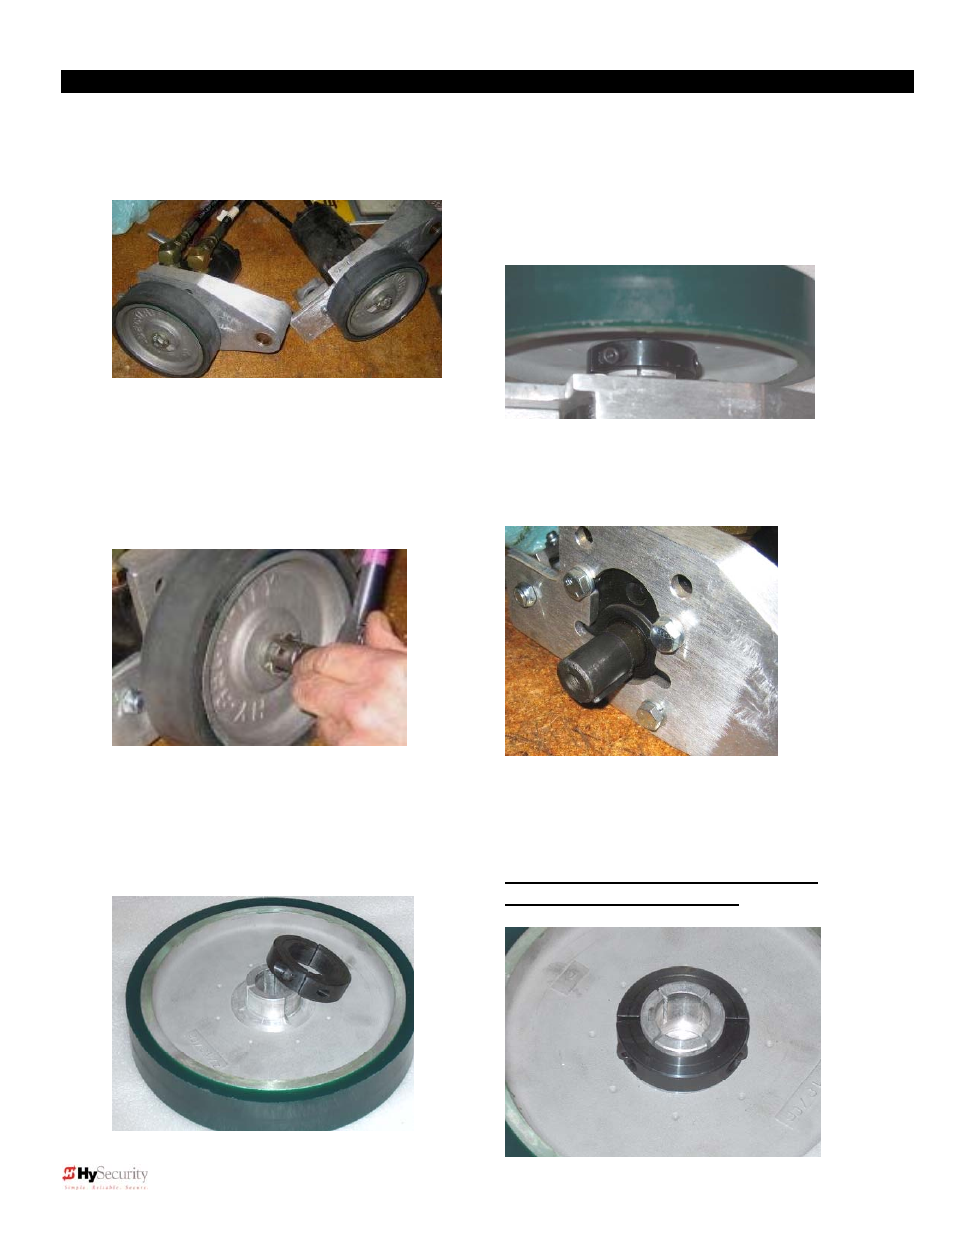
SlideDriver Wheel Change
Note: Instructions written for installing wheels with retaining collars.
For wheels without collars skip steps 2, 6, 7 and 12
1.) Remove drive wheel assembly
from SlideDriver.
3.) Remove bolt and drive wheel. A
wheel puller or other mechanical
means may be required to slide the
wheel off the motor shaft. Remove old
clamp (if any).
5.) Locate new wheel and locking
collar. Remove the Cap Screws from
the collar. Put blue “thread-locker” on
the Cap Screws and reinstall them.
2.) If the old wheel is equipped with a
locking collar, loosen the two (2) 3/16”
Allen head bolts holding the clamp
(requires a wrench at least 4” long for 8”
wheels).
4.) Clean debris from shaft (emery cloth
works well), and replace the motor shaft
key with the key included in the
installation kit.
6.) Place the locking collar on the
machined inside hub on the
replacement wheel (collar splits
between hub splits) and lightly tighten.
Be sure the collar is seated against
the back of the wheel hub.