CognitiveTPG CRx User Manual
Page 84
80
Chapter 11: Cleaning and Preventive Maintenance
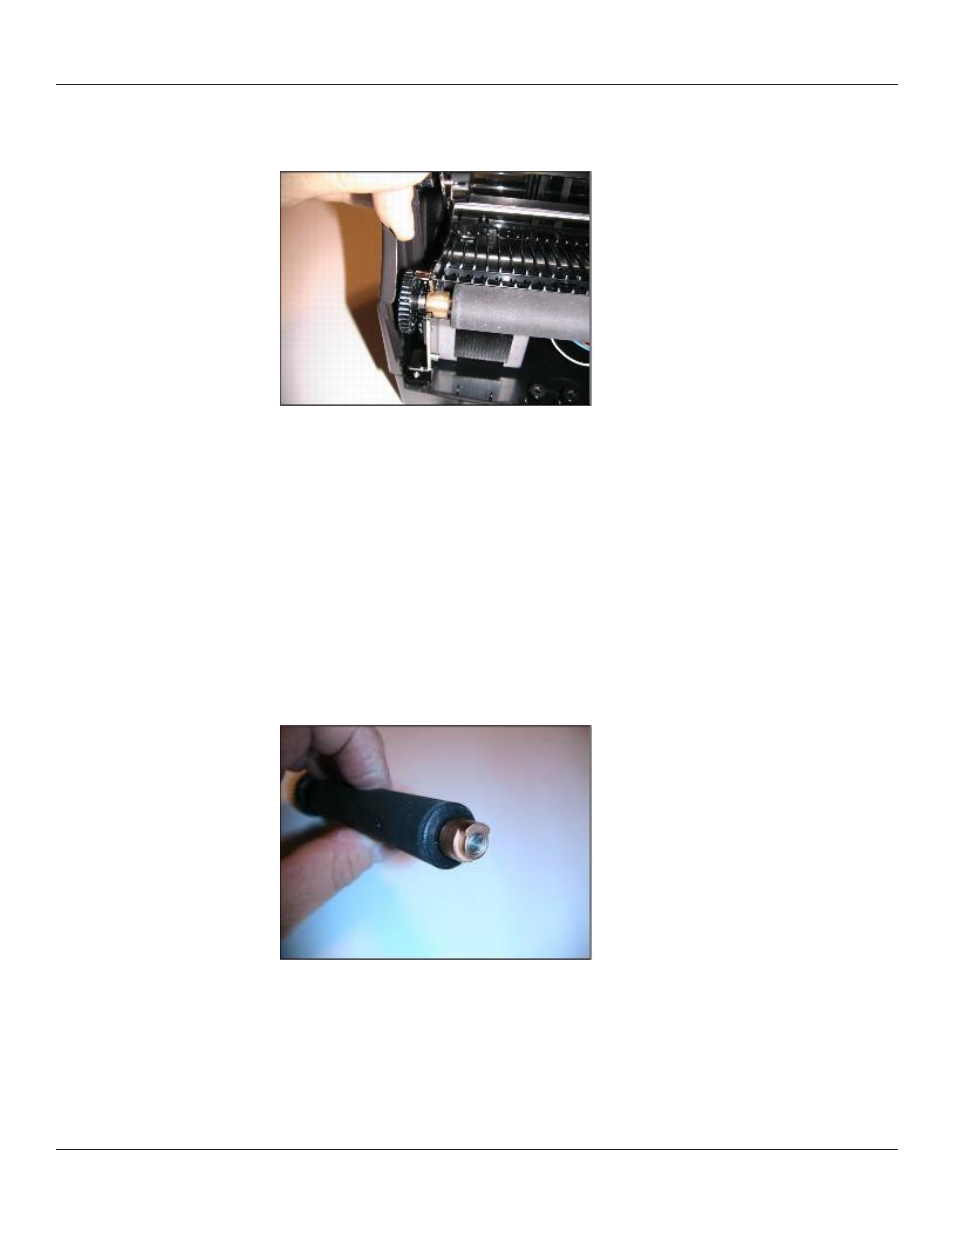
11) Slightly bias the enclosure away from the left side of the platen. Slide the left side of
the platen out of its plastic snap, toward the front of the printer.
CAUTION: BE CAREFUL NOT TO LOSE THE BEARING FROM THE RIGHT SIDE OF THE
PLATEN. THERE ARE NO RETENTION FEATURES WHICH WILL HOLD THE BEARING ON THE
PLATEN SHAFT AFTER THE PLATEN HAS BEEN REMOVED.
Platen Assembly Replacement
NOTE: IF THE C SERIES PRINTER IS WITHIN THE WARRANTY PERIOD, THE USER
MUST SEND THE PRINTER IN TO AN AUTHORIZED REPAIR CENTER. ALL USER’S
MUST NOT REPLACE THE PRINTHEAD ASSEMBLY OR PLATEN ASSEMBLY IF THE
PRINTER IS UNDER WARRANTY.
1) During installation of the platen, note the small diameter of the platen bearing snap
feature. That area goes down into the platen bearing snaps.