Sizing the output image – RGB Spectrum Quadra User's Guide User Manual
Page 50
O P E R A T I O N S
Sizing the Output Image
350-7951
Quadra User’s Guide
42
.
. .
.
.
. . . . . . . . . . . . . . . . . . . . . . . . . . . . .
S I Z I N G T H E OU T P U T I M A G E
This section provides basic instructions for using the WDR command
(
). The command enables you to define the size
and position of the “output” rectangle — the rectangle to which the source
rectangle (
) is mapped.
Using the command, you can “jump” a channel’s output rectangle from one
setting to another instantly, or transition the output between settings with a
duration of up to 128 seconds.
Please note:
•
The output rectangle can be positioned and sized so that part of it is
positioned off screen.
•
WDR
values are limited to the output resolution of the selected Quadra
output channel (full screen display).
Use the following steps to size the output image.
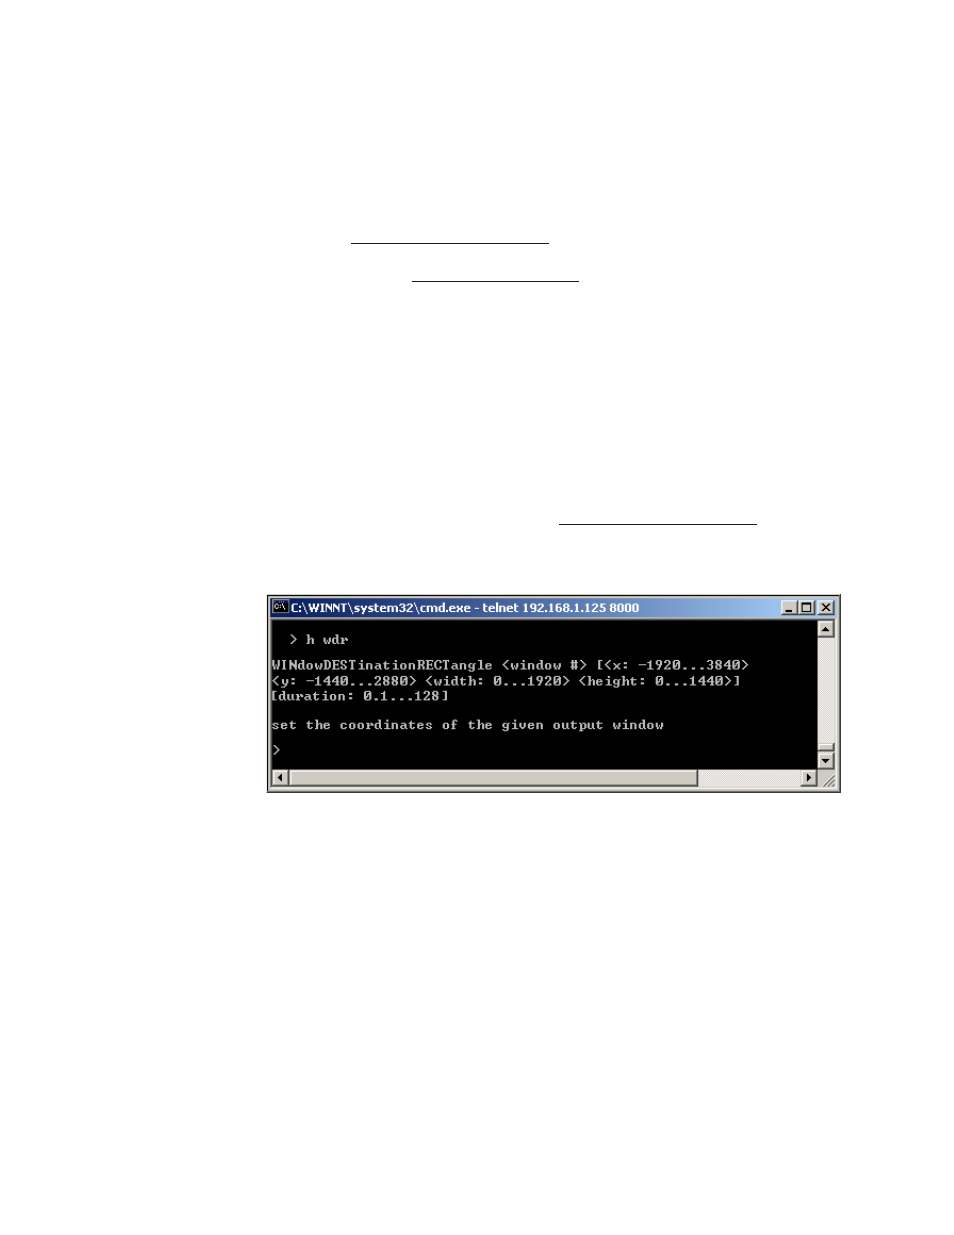
1.
Request help text for the
command.
Type:
H WDR
Enter
Figure 3-14.
Help Text — Window Destination Rectangle Command
2.
Query the output timing to verify the output display’s actual
dimensions. This gives you a basis for setting the output rectangle’s
parameters. Type:
OPTM
Enter
3.
Query the current size and position of the output rectangle: Type:
WDR
Enter
4.
Size and position the output rectangle as desired. Type:
WDR
Enter
Note that the
x
and
y
parameters define the coordinates of the first
pixel located at the top left of the output rectangle. The width and
height parameters then define the size of the rectangle.