Displaying/editing configuration options – Paradyne ACCULINK 317x E1 User Manual
Page 34
ACCULINK 317x E1 DSU/CSU
3-12
December 1996
3170-A2-GB20-20
The configuration options are divided into functional
groups. Appendix C contains a list of the configuration
options and defaults. These groups are:
•
DTE (Drop/Insert) Interface (Table C-1)
•
Port (Table C-2)
•
Network Interface (Table C-3)
•
Channel (Tables C-4 and C-5)
•
General (Table C-6)
•
User Interface (Table C-7)
•
Alarm (Table C-8)
•
General SNMP (Table C-9)
•
SNMP Trap (Table C-10)
Use the Configuration (Cnfig) branch of the front panel
menu tree to display or change E1 DSU/CSU
configuration options (see Appendix A, Front Panel
Menu).
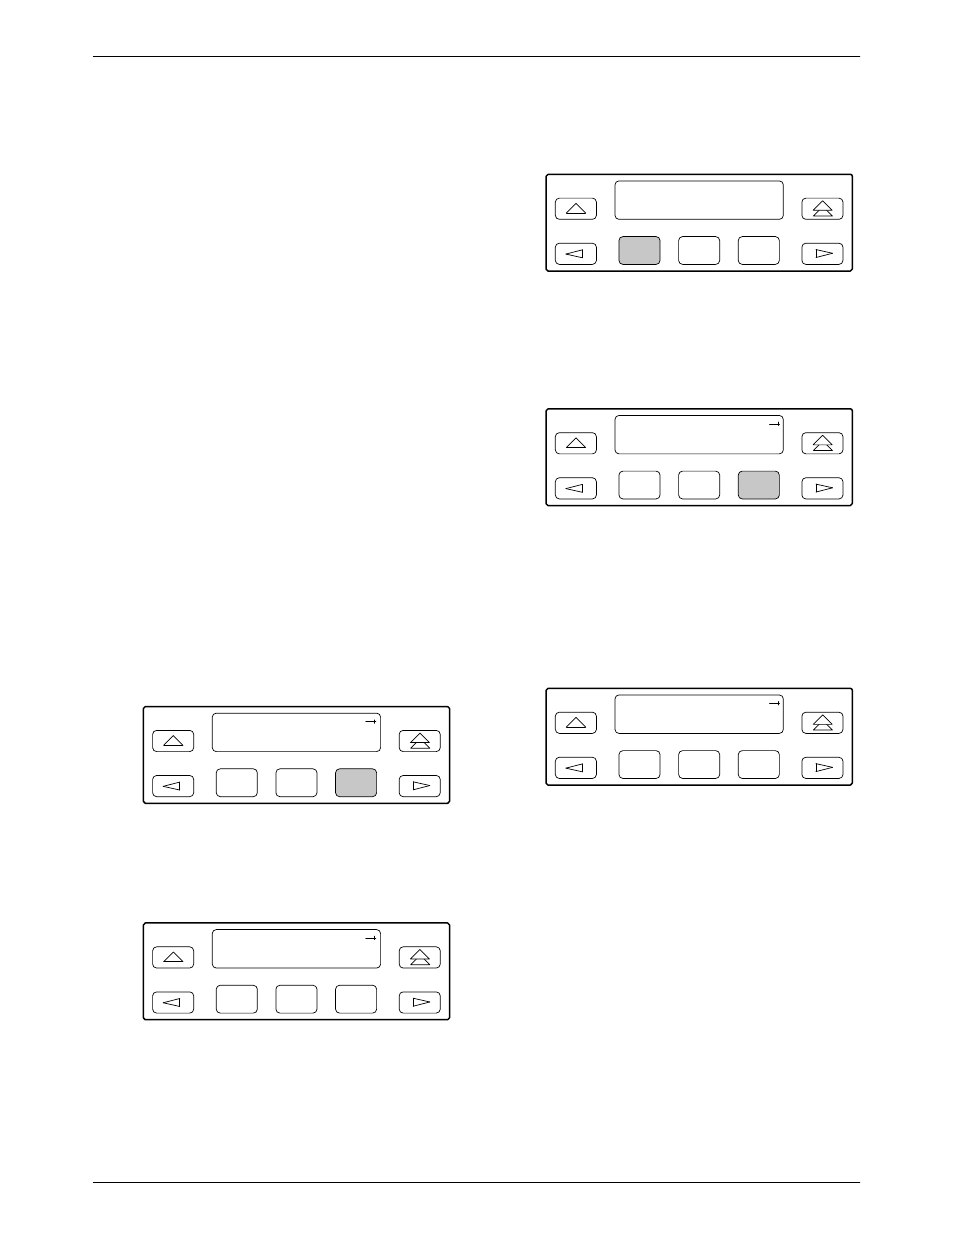
Displaying/Editing Configuration Options
To display/edit configuration options,
1. Press F3 to select Cnfig from the top-level menu
screen.
F1
DSU E1 CEPT
Stat
Test
Cnfig
F2
F3
2. Select the configuration option set to be copied
into the Edit area by using the appropriate
Function key. Use the scroll keys, if necessary.
F1
Load from:
Activ
Cust1
F2
F3
3. Press F1 to select Edit.
F1
Choose Funct:
Edit
Save
F2
F3
4. From the Edit screen, select the functional group
you want to edit by pressing the appropriate
Function key. Use the scroll keys, if necessary.
(The NET selection is shown as an example only.)
F1
Edit:
DTE
Port
NET
F2
F3
The configuration options for the selected
functional group appear on the front panel one
option at a time. The option name appears on
Line 1 with the current value next to it. To reach
other options, use the Next and Previous selections
to scroll forward and backward through the group
of options.
F1
NET Frame:noCRC
Next CRC4
noCRC
F2
F3
5. Press the appropriate Function key to choose
another value. Use the scroll keys, if necessary.
6. Use the Save procedure to save your changes to
the Active or Customer area.