Video, Video 1 – Philips HDR3700 User Manual
Page 79
79
EN
Set the front panel display brightness.
Select a setting using [
U \ D], then
press [OK].
You can choose one from “Auto”, “Bright”, “Dim”
or “OFF”.
If “Auto” is selected, the display becomes dimmer
when the set is in standby.
If “OFF” is selected,the power consumption of the
unit will be lower in standby state.
The brightness of the front panel display will
become dimmer while the unit is in on, and it will
be off while the unit is in standby.
Note
• If you set “Front panel brightness” to “OFF”, output
of the picture from the external device through AV2
to AV1 (input of the picture from AV2 and output of
the picture from AV1.) is not available when this unit
is off.
Video
1
In stop mode, press [HOME]. Select
“General Settings” using [
U \ D],
then press [OK].
2
Select “Video” using [
U \ D], then
press [OK].
3
Select the desired item using
[
U \ D], then press [OK].
4
Refer to this page and set the
selected item.
For “
”, refer to page 19 for details.
5
When you finish with the setting,
press [HOME] to exit.
You can select the TV aspect ratio to match the
formats of what you are playing back with the unit and
your TV screen (4:3 standard or 16:9 widescreen TV).
Select the desired setting using
[
U \ D], then press [OK].
If you have a standard TV:
Select “4:3 Letter Box”, so that black bars appear on
the top and bottom of the TV screen when playing
back a wide-screen picture. Select “4:3 Pan scan” for
a full height picture with both sides trimmed when
playing back wide-screen picture.
If you have a widescreen TV:
Select “16:9 Widescreen”.
This unit is compatible with the Progressive Scan
System. This feature provides better quality video
output compared to interlace. You can enjoy
Progressive Scan image by using HDMI OUT or
COMPONENT VIDEO OUTPUT. To utilise the
Progressive Scan system through the COMPONENT
VIDEO OUTPUT, you must set Video Output mode in
“HOME” menu on the following steps.
“SCART(RGB)” is selected as the default.
• When you set the “Active Video Output” setting,
make sure that the AV1 (TO TV) Scart socket is
connected to your TV with Scart cable.
2
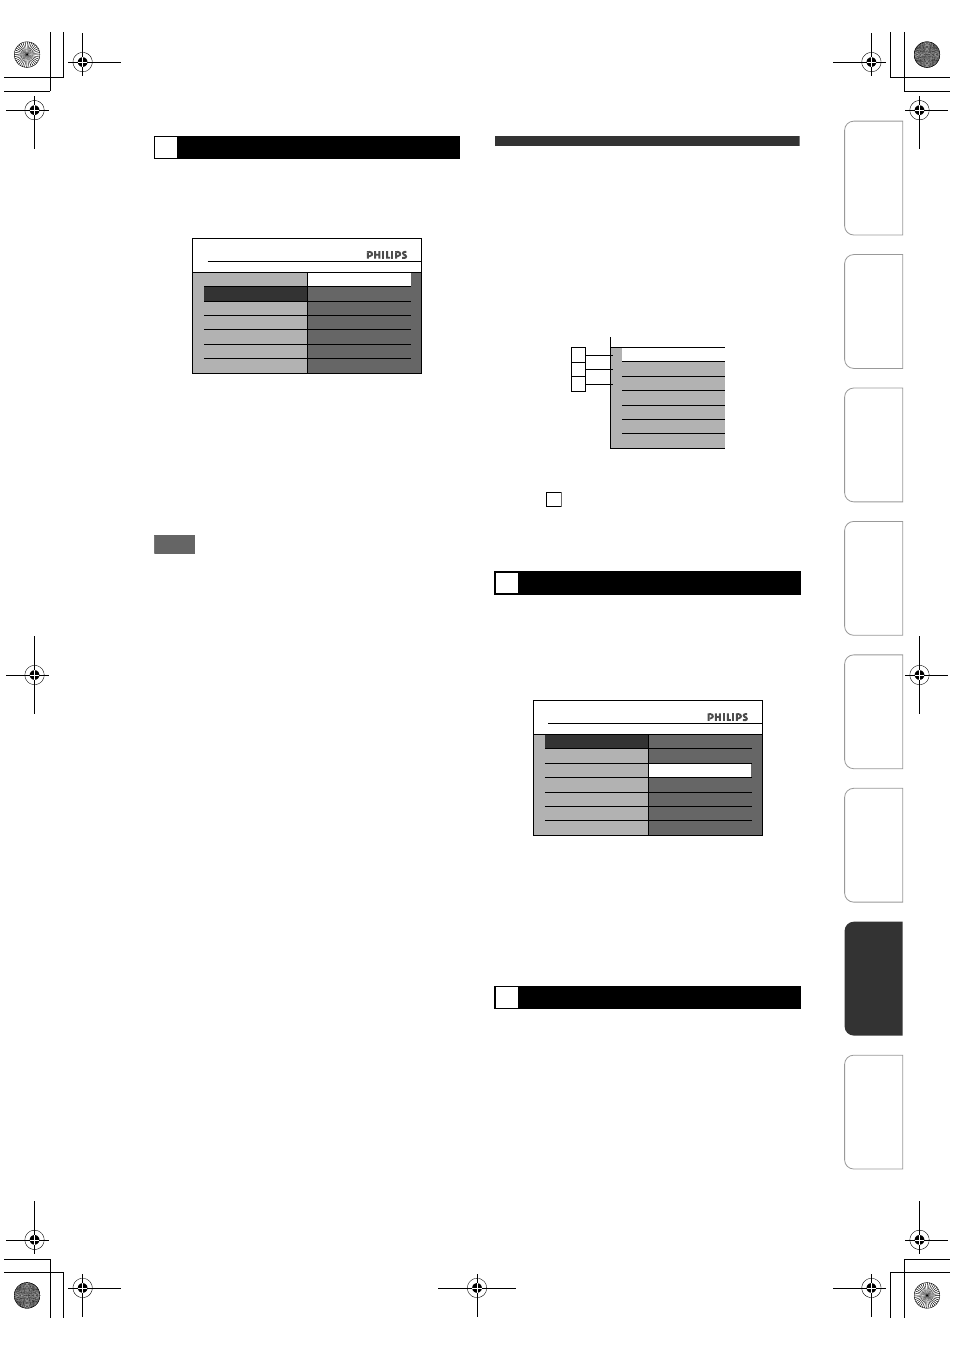
Front panel brightness (Default: Auto)
General Settings
Screen Saver
Front panel brightness
Display
Bright
Front panel brightness
Auto
Dim
OFF
1
TV Shape (Default: 16:9 Widescreen)
3
Active Video Output (Default: SCART(RGB))
1
2
3
TV Shape
Active Video Input
Video
Active Video Output
2
2
General Settings
TV Shape
Active Video Input
Video
4:3 Pan scan
4:3 Letter Box
Active Video Output
16:9 Widescreen
TV Shape
In
trod
ucti
on
Con
n
ec
ti
on
s
In
iti
al
Setup
P
layb
ack
Edi
tin
g
O
thers
General Settings
Reco
rdi
n
g
E2N41BN_EN.book Page 79 Wednesday, July 2, 2008 4:36 PM