Information on dubbing – Philips HDR3700 User Manual
Page 41
41
EN
6
Select “Start Rec” using [
U \ D],
then press [OK].
The dubbing will start.
To stop dubbing;
1
Select “Control” using [
U \ D], then press
[OK].
2
Select “HDD” / “DVD” using [
U \ D]
(whichever the recording component you
are using), then press [OK].
3
Press [C (STOP)].
Note
• The unit does not send out the output signal to DVC.
• For the proper operation, connect DVC to the unit
directly. Do not connect this unit and DVC via any
other unit.
• Do not connect more than one DVC.
• The unit can only accept DVC. Other DV device
such as cable/satellite box or D-VHS VCR cannot
be recognised.
• If no video signal is detected from the DVC during
DVC to HDD or DVD dubbing, the recording will be
paused and “I” will flash on the TV screen. The
recording will resume when the unit detects the
video signal again.
• When the DVC is in camera mode, refer to “Guide to
DV and On-Screen Display” on pages 39 - 40.
• Pictures with a copy-guard signal cannot be
recorded.
• A DV terminal is a terminal that can use the
transmission mode conforming to the IEEE 1394
standards called “Fire Wire”. It serves as the
interface that connects the PC and peripheral device
such as “i.LINK” (registered trademark of SONY). It
enables digital dubbing between DV devices with
little degradation.
• You cannot dub from DVC to both HDD and DVD at
the same time.
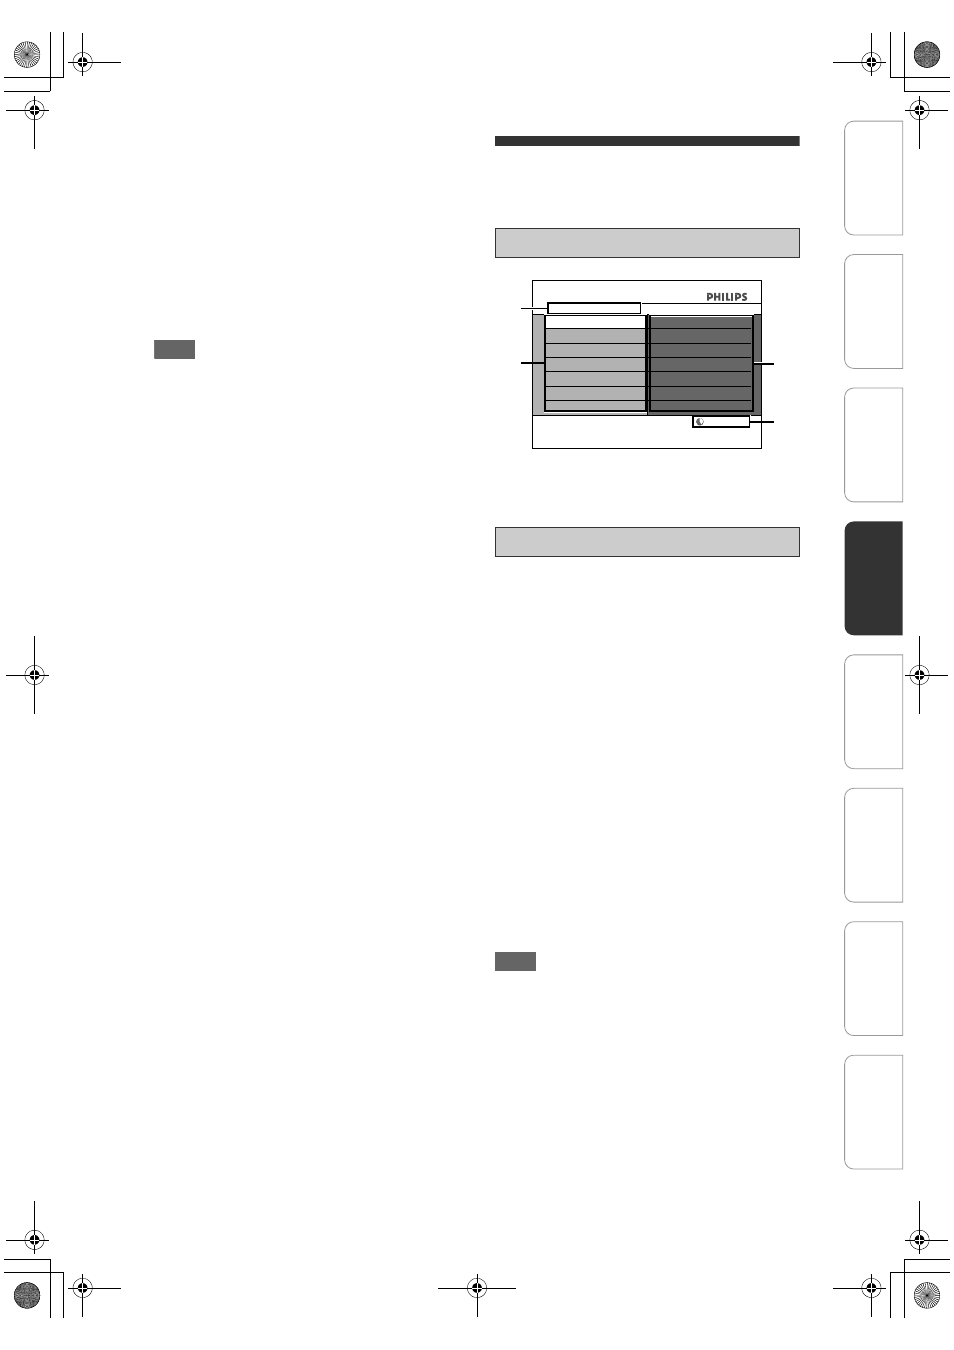
Information on Dubbing
You can dub the contents of the HDD to DVD or vice
versa. Before you start dubbing, refer to page 26 to
see the recording compatibility.
1
Dubbing direction
2
Dubbing menu
3
Remaining recordable space
4
Dubbing list
“High”:
This unit is compatible with the high speed dubbing
from HDD to DVD.
If you dub a title recorded in SLP mode to DVD+R/-R,
dubbing speed will be 24 times at the maximum. To
perform the high speed dubbing, set the recording
mode to “High”.
• Duration of high speed dubbing will vary depending
on the recording mode and the title amount.
• High speed dubbing is not available when;
- recording mode is set to other than “High”.
- dubbing from a DVD to the HDD.
- there is not enough space in the DVD.
- duration of the title is more than 5 hours.
• During dubbing (except for high speed dubbing),
you can use [STOP C] on the front panel or press
[C (STOP)] on the remote control, and any other
buttons will be invalid.
“Auto”:
When “Auto” is selected as a recording mode, the unit
calculates how much time is available on the disc and
selects the best recording mode available
automatically.
• The recording may be cut short when the available
recording space of the disc is too limited.
Note
• During normal dubbing, you can watch the playback
picture of the title being dubbed (the audio cannot
be changed). During high speed dubbing, however,
the playback picture will not appear.
• Dubbing of a “copy-once only” programme is not
possible with this unit.
• If you stop the dubbing halfway, the contents will be
dubbed up to the point where you stop the dubbing
(except for the high speed dubbing). With high
speed dubbing, nothing will be dubbed if you stop it
halfway.
• To stop the dubbing in progress, press [STOP C] on
the front panel or press [C (STOP)] on the remote
control.
Guide to Dubbing Menu Display
Recording Mode for Dubbing
4000 MB
1
1
2
3
4
Dubbing
Add Title
HDD
ADVD
Move Title
Delete Title
Dubbing List
Delete All
1.Title 1
Start Dubbing
Add title to the dubbing list
In
tro
d
u
c
tio
n
Co
nn
ect
ion
s
Ini
tial
Setu
p
P
layb
ack
E
d
iti
ng
Ot
hers
General Settings
Reco
rdi
n
g
E2N41BN_EN.book Page 41 Wednesday, July 2, 2008 4:36 PM