Deleting selected titles, Press [hdd], then press [title, Repeat step – Philips HDR3700 User Manual
Page 66: Until you select all the titles you want to delete, Press [clear, Use [ u \ d ] to select “yes”, then press [ok
66
EN
Note
• For HDD, DVD+RW/DVD-RW, the available disc
space will increase only when the last recorded title
in the title list is deleted. For DVD+R/DVD-R, the
disc space will not be affected.
• Deleted part of the titles in the capacity indicator
changes in colour.
• As for DVD+RW/DVD-RW if you delete the title,
deleted title will be displayed as “EMPTY TITLE”.
• For DVD, it may take a while to write the data to the
disc after you press [OK] at step
5
.
You can delete titles which you do not need anymore.
Please be advised that the titles once deleted cannot
be brought back.
1
Press [HDD], then press [TITLE].
2
Use [
U \ D \ L \ P] to select any
title, then press [OK].
3
Use [
U \ D] to select “Delete
Multiple Titles”, then press [OK].
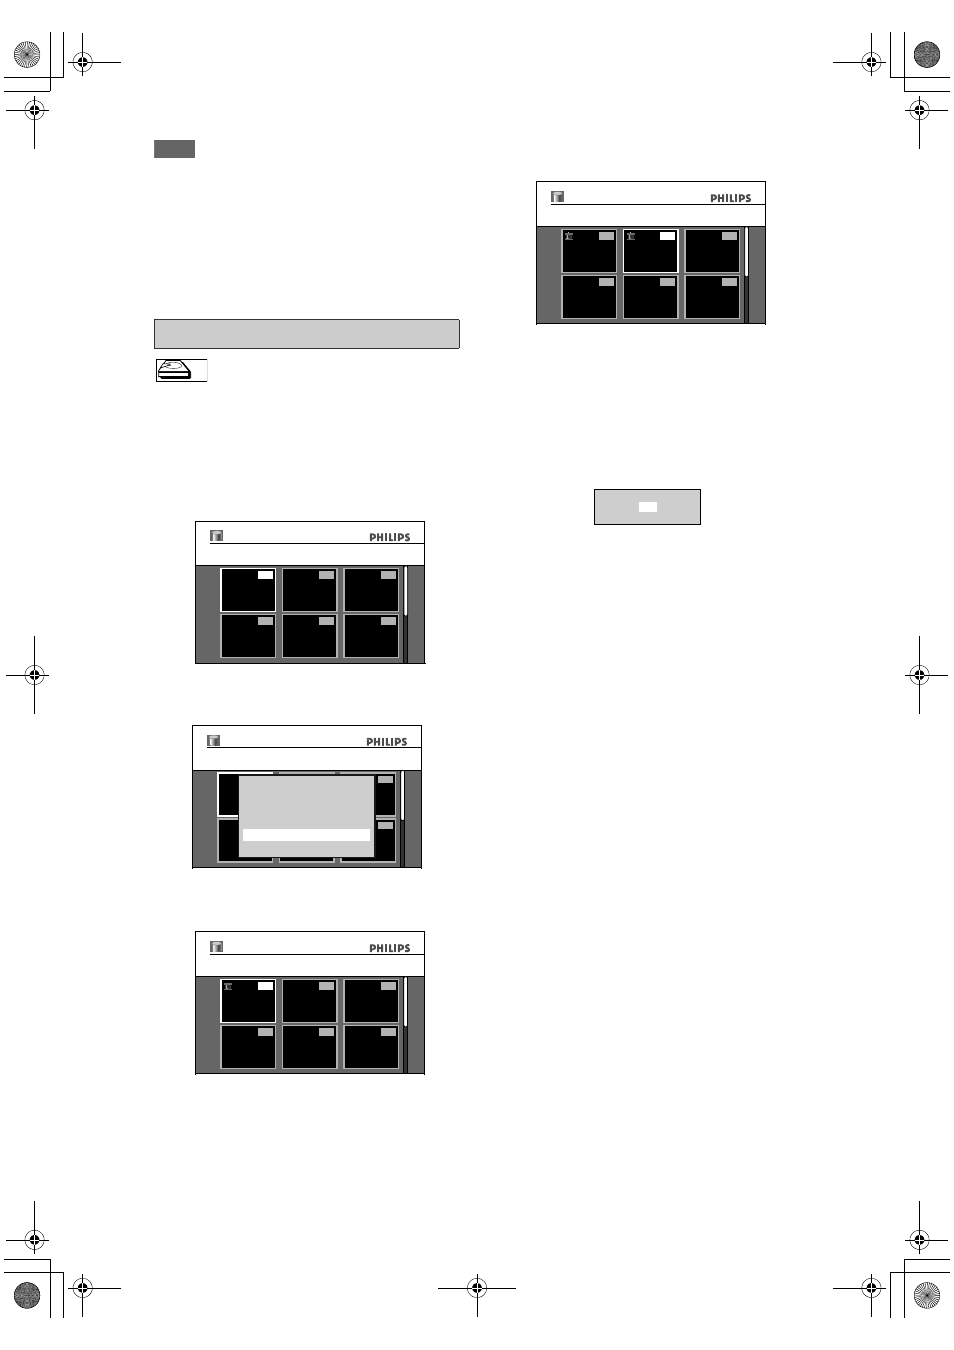
4
Use [
U \ D \ L \ P] to select the title
you want to delete, then press [OK].
Trash mark will appear indicating the title is
marked for deletion.
5
Repeat step
4
until you select all the
titles you want to delete.
6
Press [CLEAR].
Confirmation message will appear.
7
Use [
U \ D] to select “Yes”, then
press [OK].
Final confirmation message will appear. Select
“Yes”, then press [OK].
Titles are now deleted.
To remove the trash mark from the title:
Select the title with the trash mark, then press
[OK].
Deleting Selected Titles
HDD
HDD
1
4
5
6
2
3
01/01/08 1 SP
12:00 (1:00:00)
Title List
Title1
1
4
5
6
2
3
01/01/08 1 SP
12:00 (1:00:00)
Title List
Title1
Play From Start
Edit
Title Delete
Dubbing
Resume Playback
Delete Multiple Titles
1
4
5
6
2
3
01/01/08 1 SP
12:00 (1:00:00)
Title List
Title1
4
5
6
2
3
01/01/08 2 SP
12:00 (1:00:00)
1
Title List
Title2
Delete this title?
Yes
No
E2N41BN_EN.book Page 66 Wednesday, July 2, 2008 4:36 PM