Setting an index picture editing name on disc, Erasing disc – Philips HDR3700 User Manual
Page 71
71
EN
Note
• “Hidden” will be displayed in the preview window
while previewing the hidden chapter.
• When you make all chapters in the title “Hidden”,
“Hidden” is displayed on an index picture of the title
list.
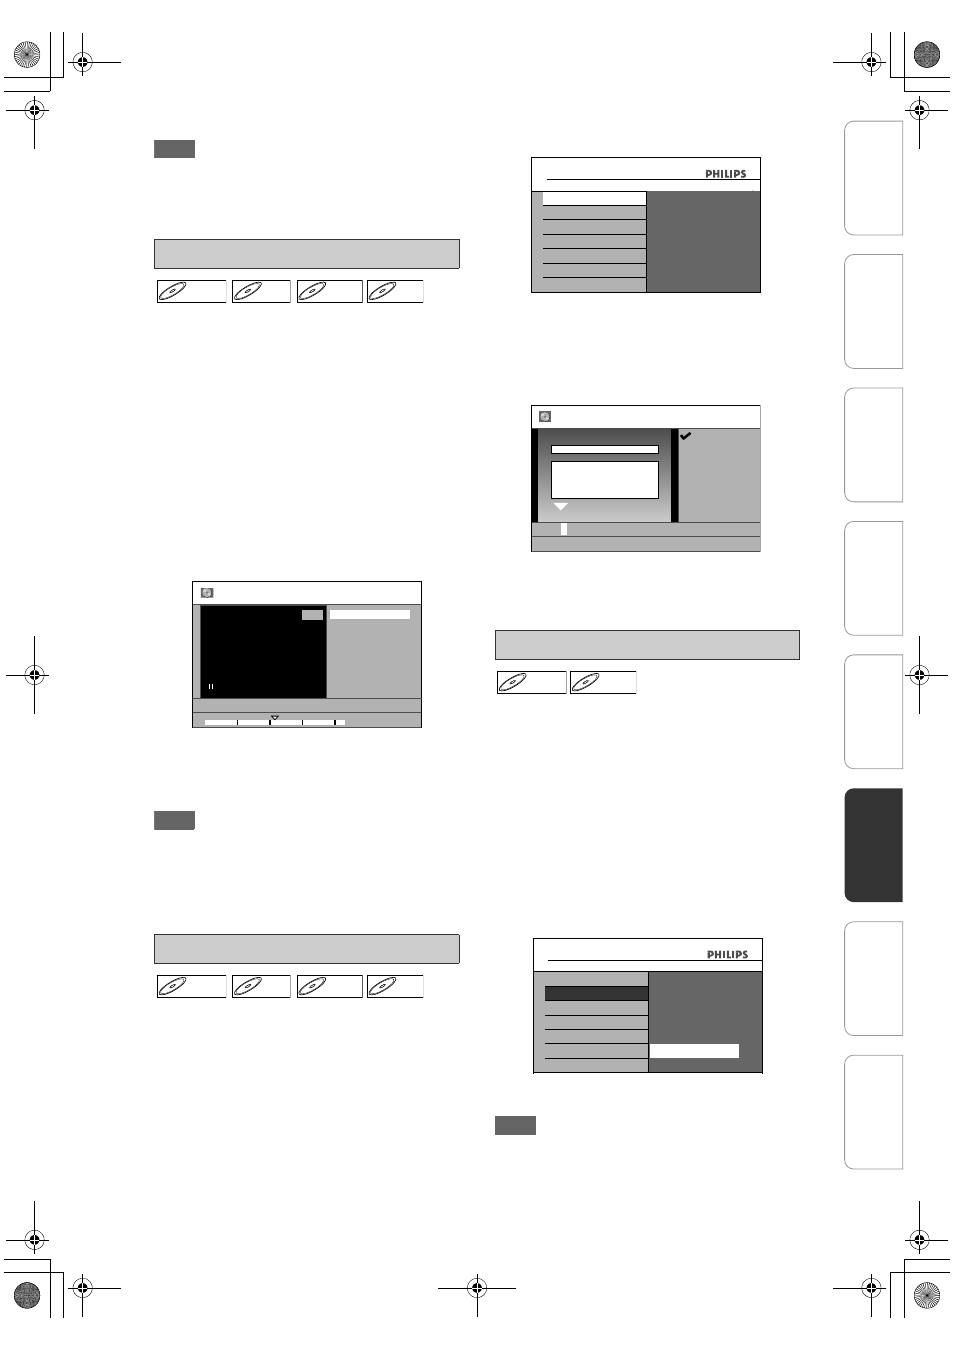
You can set your desired scene as an index picture
for each title.
1
Follow steps in “How to Access the
Edit Menu” on pages 64 - 65 to
display “Edit” menu.
2
Play back the title to find the scene
you want to use as an index picture.
When it comes to the desired point,
press [F (PAUSE)].
3
Use [
U \ D] to select “Index
Picture”, then press [OK].
4
Use [
U \ D] to select “Yes”, then
press [OK].
A new index picture is now set.
5
Press [BACK
U] once or repeatedly
to go back to the title list.
Note
• If the selected picture for an index picture is
overwritten, the index picture is reset to the first
scene of the title.
• When you search for the point at step
2
, you can
also use the special playback functions such as
[
T (NEXT)], [D (FFW)] etc.
You can put a name on the disc and change it from
this menu.
Press [C (STOP)] if you are playing back a disc or if
you are displaying the “Title Menu”.
1
Press [HOME].
2
Use [
U \ D] to select “Disc Editing”,
then press [OK].
3
Use [
U \ D] to select “Edit Disc
Name”, then press [OK].
e.g.) DVD+RW
4
To enter a disc name, follow the
steps of “Guide to Editing Title
Names” on page 67.
When you finish entering a title
name, press [OK].
5
Use [
U \ D] to select “Yes”, then
press [OK].
Data will be written onto the disc momentarily.
You can erase all titles on a disc.
Press [C (STOP)] if you are playing back a disc or if
you are displaying the “Title Menu”.
1
Press [HOME].
2
Use [
U \ D] to select “Disc Editing”,
then press [OK].
3
Use [
U \ D] to select “Erase Disc”,
then press [OK].
4
Use [
U \ D] to select “Yes”, then
press [OK].
e.g.) DVD+RW
Data will be written onto the disc momentarily.
The contents of the disc is now deleted.
Note
• When you select “Yes” at step
4
, all contents of the
disc will be erased.
Setting an Index Picture
Editing Name on Disc
DVD+RW
DVD+RW
D
DVD+R
VD+R
DVD+R
D
DVD-
VD-R
RW
W
DVD-RW
D
DVD-R
VD-R
DVD-R
01/01/08 12:00 1 SP
1:05:00
1
Edit-Index Picture
Yes
No
DVD+RW
DVD+RW
D
DVD+R
VD+R
DVD+R
D
DVD-
VD-R
RW
W
DVD-RW
D
DVD-R
VD-R
DVD-R
Erasing Disc
ALL
8
7
6
5
4
3
Change Password?
Yes
No
Disc Editing
Edit Disc Name
Erase Disc
Make Edits Compatible
Disc Editing
Disc Protect OFF
A ON
a b c
A B C
1 2 3
@ ! ?
2
0:00:03
ABC
Edit Disc Name
Disc
Total Titles
Disc Space Used
Disc Protect
Make Edits Compatible
DVD+RW
OFF
Not Needed
No Disc Name
DVD+RW
DVD+RW
D
DVD-
VD-R
RW
W
DVD-RW
ALL
8
7
6
5
4
3
Disc Editing
Edit Disc Name
Erase Disc
Disc Editing
all the contents in the
When you press "Yes",
Make Edits Compatible
Disc Protect OFF
A ON
Erase Disc
Are you sure to
disc will be erased.
erase the disc?
No
Yes
In
tr
od
uct
ion
Con
n
ec
ti
o
n
s
Ini
tia
l Se
tu
p
P
la
y
b
ac
k
Ed
it
in
g
Ot
h
e
rs
Genera
l Settings
Re
cor
d
in
g
E2N41BN_EN.book Page 71 Wednesday, July 2, 2008 4:36 PM