Philips HDR3700 User Manual
Page 31
31
EN
5
Select the channel number to record
using [
U \ D], then press [P].
To record from the external input, select “AV1”,
“AV2”, or “AV3”.
6
Select the recording media (“HDD”
or “DVD”) using [
U \ D], then press
[
P].
7
Select the recording mode using
[
U \ D], then press [P].
Refer to “Recordable Discs” on page 25.
8
For digital channel recording:
Select “STTL” to “ON” or “OFF”
using [
U \ D].
If you set “STTL” to “ON”, subtitle will be recorded
too.
9
Press [OK] when all information
required is entered.
“Timer Recording will clear the Timer Shift Buffer.”
will appear, and then your programme setting is
stored.
• To set another programme, repeat steps
2
to
9
.
• To exit, press [TIMER].
• When 2 or more programmes are overlapped,
“Timer programme overlapped” appears, and
the overlapped programme will be displayed in
blue. To correct the timer programme, refer to
“To Check/Delete/Amend Timer Programme” on
page 31.
The
icon will appear on the front panel display.
Note
• If you have not set the clock, the clock setting
window will appear instead of the “Timer
Programming” list. Continue from step
4
Clock Setting” on page 89 to set the clock before
programming the timer.
• Press [
U \ D] to move the cursor in “Timer
Programming” list.
• If the timer recording starts when the power is on,
- to watch the channel being recorded (during timer
recording), switch the input on your TV to the
recorder source.
- during timer recording, you may hear the audio of the
channel being recorded if you have an audio amplifier
(connected to your recorder audio output) switched
on. If so, please switch off the audio amplifier.
• If you want to use the unit during the timer recording
which starts in standby, press [
Q (STANDBY-ON)]
to switch the input on your TV to the recorder
source.
Alternate recording (DVD only)...
• If there is no disc or not enough space on DVD or
copy once source, recording will be done to HDD
even when DVD is selected during timer
programming.
• If the available space on the HDD is less than that of
DVD, the unit will not perform the alternate
recording. This feature is available only for timer
recording and not available for one-touch timer
recording.
1
Press [TIMER].
2
A) To delete the timer programme:
1) Select the programme you want to delete using
[
U \ D], then press [OK].
2) Select “Delete” using [
U \ D], then press
[OK].
Confirmation window will appear.
3) Select “Yes” using [
U \ D], then press [OK].
B) To correct the timer programme:
1) Select the programme you want to correct
using [
U \ D], then press [OK].
2) Select “Edit Programme” using [
U \ D], then
press [OK].
3) Correct the timer programme by using
[
U \ D \ L \ P], then press [OK].
3
Press [TIMER] to exit.
To see list of programmed timers, press [TIMER].
You can deactivate the periodical (Daily, Mon-Fri or
Weekly) timer recording temporarily.
1
In stop mode, press [TIMER].
2
Select the periodical timer recording
programme you want to skip using
[
U \ D], then press [OK].
3
Select “Edit Programme” using
[
U \ D], then press [OK].
4
Move the cursor to the “Skip” field
using [
L \ P], then select “ON” using
[
U \ D] and then press [OK] to
activate the setting.
• “
✔” will be displayed on the left side of the timer
programme.
• The setting will go back to “OFF” after the
programme is skipped once.
01 /01 / 08 12:00 1 SLP
SLP( 1:00)
01/01
12:00
13:00
1
01/01
12:00
13:00
1
01/01
12:00
13:00
1
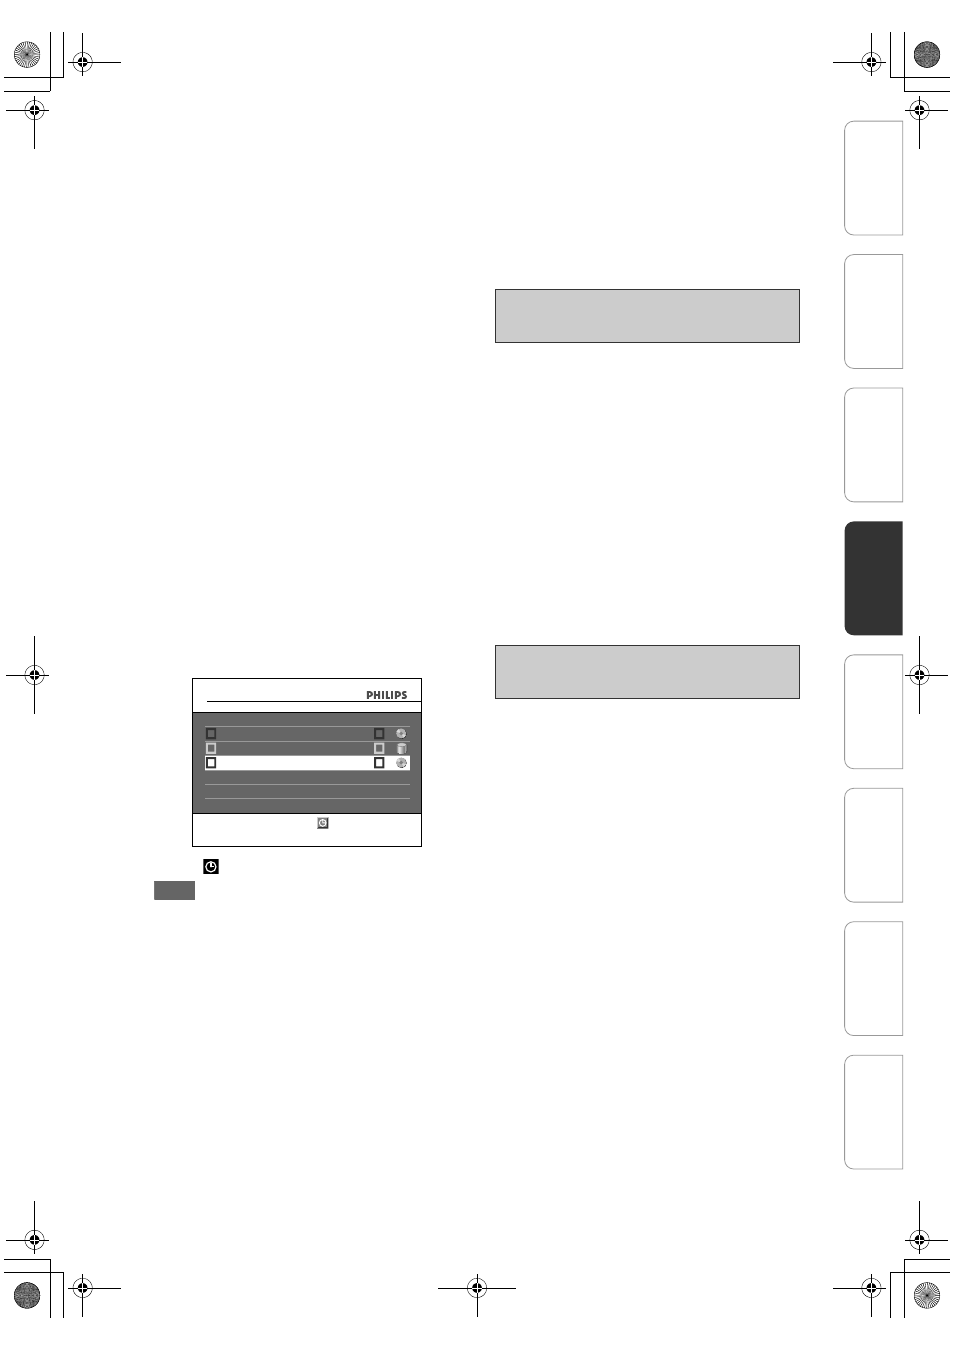
Timer Programming
CH
End
Start
Date
New Programme
TUE
01/01
12:00
Press OK to edit or delete programme
STTL
To Check/Delete/Amend Timer
Programme
To Skip Periodical Timer
Programme
In
tro
d
u
c
tio
n
Co
nn
ect
ion
s
Ini
tial
Setu
p
P
layb
ack
E
d
iti
ng
Ot
hers
General Settings
Reco
rdi
n
g
E2N41BN_EN.book Page 31 Wednesday, July 2, 2008 4:36 PM