Basic recording – Philips HDR3700 User Manual
Page 28
28
EN
Basic Recording
Follow the steps below to record a TV programme.
1
Press [
Q (STANDBY-ON)] to turn on
the unit.
Turn on the TV and be sure to select the input to
which the unit is connected.
If you are recording to the HDD, press [HDD],
then proceed to step
5
.
If you are recording to a disc, press [DVD].
2
Press [A (OPEN
\CLOSE)] to open
the disc tray.
3
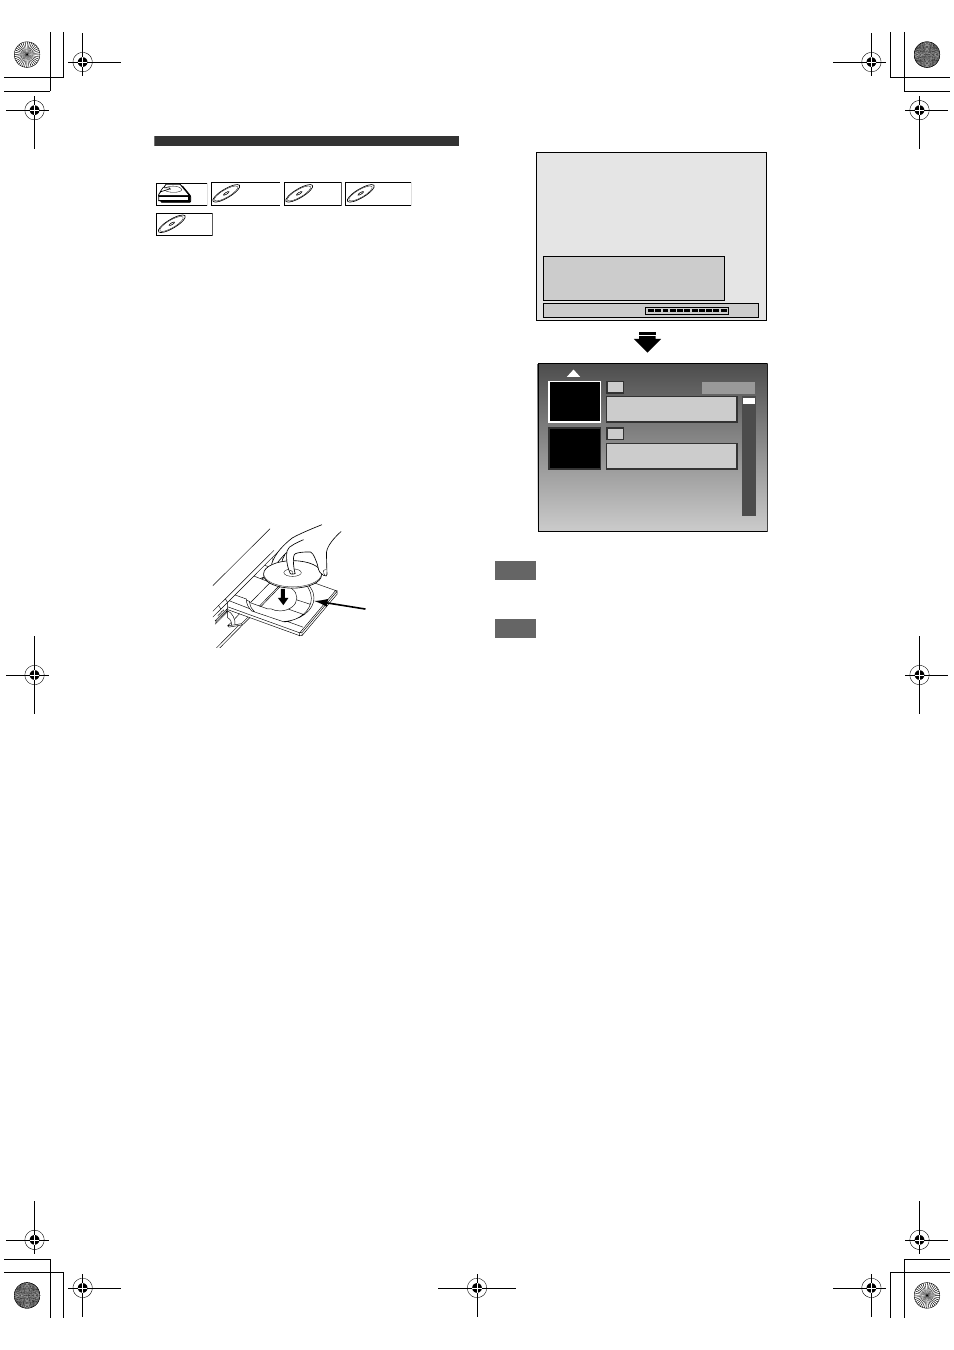
Place the disc on the disc tray with
its label facing up. Be sure to align
the disc with the disc tray guide.
4
Press [A (OPEN
\CLOSE)] to close
the disc tray.
5
Select the recording mode using
[REC MODE]. (See page 25.)
6
Press [SOURCE] to select digital,
analogue or external input mode,
then select the desired channel to
record using [PROGRAM + / –] or
[Alphanumeric keypad].
7
Press [I (RECORD)] to start
recording.
The “I HDD” or “I DVD” mark will be displayed
on the TV screen briefly.
To pause the recording, press [F (PAUSE)].
Press [F (PAUSE)] or [I (RECORD)] again to
restart the recording.
8
Press [C (STOP)] to stop the
recording.
This operation may take a few moments to
complete.
As for DVD recording, the title list will appear
automatically after writing to a disc complete.
(Refer to “Guide to a Title List” on page 63.)
e.g.) DVD+R
• Press [C (STOP)] to exit the title list.
Hint
• You can change the channel in the REC pause
mode.
Note
• Recording continues until the disc is full (as for
HDD, 12 hours after the recording starts) or you stop
the recording.
• If the clock is not set, the date and time of title
names will be 01/01/08 and 00:00.
• You cannot change the recording mode in the pause
mode.
• Even if the analogue channel you are recording is in
SECAM TV system, this unit automatically converts
it to PAL TV system during recording.
• If the external equipment (e.g. cable box,
Canal+ decoder) is connected to AV2, the picture of
the external equipment will be output except during
the DVD playback of this unit. Turn off the external
equipment or press [DISPLAY] to output the picture
from this unit.
• You can play back a title on one component while
making a recording on the other component. To do
so, simply select the component (HDD or DVD) you
want to use for the playback by pressing [HDD] or
[DVD] during HDD / DVD recording. And then follow
the normal playback procedure.
• If playback and recording are in progress at the
same time, select the appropriate component by
pressing [HDD] or [DVD] before you press
[F (PAUSE)] or [C (STOP)] to pause or stop the
operation.
• NTSC recording is prohibited in this unit.
• This unit cannot record images as aspect ratio of
16:9. The 16:9 images will be recorded as 4:3.
• When you record a TV programme, you have to
select the TV channel audio beforehand. Only the
selected channel audio will be recorded.
• Pressing [
Q (STANDBY-ON)] during recording will
terminate the recording.
HDD
HDD
D
DVD+R
VD+RW
W
DVD+RW
D
DVD+R
VD+R
DVD+R
D
DVD-
VD-R
RW
W
DVD-RW
D
DVD-R
VD-R
DVD-R
Disc tray guide
90%
Writing to Disc
Please finalise the disc when the writing is
completed before playing back on other DVD
players.
1
2
01/01/08 11:00 12 SP
01/01/08 0:20:00
0:05:00 SP(2Hr)
EMPTY TITLE
SP(2Hr)
E2N41BN_EN.book Page 28 Wednesday, July 2, 2008 4:36 PM