Verifying measurement tips – GE XLG3 User Manual
Page 117

108
Chapter 7 Measuring Features and Defects
GE Inspection Technologies XLG3 VideoProbe System
Verifying Measurement Tips
Verify measurement tips each time you use them to ensure that no mechanical damage
has degraded their accuracy.
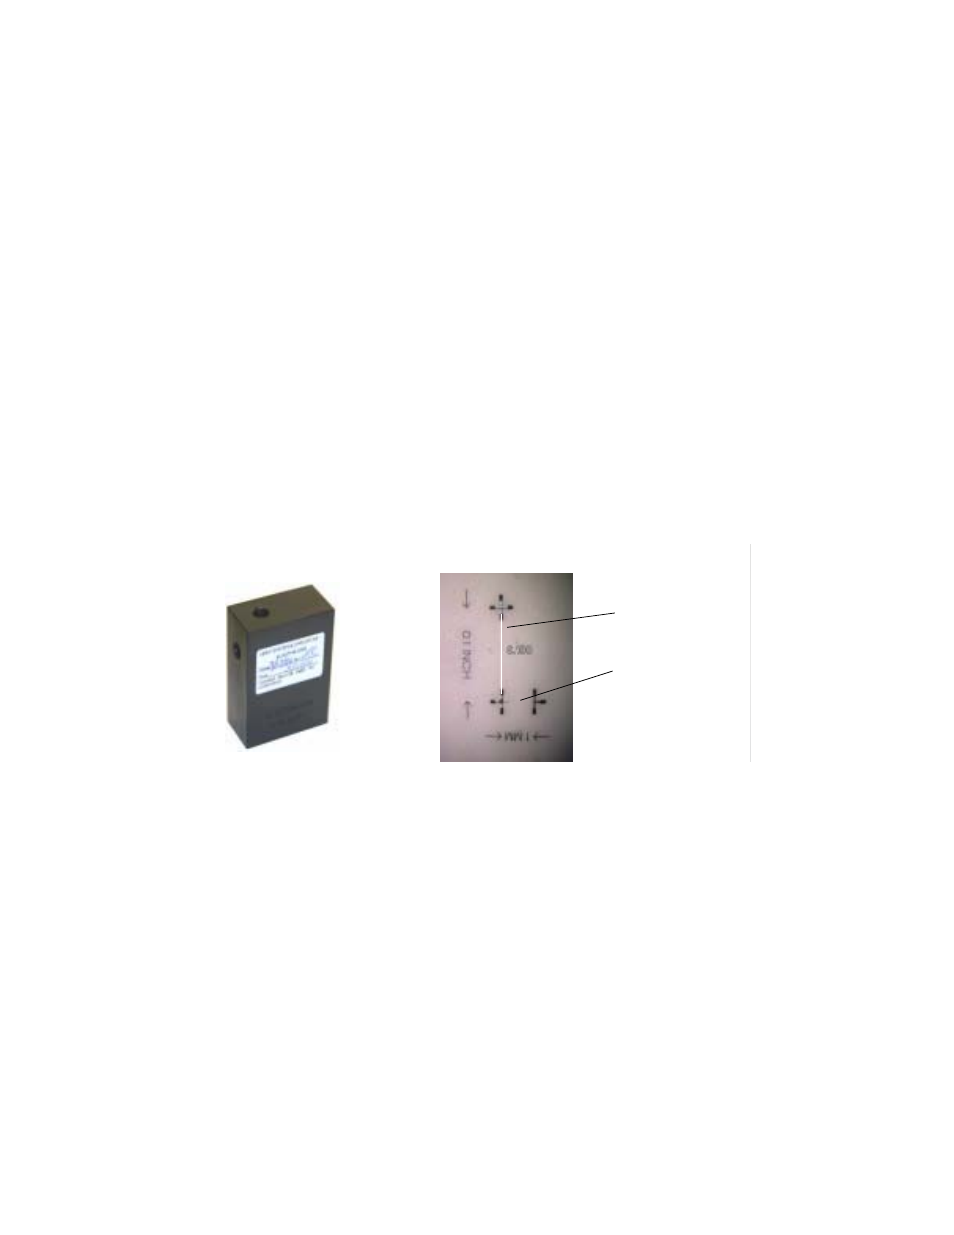
Every XLG3 system equipped with measurement capability is shipped with a
measurement verification block. This tool lets you verify the accuracy of measurement
tips. It contains optical measurement targets whose accuracy is traceable to the United
States National Institute of Standards and Technology (NIST) measurement standards.
These are the part numbers for the verification blocks used with the XLG3 system:
Each measurement verification block comes with a calibration schedule and a certificate
of calibration (C of C), which notes the calibration date and due date.
Each block has four chambers: side-view shadow, forward-view shadow, side-view stereo,
and forward-view stereo. Each chamber contains two calibrated test targets: 0.1 inch and
1 mm.
To Verify a ShadowProbe or StereoProbe Measurement Tip
1.
Attach the shadow or stereo tip securely.
2.
Insert the tip into the appropriate test chamber.
3.
Measure the test target that matches the units you use: inches or mm.
4.
Evaluate your results.
An experienced user can achieve a measurement of 0.100 ± 0.005 inches
(1.00 ± 0.05 mm). If your measurement does not fall within these limits, try the
suggestions under
“Troubleshooting Inaccurate Measurements”
on page 109.
VER2400B
For 3.9 mm systems
XLG3TM61VER
For 6.1 mm systems
0.1-inch target
1-mm target
Measurement verification block
Test targets inside block
