GE XLG3 User Manual
Page 111

102
Chapter 7 Measuring Features and Defects
GE Inspection Technologies XLG3 VideoProbe System
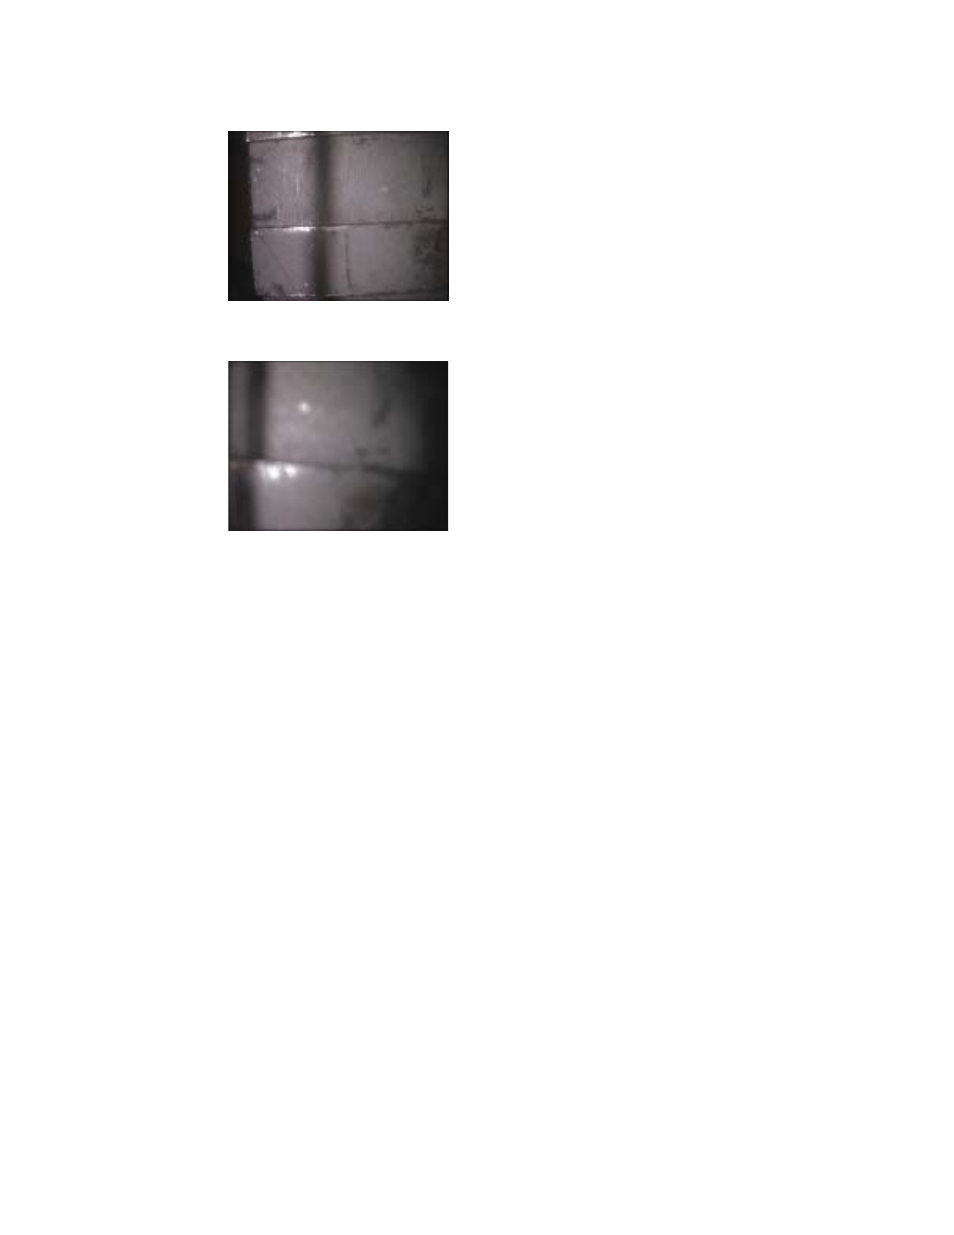
Bad Example
From this in-focus distance, there is little difference between the
shadow positions on the raised and recessed surfaces, so you are
unlikely to get an accurate depth measurement.
Good Example
With the tip closer to the surface, even though the image becomes
blurry, the break in the shadow is more significant, so you are more
likely to get an accurate depth measurement.
Note: For both depth and skew measurements, the points that you
want to measure must fall in the horizontal center of the shadow.
Both images were captured for depth
measurement.
