Taking stereo measurements – GE XLG3 User Manual
Page 103

94
Chapter 7 Measuring Features and Defects
GE Inspection Technologies XLG3 VideoProbe System
Taking Stereo Measurements
For maximum accuracy in any type of stereo measurement, you must begin by positioning
the stereo tip carefully.
To Position the Probe Tip for a Stereo Measurement Image
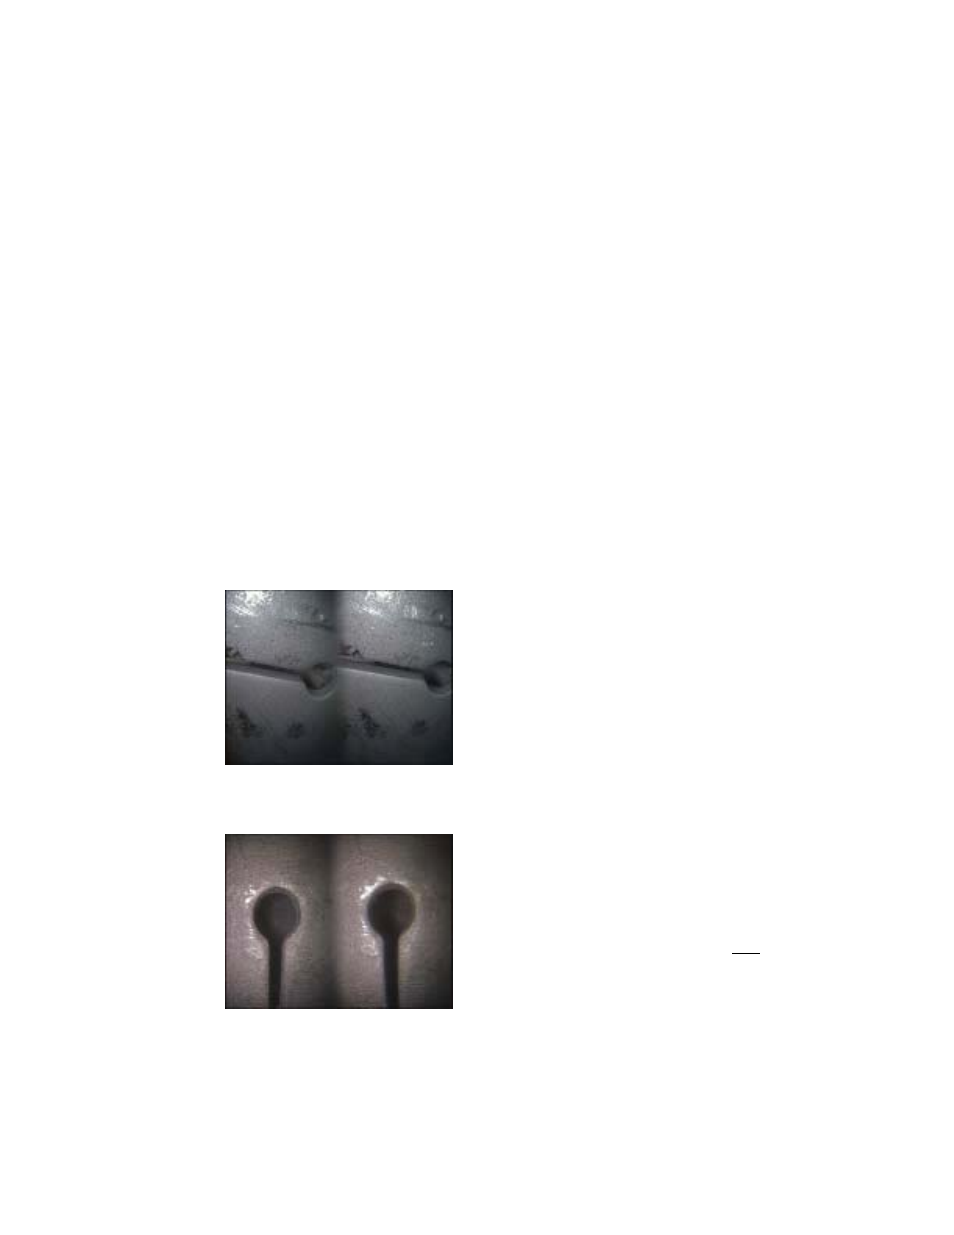
Before freezing a stereo measurement image, position the probe tip to meet these criteria:
•
Visibility. The item to be measured is fully visible on both sides of the screen.
•
Tip-to-target proximity. The tip is as close as possible to the target while keeping it in
focus.
•
Minimal glare. Glare is minimized by adjusting the viewing angle and the image
brightness in the areas where you will be placing cursors. Small glare speckles do not
present a problem, but larger glare areas may appear in different positions on the two
sides, causing false matches.
•
Vertical orientation. If measuring distance between lines or across a circle, the
image is oriented so that you can place cursors at left and right edges of the item to be
measured — not at top, bottom or diagonal points. The system needs differentiated
details to the left and right of each cursor to accurately place the matching cursors in
horizontal relationship to the left-side cursors. For detailed explanation and illustration,
see
“About the Matching Cursors”
on page 93.
Bad Example
• Object is not fully visible on right side.
• Object is not well lit. (Optical tip needs to move closer to surface.)
• Object is not oriented to allow placement of cursors at left and right
edges of circle or gap.
Good Example
• Object is fully visible on both sides.
• Object is well lit with minimal glare.
• Object is oriented to allow placement of cursors at left and right
edges of circle or gap.
Note: The system cannot accurately match points along a smooth,
straight line. To measure along a smooth, straight line, use shadow
measurement. (If you must use stereo measurement, orient the image
so that the line is vertical.)
Both images were captured for length
measurement across the slot.
