General settings – Sanyo DSR-3706PA User Manual
Page 70
English
General settings
69
How to set
1
Connecting the DVR to the network
Refer to the Network connection terminals (LAN). (P11)
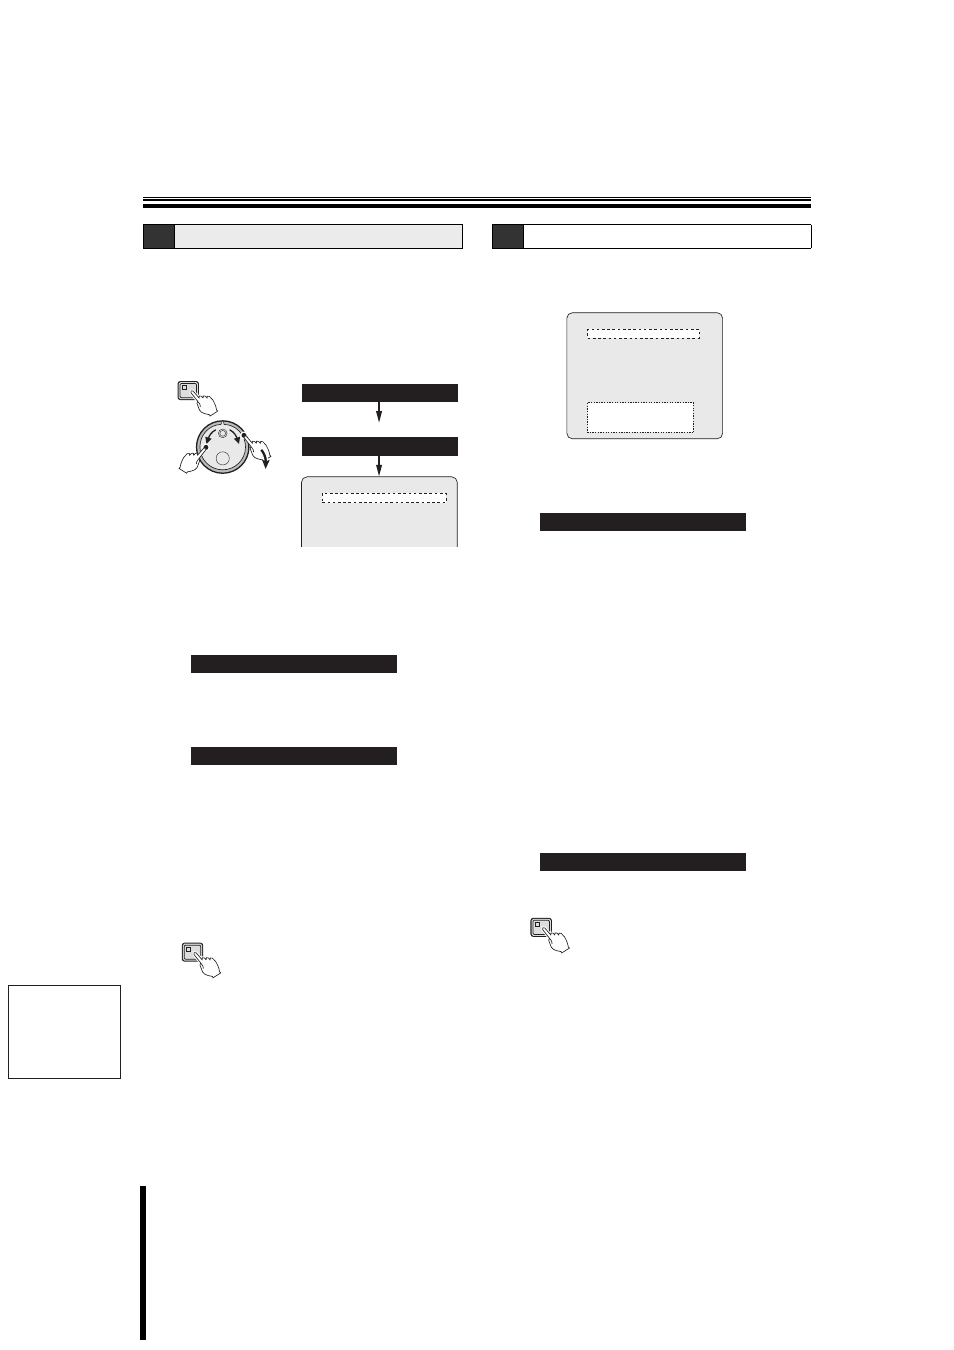
2
Display the
in "Displaying the general settings screen", and
then turn the S-dial clockwise. (P62)
The "OFF" field NETWORK CONTROL starts blinking.
3
Turn the J-dial, select "ON(NETWORK)", and then
turn the S-dial clockwise.
OFF: The DVR is not operated from the network.
ON (NETWORK): PC operations are given priority.
ON (DVR): DVR operations are given priority.
The cursor moves to "NETWORK STATUS".
4
Turn the S-dial clockwise. Turn the J-dial to select
"ON" and then turn the S-dial clockwise.
The cursor moves to "IP ADDRESS".
ON: Displays "NETWORK CONTROL" on the monitor
screen.
OFF: Does not display the network status.
5
Repeat the operation to enter the rest of the setting
items.
When connecting to the network, ask the network
administrator for the IP ADDRESS, SUBNET MASK,
GATEWAY and PORT settings.
6
Press the EXIT/OSD button.
There are three access levels (ID1, ID2, ID3) to connect to
the network.
The default settings for the IDs are shown below:
1
Turn the J-dial, select "ID1", and then turn the S-dial
clockwise.
The first password entry item "1" starts blinking.
• ID levels:
ID1: Live video surveillance can be conducted over
the network.
ID2: Live video surveillance, recorded video
playback and search can be conducted over
the network.
ID3: The DVR and the main settings can all be
controlled over the network.
2
Change the password.
Example: Set "ABC123" as the ID1 password.
1
Turn the J-dial, select "A", and then turn the
S-dial clockwise.
The "1" at the second position starts blinking.
2
Turn the J-dial, select "B", and then turn the
S-dial clockwise.
The "1" at the third position starts blinking.
3
Repeat the operation to enter the rest of the
password.
Set the ID2, ID3 passwords as needed.
3
Press the EXIT/OSD button.
E
Network settings
MENU
(J)
(S)
NETWORK CONTROL : OFF
NETWORK STATUS : ON
IP ADDRESS : 192.168. 0. 1
SUBNET MASK : 255.255.255. 0
GATEWAY : 0. 0. 0. 0
5.NETWORK SET
3.GENERAL SET
NETWORK CONTROL : ON(NETWORK)
NETWORK STATUS : ON
EXIT/OSD
E-1
Network password modification
NETWORK CONTROL : ON(NETWORK)
NETWORK STATUS : ON
IP ADDRESS : 192.168. 0. 1
SUBNET MASK : 255.255.255. 0
GATEWAY : 0. 0. 0. 0
PORT : 00080
ID PASSWORD (4-8)
ID1 : 1111----
ID2 : 2222----
ID3 : 3333----
ID1 :
1111----
ID1 :
ABC123--
EXIT/OSD