Copying recorded video to media – Sanyo DSR-3706PA User Manual
Page 30
English
Copying recorded video to media
29
How to use
1
Connect the optional CD-R/RW drive to the USB
connector on the front or rear panel of the DVR.
If the front and the rear USB terminal are connected
simultaneously the front is given priority.
2
Start playback from the normal, alarm or the
archive area.
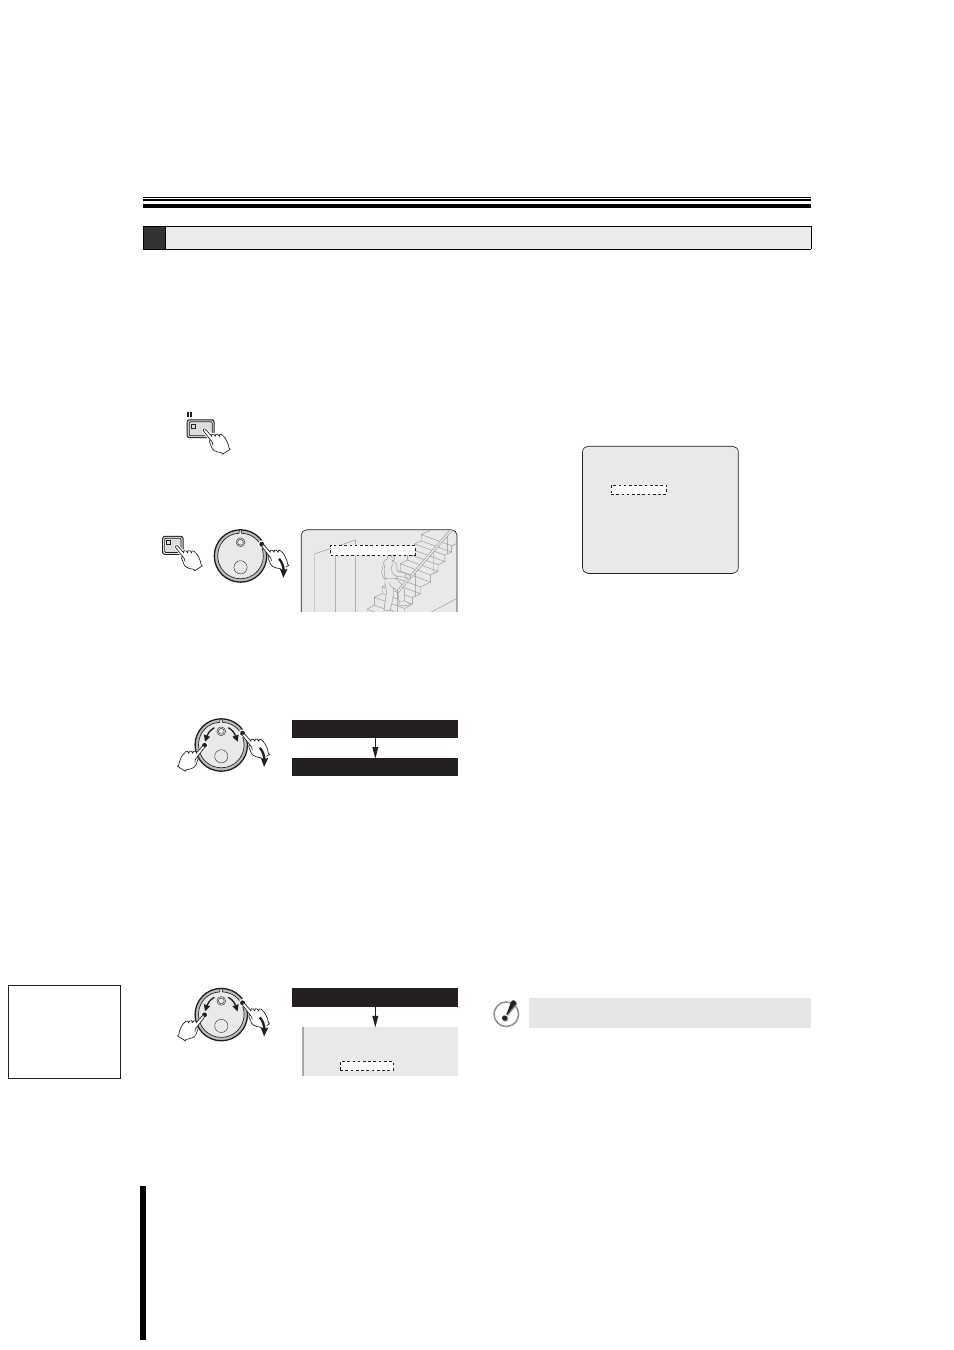
3
Press the STILL button at the image to be copied.
The image is paused.
4
Press the COPY button.
The copy setting screen is displayed.
The cursor moves to the "COPY TO" field.
5
Turn the S-dial clockwise.
"ARCHIVE AREA" starts blinking.
6
Turn the J-dial to select COPY TO "CD-R/RW", and
then turn the S-dial twice clockwise.
The cursor moves to the 1 of the "HOW MANY" field.
Selections:
ARCHIVE AREA, COMPACT FLASH, CF
→PRINT,
CD-R/RW
7
Turn the J-dial to select HOW MANY "10", and then
turn the S-dial clockwise.
The "PICTURES" starts blinking.
Select a value between 1~99, >99.
8
Turn the J-dial to select "SECONDS", and then turn
the S-dial clockwise.
The cursor moves to "COPY START".
Selections:
PICTURES, SECONDS, MINUTES, EVENTS
• EVENTS allows you to copy the data of the
archive area per event. Selecting >99 fills the
capacity regardless of the event.
9
Select the channel to be copied (Example: 03, 05)
using the camera selection button.
The selected channel changes from grey to white.
• The default channel is green. The channel in green
can not be modified.
☞
Press the COPY button to cancel the current
copy operation.
À
Turning the S-dial clockwise displays the CD-R/RW
writing confirm screen.
The cursor moves to "FINALIZE".
Á
Turn the S-dial clockwise, select the FINALIZE
settings using the J-dial and turn the S-dial
clockwise.
ON: Finalizes the disc. Once the disc is finalized the
disc is not recordable.
OFF: The disc is not finalized. The disc recording can
be interrupted.
The cursor moves to "VERIFY".
Â
Turn the S-dial clockwise, select the VERIFY setting
using the J-dial and turn the S-dial clockwise.
ON: The writing status is verified once the disc writing
is complete.
OFF: The disc writing status is not verified once the
disc writing is complete.
The cursor moves to "START
→".
Ã
Turn the S-dial clockwise.
Copying to CD-R/RW starts and the following
messages are displayed during the copying operation.
↓ COPY TO CD-R/RW ! <----> → <0%> → <100%>
↓ (If FINALIZE is set to OFF)
CLOSING CD-R/RW ! PLEASE WAIT !
↓ (If FINALIZE is set to ON)
FINALIZING CD-R/RW ! PLEASE WAIT !
↓ COPY FINISHED ! < 100% >
B
Copying video (example: 10 seconds) from the internal hard disk to the CD-R/RW drive
STILL
(S)
COPY
COPY TO : ARCHIVE AREA
HOW MANY : 1 PICTURES
COPY CH 01 02 03 04 05 06
SELECT COPY CHANNEL
COPY START ->
(S)
(J)
COPY TO : CD-R/RW
HOW MANY : 1 PICTURES
HOW MANY : 10 SECONDS
COPY CH 01 02 03 04 05 06
SELECT COPY CHANNEL
COPY START ->
If a new disk (CD-RW) or an erasable disc is used for
the copying, format the disc before use.
COPY TO CD-R/RW
HOW MANY 1 PICTURES
FINALIZE : OFF
VERIFY : OFF
START ->