Initial settings – Sanyo DSR-3706PA User Manual
Page 36
English
Initial settings
35
How to set
Automatic switching from standard time to summer time
can be set.
1
Display the
initial settings screen" (P34).
2
Turn the J-dial, select the MODE under
The "USE" starts blinking.
3
Turn the J-dial clockwise , select USE and then turn
the S-dial clockwise.
Selections:
USE: Automatic switching to summer time
NO USE: No automatic switching to summer time
The cursor moves to the "ON" field. Set the start and
end time of summer time.
1
Turn the S-dial clockwise.
Move the cursor to the "LST" field under "WEEK".
2
Select the week by turning the J-dial, and turn
the S-dial clockwise.
Repeat the same procedure for setting the MONTH
and the TIME fields. The cursor moves to the "OFF"
field.
Selections:
WEEK: LST, 1ST, 2ND, 3RD, 4TH-SUN, MON, TUE,
WED, THU, FRI, SAT
3
Turn the S-dial clockwise to move the cursor to
the "LST" field under "WEEK".
4
Select the week by turning the J-dial, and turn
the S-dial clockwise.
Repeat the same procedure for setting the MONTH
and the TIME fields.
Connect the CLOCK OUT terminal of the CONTROL
terminal block on the rear panel of the DVR to the CLOCK
IN terminal of the second DVR (P34: Figure 1), and move
the cursor to
1
Turn the S-dial clockwise until "01" starts blinking.
2
Turn the J-dial to select the ADJUST TIME
(example: 05), and then turn the S-dial clockwise.
The minutes cannot be set.
3
Press the EXIT/OSD button.
This completes the setting of the first DVR.
4
Display the same menu on the second DVR, set the
same hour, and press the EXIT/OSD button.
When the first DVR reaches the set time (5:00), both
DVRs will be set to 5:00.
However, the time on the second DVR and other DVRs
onward can be adjusted between 4:30 and 5:29.
1
Display the
"Displaying the initial settings screen". (P34)
The
blinking.
2
Turn the J-dial, select "YES", and turn the S-dial
clockwise.
After detecting the connected cameras, the display
returns to the
OSD button.
A
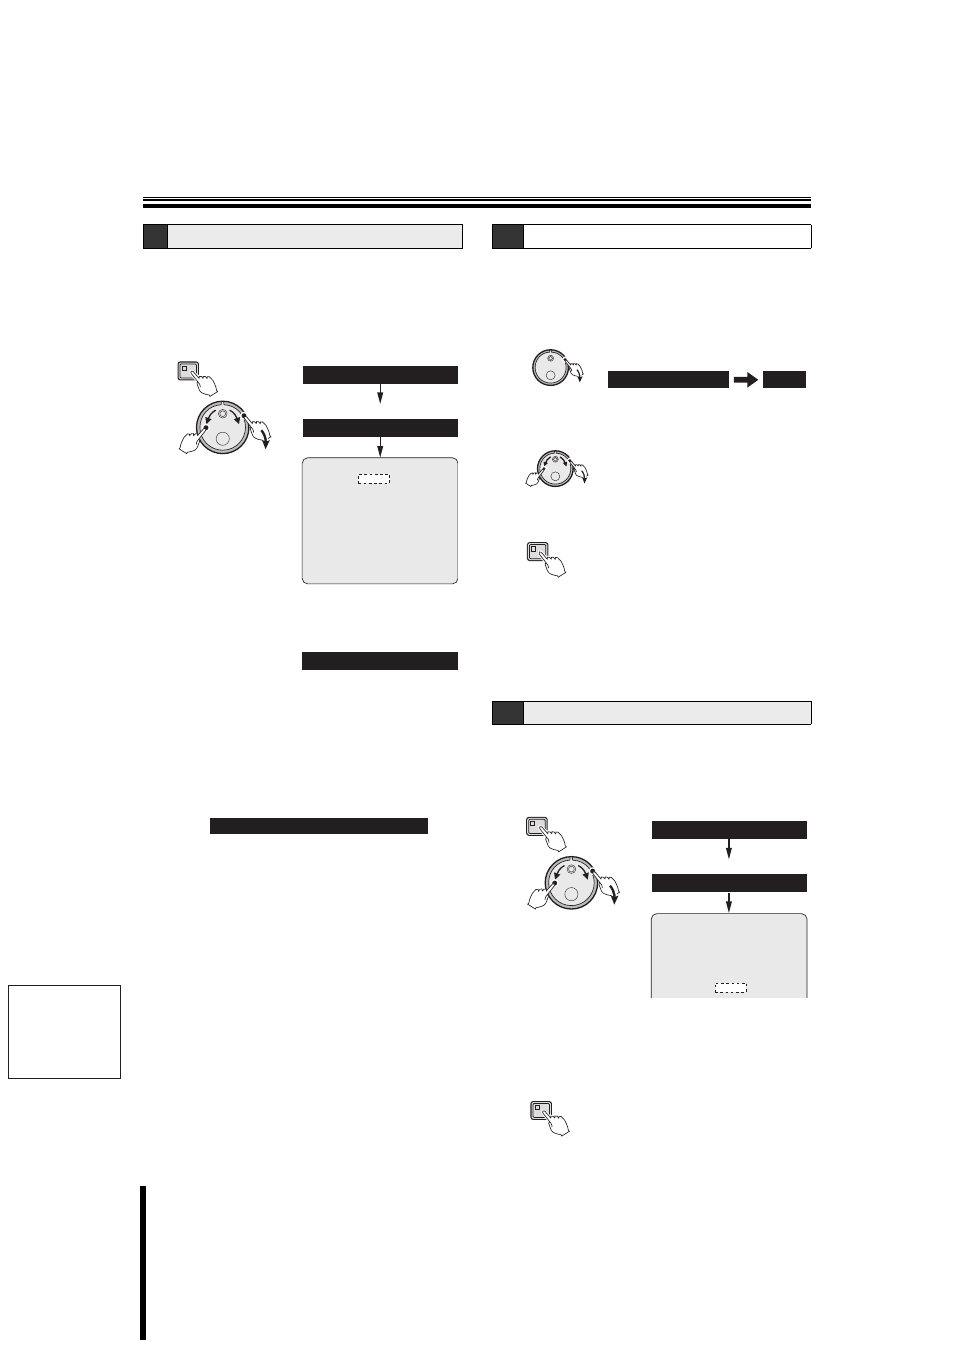
Summer time setting
1.LANGUAGE/CLOCK SET
1.INITIAL SET
ENGLISH
01-01-2006 SUN 00:00:00
MODE : USE
WEEK MONTH TIME
ON LST-SUN 03 02:00
OFF LST-SUN 10 02:00
ADJUST.TIME 01:00
MENU
(J)
(S)
MODE : USE
WEEK MONTH TIME
ON LST-SUN 03 02:00
ON LST-SUN 03 02:00
OFF LST-SUN 10 02:00
A-1
External clock setting
B
Camera detection
ADJUST.TIME 01:00
ADJUST.TIME 01:00
05:00
05:00
(S)
(J)
(S)
EXIT/OSD
MENU
(J)
(S)
2.CAMERA DETECT
1.INITIAL SET
CAMERA DETECT
CONTINUE?
NO
EXIT/OSD