Recording settings – Sanyo DSR-3706PA User Manual
Page 50
English
Recording settings
49
How to set
This menu is used to set the picture quality, audio
recording and recording rate for the normal recording
area. A program number can be selected at the
programmed recording settings to use the recording rate
set for that program. (P50)
1
PICTURE QUALITY
Selects the picture quality used to record video in the normal
recording area. The recording duration will change according to
the selected picture quality.
Selections:
BASIC: Rough image quality (BA)/15kB
NORMAL: Normal image quality (NO)/22kB
ENHANCED: Enhanced image quality (EN)/30kB
FINE: Fine image quality (FI)/42kB
SUPER FINE: Super fine image quality (SF)/50kB
2
AUDIO RECORDING
• When the AUDIO RECORDING is set to "ON", the letter "A"
will be displayed in front of the available recording rates (REC
RATE). Audio recording is possible when the total recording
rate of the cameras is within the range of A50~A1FPS.
• Audio will only be played when the playback speed is the same
as the rate of recording. Video and audio may slightly be out of
synch.
3
REC RATE
The recording rate is limited by the pre-alarm and mirroring
settings. (P85)
☞
Refer to the recording rate and duration time. (P83)
4
REC PROGRAM GROUP (P50)
This menu is used to specify the cameras to be used in each
group (P-1~P-4) for programmed recording. After selecting the
group, set the program for the group.
Selections: OFF/P-1/P-2/P-3/P-4
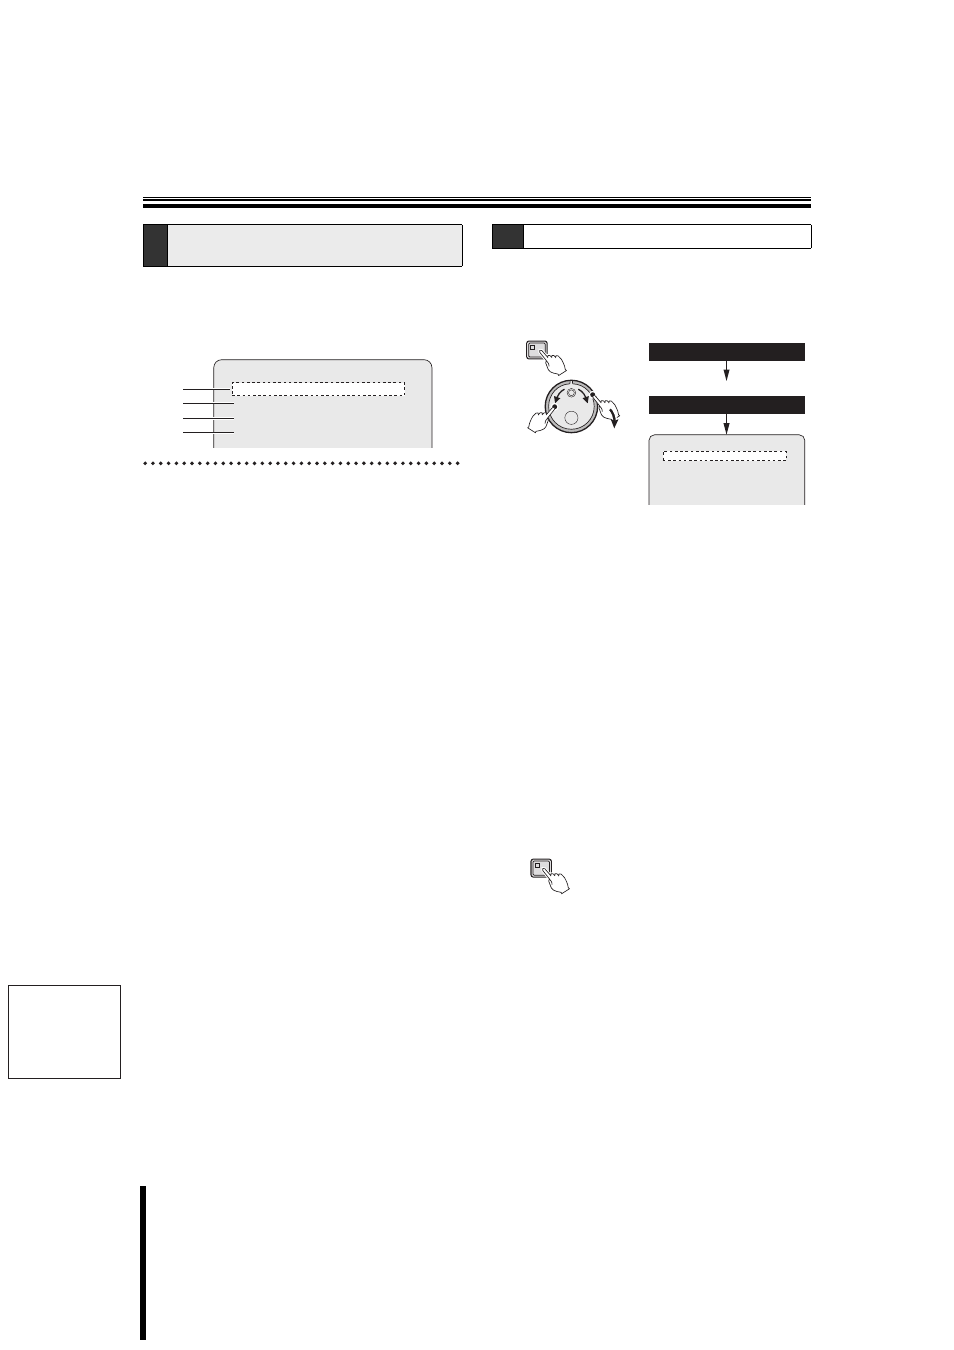
1
Display the
explained in "Displaying the recording settings
screen", and then turn the S-dial clockwise. (P39)
The PICTURE QUALITY "ENHANCED" starts blinking.
2
Turn the J-dial to select the desired PICTURE
QUALITY (example: FINE), and then turn the S-dial
twice clockwise.
The AUDIO RECORDING "OFF" field starts blinking.
3
Turn the J-dial to select the desired AUDIO
RECORDING (example: ON), and then turn the
S-dial twice clockwise.
The letter "A" is displayed indicating AUDIO
RECORDING, and then the REC RATE starts blinking.
4
Turn the J-dial to select the desired REC RATE
(example: 6.25), and then turn the S-dial twice
clockwise.
The REC PROGRAM GROUP "OFF" starts blinking.
Turn the J-dial to select the desired REC PROGRAM
GROUP (example: P-1), and then turn the S-dial
clockwise.
REC RATE will be displayed as ***.
5
Press the EXIT/OSD button to end the setting
procedure.
D
Normal recording area menu
description
PICTURE QUALITY : ENHANCED
AUDIO RECORDING : OFF
REC RATE : 12.5FPS ( 42H)
REC PROGRAM GROUP : OFF
1
2
3
4
D-1
Normal recording area settings
MENU
(J)
(S)
PICTURE QUALITY : ENHANCED
AUDIO RECORDING : OFF
REC RATE : 12.5FPS ( 42H)
REC PROGRAM GROUP : OFF
4.NORMAL REC MODE SET
2.RECORD SET
EXIT/OSD