Brother HLL9410CDN Enterprise Color Laser Printer User Manual
Page 85

2
1. Press
[Settings]
>
[All Settings]
>
[Network]
>
[WLAN(Wi-Fi)]
>
[WPS/PIN Code]
.
2. When
[Enable WLAN?]
appears, press
[Yes]
.
This will start the wireless setup wizard. To cancel, press
[No]
.
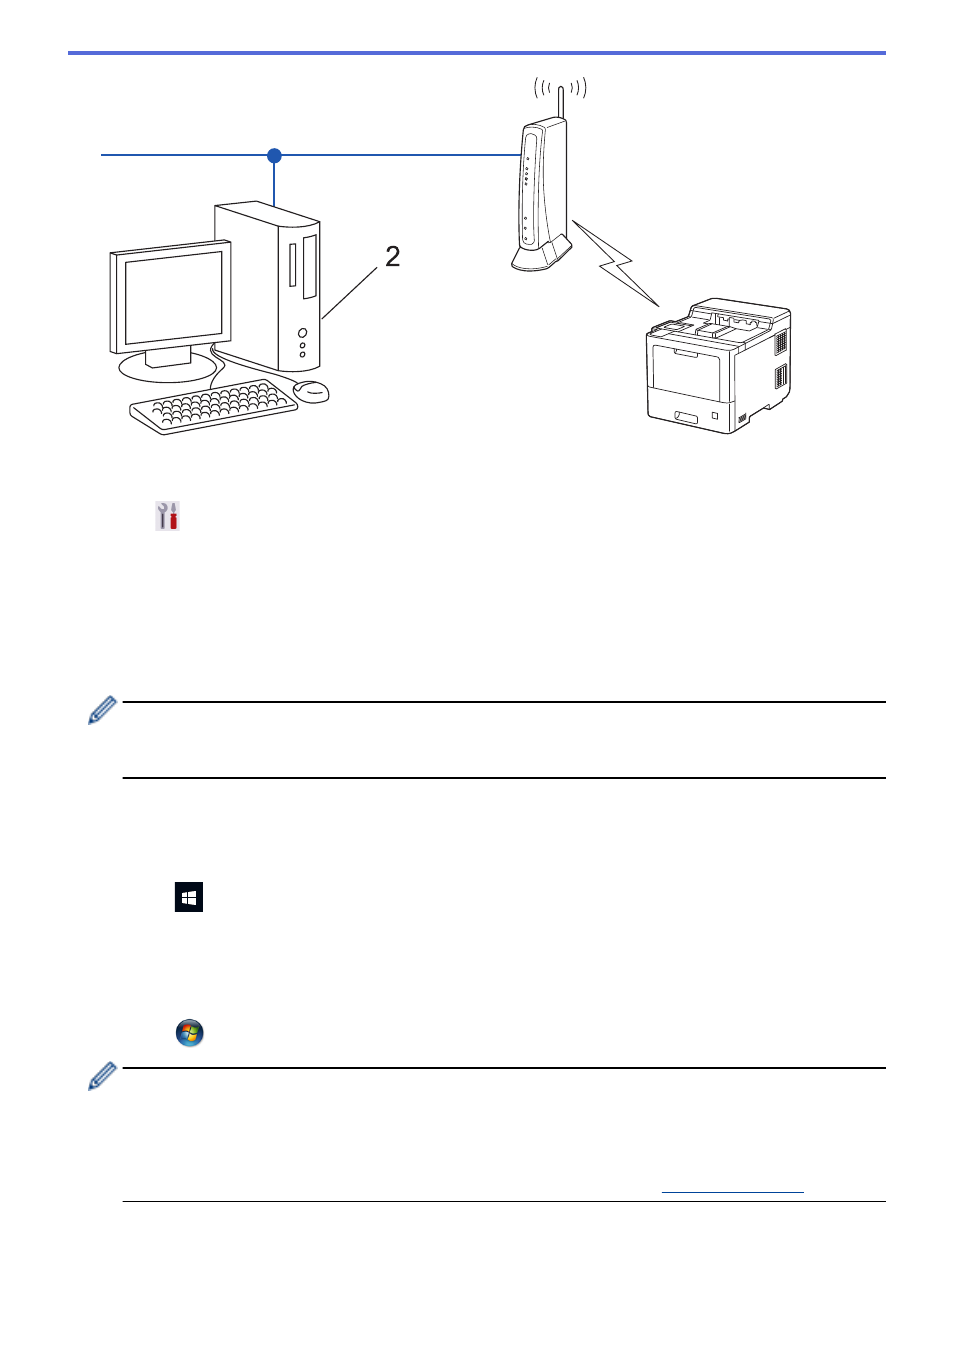
3. The LCD displays an eight-digit PIN and the machine starts searching for a wireless LAN access point/router.
4. Using a computer connected to the network, in your browser's address bar, type the IP address of the device
you are using as the Registrar. (For example: http://192.168.1.2)
5. Go to the WPS settings page and type the PIN, and then follow the on-screen instructions.
•
The Registrar is usually the wireless LAN access point/router.
•
The settings page may differ depending on the brand of wireless LAN access point/router. For more
information, see the instructions supplied with your wireless LAN access point/router.
If you are using a Windows 7, Windows 8.1, or Windows 10 computer as a Registrar, complete the
following steps:
6. Do one of the following:
•
Windows 10
Click
>
Windows System
>
Control Panel
. In the
Hardware and Sound
group, click
Add a device
.
•
Windows 8.1
Move your mouse to the lower right corner of your desktop. When the menu bar appears, click
Settings
>
Control Panel
>
Hardware and Sound
>
View devices and printers
>
Add a device
.
•
Windows 7
Click
(Start)
>
Devices and Printers
>
Add a device
.
•
To use a Windows 7, Windows 8.1, or Windows 10 computer as a Registrar, you must register it to your
network in advance. For more information, see the instructions supplied with your wireless LAN access
point/router.
•
If you use Windows 7, Windows 8.1, or Windows 10 as a Registrar, you can install the printer driver
after the wireless configuration by following the on-screen instructions. To install the driver and software
necessary to use your machine, go to your model's
Downloads
page at
.
7. Select your machine and click
Next
.
8. Type the PIN displayed on the machine's LCD, and then click
Next
.
9. (Windows 7) Select your network, and then click
Next
.
80
