Installing the board, A-17 – Epson Action Laser II User Manual
Page 225
The Memory Expansion Board
CAUTION:
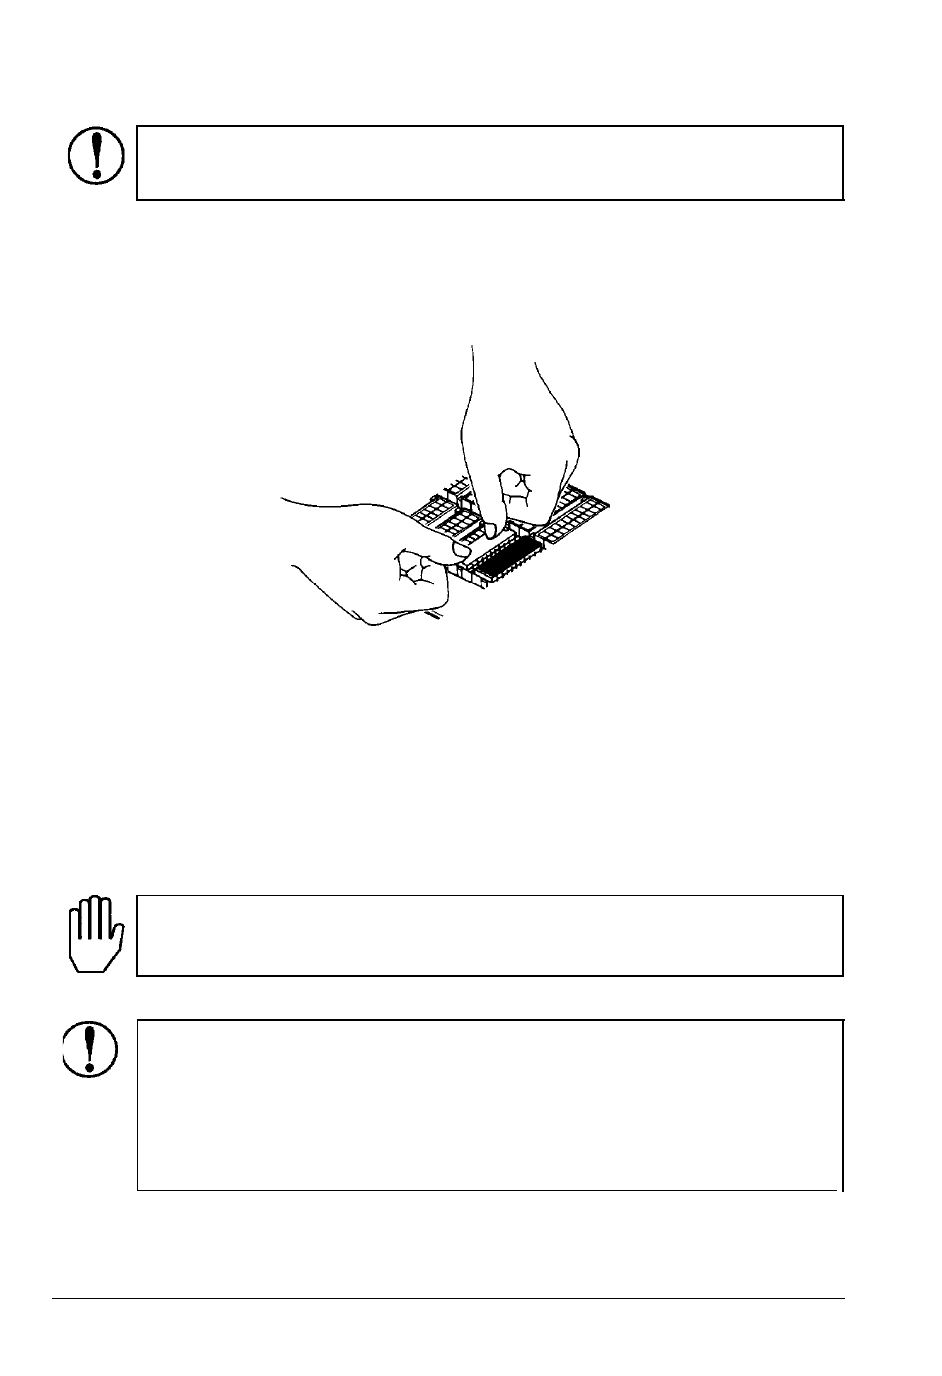
Be careful not to scratch the chip or the board
when removing the chip.
6. With the chip properly inserted, push down firmly on both ends
of the chip to make sure it is well-seated.
7. Repeat steps 3 through 6 for each of the three remaining chips.
Installing the board
To install the memory expansion board, you need a cross-head
screwdriver.
WARNING:
Do not remove any screws other than the
brass-colored screws specified in the following steps.
CAUTION:
Do not attempt to install the memory board
unless the printer is turned off and the power cord is
unplugged. Also, try not to touch any contacts on the
circuit board of the printer; many of the components can
be destroyed by the static electricity in your body.
Options
A-17
- Stylus Pro 7800 (11 pages)
- Stylus Pro 4000 (49 pages)
- Stylus Photo R300 (2 pages)
- Stylus Pro 7000 (147 pages)
- AcuLaser C3000 (316 pages)
- Stylus Pro 7900 (24 pages)
- Stylus Pro 4450 (21 pages)
- 1000 (272 pages)
- T034120 (4 pages)
- T580300 (4 pages)
- 300 (91 pages)
- B 510DN (190 pages)
- B 510DN (218 pages)
- Stylus NX510 (8 pages)
- Stylus Photo RX580 (95 pages)
- T549300 (4 pages)
- AculaserCX11NF (5 pages)
- B 500DN (168 pages)
- 480SXU (24 pages)
- 4500 (317 pages)
- STYLUS RX500 (99 pages)
- 2100 (13 pages)
- Stylus NX215 (2 pages)
- T098320 (4 pages)
- T041020 (4 pages)
- R210 (8 pages)
- All-In-One Stylus Photo RX600 (164 pages)
- 777I (53 pages)
- T033120 (4 pages)
- Stylus CX7000F (8 pages)
- 60 (113 pages)
- T034220 (4 pages)
- WorkForce 40 Series (36 pages)
- T054220 (4 pages)
- Stylus CX3200 (11 pages)
- Stylus CX7800 (18 pages)
- T060220 (4 pages)
- 2500 (180 pages)
- AcuLaser CX11N (32 pages)
- AcuLaser CX11N (4 pages)
- 2000P (16 pages)
- T606600 (4 pages)
- Stylus CX6000 (18 pages)
- FS-4000DN (2 pages)
- MSDS T544700 (4 pages)