Casio BE-300 User Manual
Page 75
75
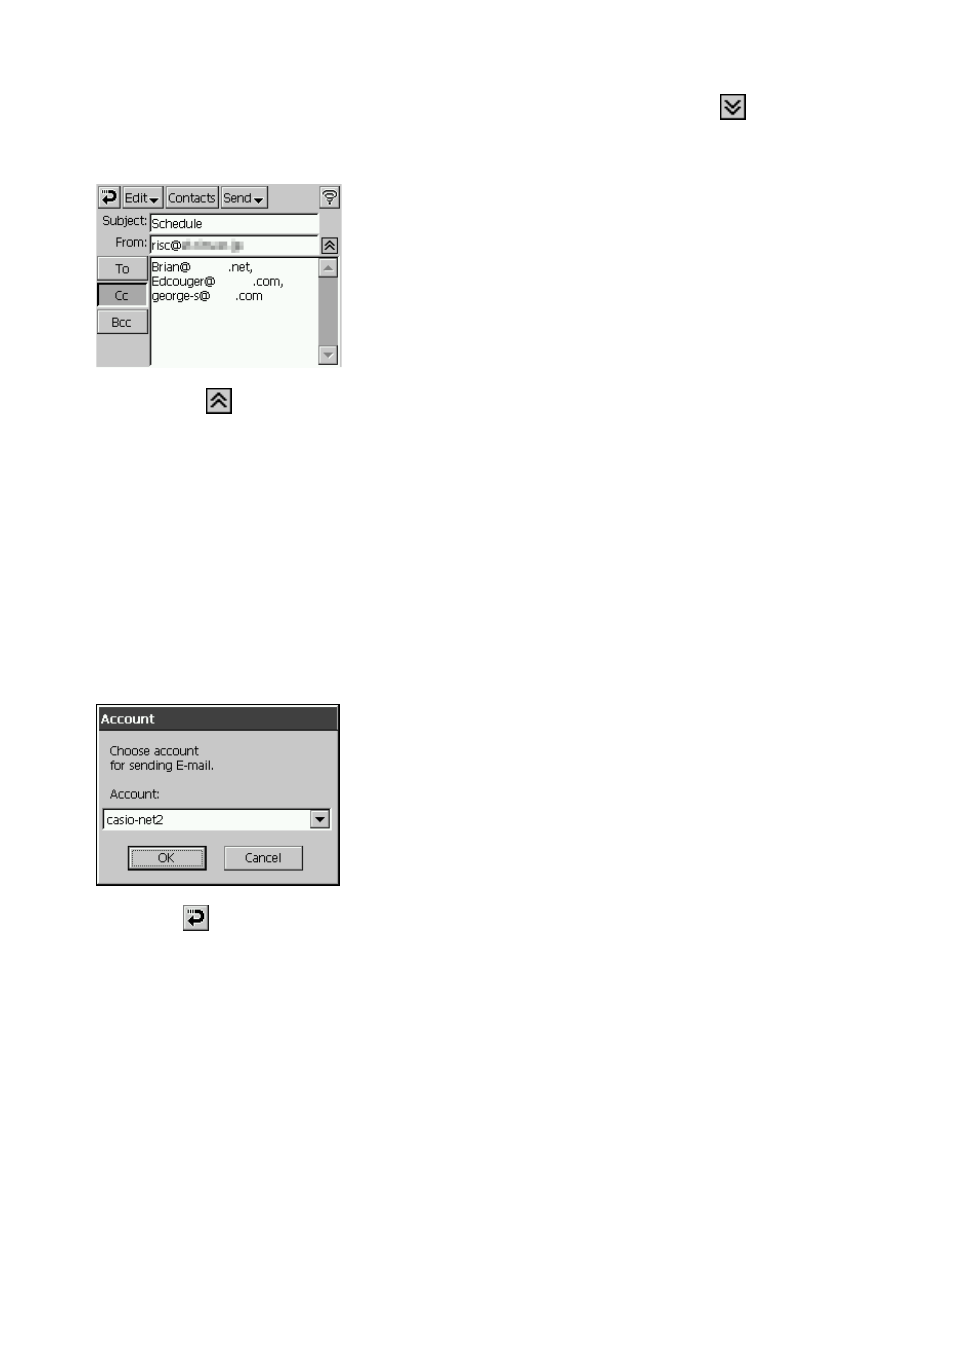
5. If you want to include Cc or Bcc addressees as recipients of the message, tap
.
• This expands the mail header. Tap the Cc or Bcc button and then input the applicable mail
address in the text box to the right of the buttons.
• Tapping
returns the header to its original size.
6. After your Mail message is the way you want, tap Send
L
→ Queue.
• This stores your Mail message in the Outbox folder. All of the mail messages in the Outbox
folder is sent the next time you perform a Mail send (or send and pick up) operation.
• If you want to send the Mail message you just wrote right away, tap Send L → Send Now
in step 5 instead of Send
L
→ Queue.
NOTE
• You can also use the Signature tab on the setup screen to create a signature block that is added
to the end of your messages. See page 91 for more information.
• Tapping the From field in the screen in step 4 displays a dialog box like the one shown below.
If you have more than one mail account configured in Mail, you can use this dialog box to
change to another mail account for sending the message you are creating.
• Tapping
before you reach step 5 in the above procedure saves your message in the Drafts
folder. You can recall a message in the Drafts folder to work on it later.
To delete a message you are editing
1. On the message editing screen, tap Edit
L
→ Delete Mail.
2. In response to the confirmation message that appears, tap OK to delete the message or Cancel
to cancel without deleting anything.