Salvo tab, Show salvo window send all reads to salvo window, Show salvo window – Grass Valley UniConfi NVISION Series v.2.0 User Manual
Page 103: Send all reads to salvo window
93
UniConfig
User’s Guide
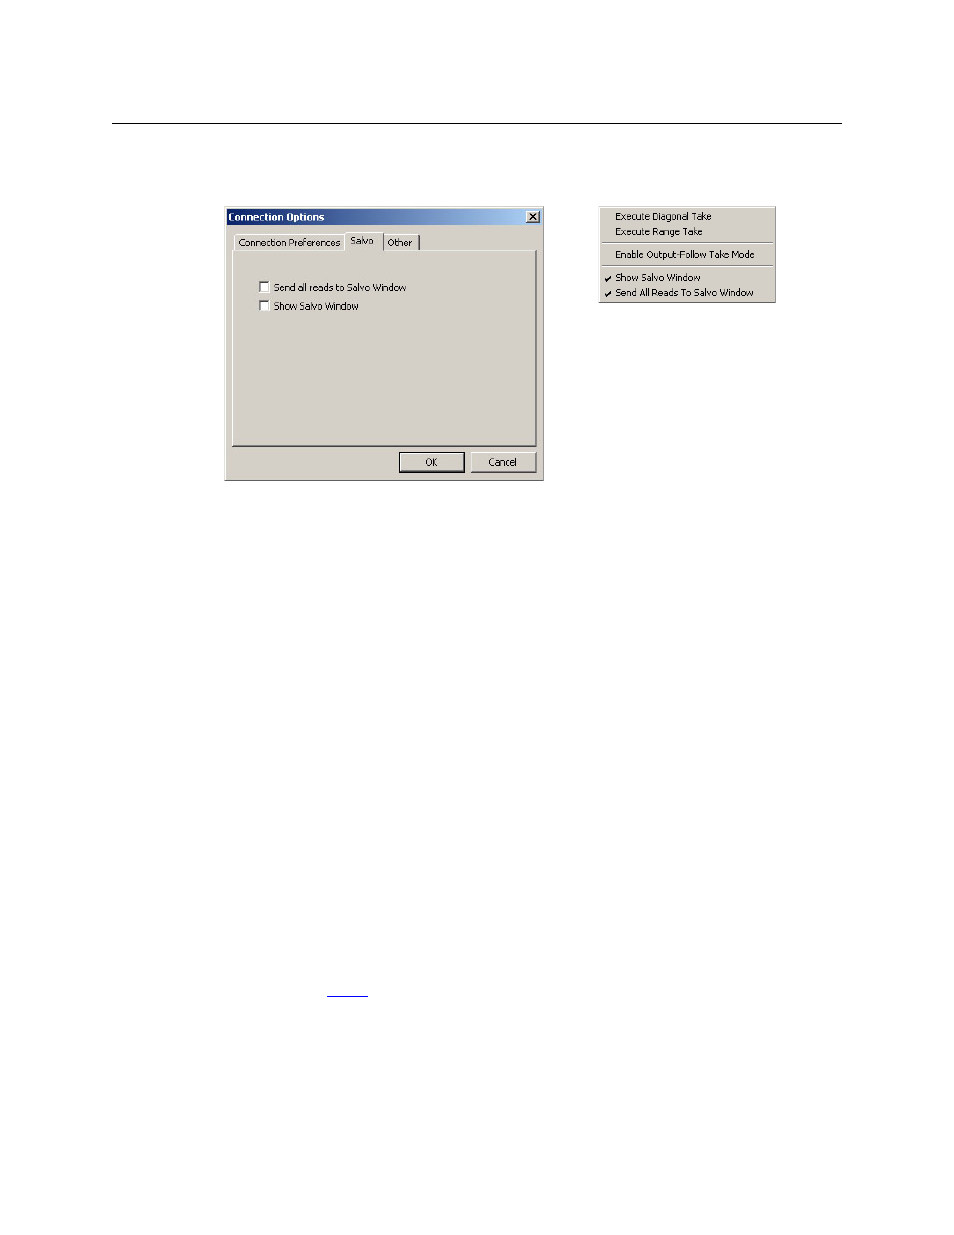
Salvo Tab
There are two check box options in this tab:
The two salvo options also appear in the context menu, providing a shortcut
There is one salvo at any time. The salvo can be large
—
it is often a copy of the diagnostic cross-
point matrix. It can be as small as a single take. You can control the content of the salvo.
A single take copies all displayed outputs to the salvo. Adding a take (from the ‘Actions’ menu)
to an empty salvo creates a salvo of one take. Adding a take to any salvo increases the size of the
salvo by one take.
Show Salvo Window
When you check this check box, UniConfig shows a salvo pane in the ‘Connections’ window
—
to
the right of the diagnostic crosspoint list.
The salvo pane shows a sequence of takes. The takes in the salvo pane are not necessarily in any
particular order. But if you add takes to the salvo, they are placed at the bottom of the salvo.
The salvo window has an ‘Execute’ button. When you press that button, UniConfig executes the
takes in the salvo, in this case in order from top to bottom. The takes occur in the router’s cross-
point and are reflected in the diagnostic crosspoint list.
You can clear the salvo pane with the ‘Clear Salvo’ command of the ‘Actions’ menu.
Send All Reads to Salvo Window
When you check this check box, UniConfig sends all crosspoint “reads” to the salvo pane.
Whether you execute a single take or press Read Outputs, all displayed outputs are “read” and
all are copied to the salvo pane.
Check this and the salvo window becomes checked automatically.
See chapter 14,
Context Menu