Grass Valley Kaleido-X (7RU) v.7.70 User Manual
Page 61
49
Kaleido-X (7RU)
Hardware Description & Installation Manual
With the factory defaults loaded, you can start using your Kaleido-X expansion system
and its default rooms and layouts (you may see some warnings on the monitor wall
about layout/room assignments). Normally, however, you will at this point wish to
customize the room, layout and other settings:
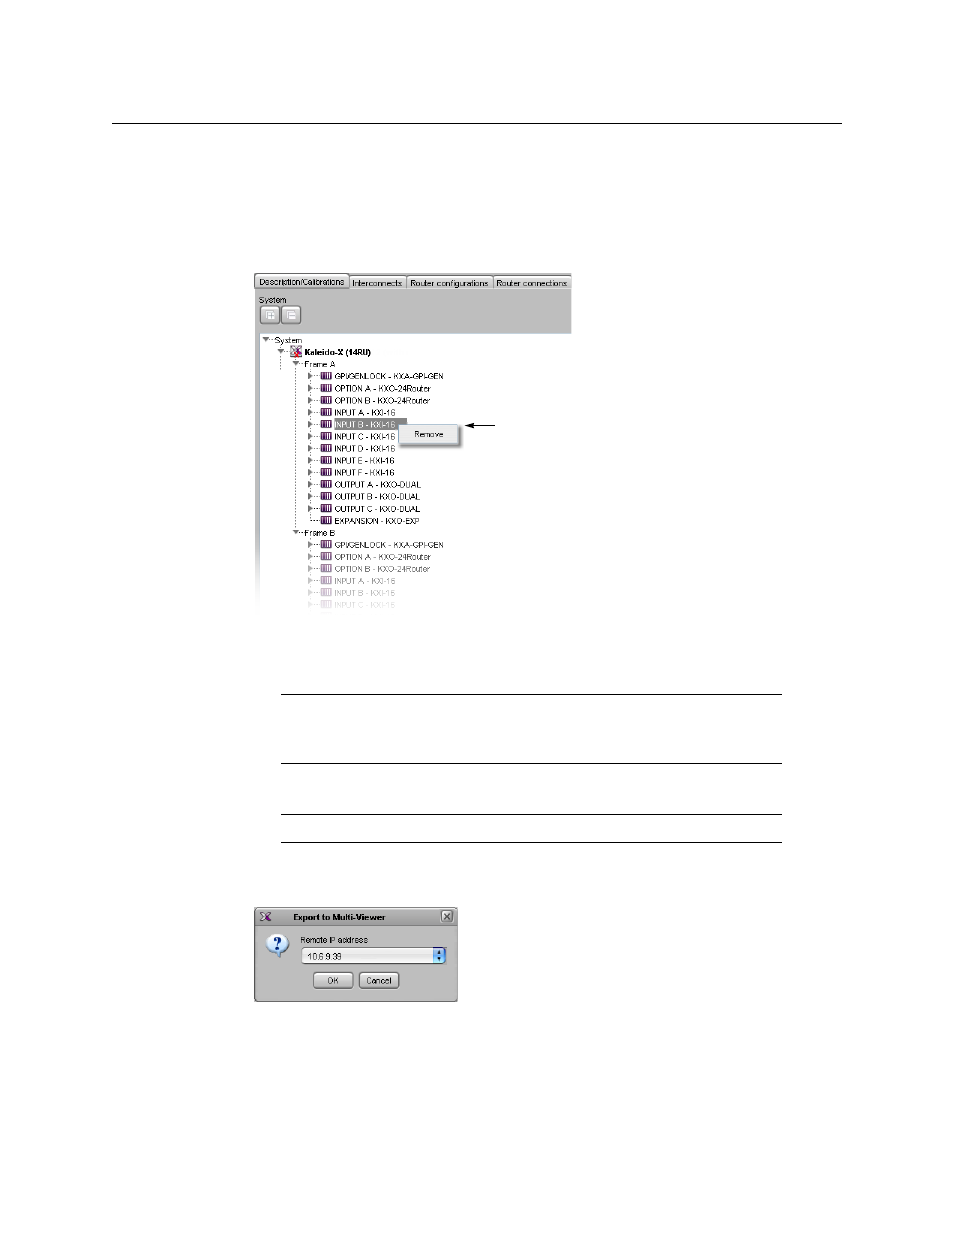
6 Add cards to, or remove them from, the System list so that it reflects the physical
configuration of the expansion system:
7 Configure other settings (logical sources, destinations, rooms, layouts, etc.) as you
would for any new Kaleido-X system (refer to Creating and Configuring Logical Sources,
Managing Rooms, and Managing Layouts, in the Kaleido-X User’s Manual).
8 On the File menu, click Save to save the changes to the system.
9 On the Configure menu, point to Database, and then click Export.
10 Type the IP address of the expansion frame, and then click OK.
A confirmation message appears.
11 Click OK.
TIP
Once you have created new Rooms manually, you can use the Copy layout
feature (see
) to copy existing layouts from another Kaleido-X.
Note:
You should make a backup of the new database.
Right-click a card slot to
insert or remove a card