Connecting the printer, Plugging in the printer, Powering the printer on and off – Rena MACH X (Digital Color Label Printer) User Manual
Page 24: Onnecting the, Rinter, Caution
SECTION 2
INSTALLING THE PRINTER
18
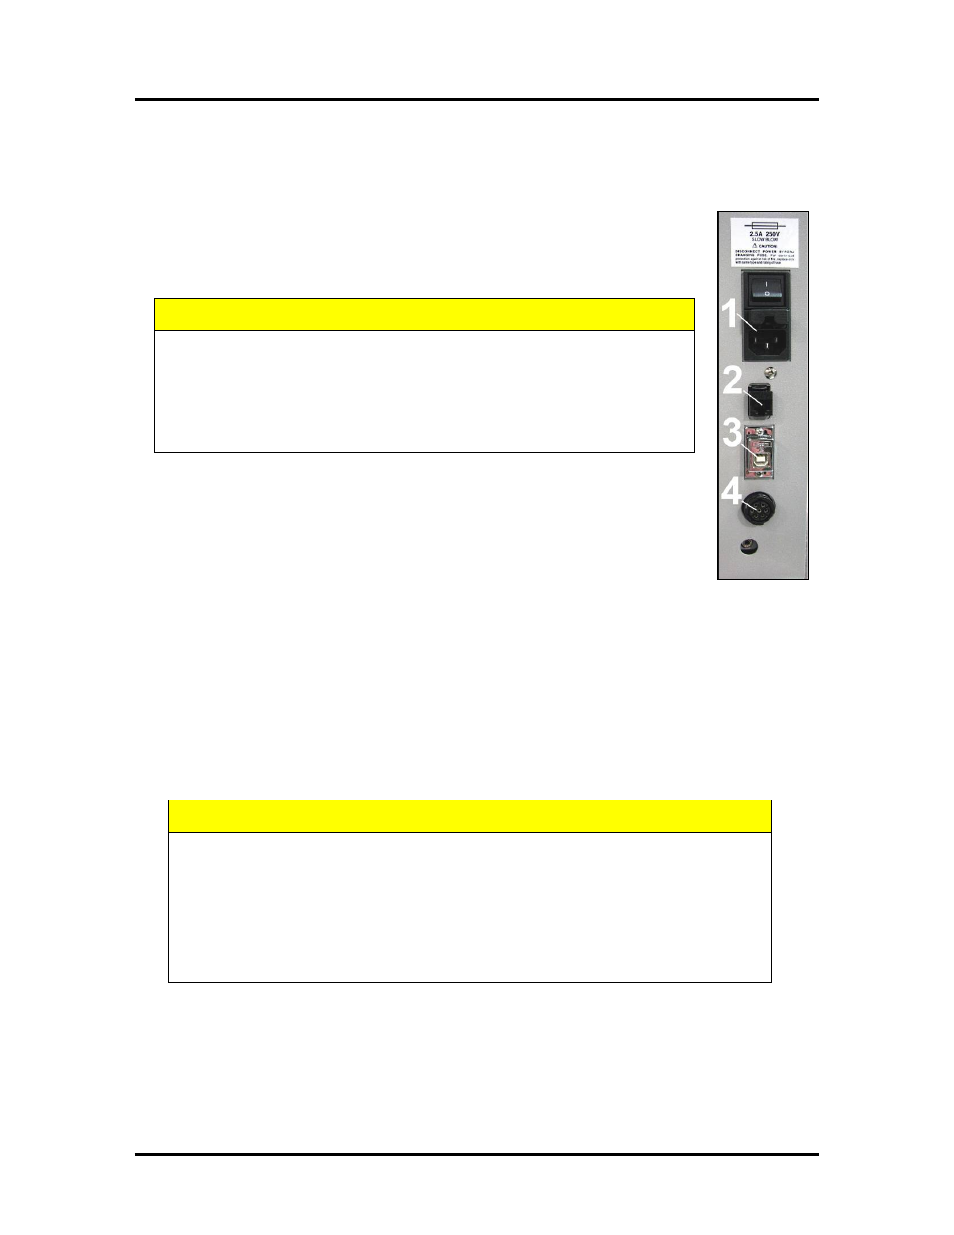
Connecting the Printer
Plugging in the Printer
• Check to make sure the Main Power Switch [1] is in the OFF position.
• Plug the Power Cord into the receptacle [1] at the rear of the Printer.
• Connect the other end of the Power Cord to a compatible AC Outlet that supplies
100-240 volts AC, 50/60 Hz and provides earth ground
CAUTION
DO NOT USE AN ADAPTER PLUG OR EXTENSION CORD TO
CONNECT THE PRINTER TO THE WALL RECEPTACLE.
DO NOT USE OUTLETS CONTROLLED BY WALL SWITCHES.
DO NOT USE AN OUTLET THAT SHARES THE SAME CIRCUIT WITH
LARGE ELECTRICAL MACHINES OR APPLIANCES
.
Powering the Printer ON and OFF
Powering-Up the Printer:
1. Turn ON the Main Power Switch [1].
2. Press the Control Panel’s ON/OFF Button.
After about 6 seconds the ON/OFF button, it will begin to blink slowly. Then all lights will
start to blink simultaneously. It takes approximately 45 seconds for the print engine to fully
power-up. When the ON/OFF button changes to a steady illumination condition, the print
engine is fully powered-up.
Powering-Down the Printer:
1. Press the Control Panel’s ON/OFF Button.
Wait for the print engine to power-down (all Control Panel Buttons will turn OFF).
2. Turn OFF the Main Power Switch [1].
CAUTION
BEFORE POWERING OFF THE MAIN POWER SWITCH, ALWAYS POWER
DOWN THE PRINT ENGINE, USING THE ON/OFF BUTTON.
IF THIS RULE IS NOT FOLLOWED DAMAGE TO THE PRINTHEAD AND OR INK
SYSTEM CAN RESULT.
FOR BEST SYSTEM PERFORMANCE; IT IS RECOMMENDED TO KEEP THE
PRINT ENGINE POWERED-UP (ON/OFF LIGHT ILLUMINATED) AT ALL TIMES.