Adjusting the brightness of the led pointer – Baby Lock Destiny (BLDY) Instruction & Reference Guide-Part2 User Manual
Page 57
CONFIRMING THE PATTERN POSITION
250
d
Use
or
to adjust the LED pointer so
that it indicates the actual needle drop
point.
e
Press
twice to return to the original
screen.
■ Adjusting the Brightness of the LED
Pointer
a
Follow the steps from
a
to
d
to display
the embroidery foot with LED pointer
adjustment screen.
b
Use
or
to adjust the brightness of
the LED pointer.
c
Press
twice to return to the original
screen.
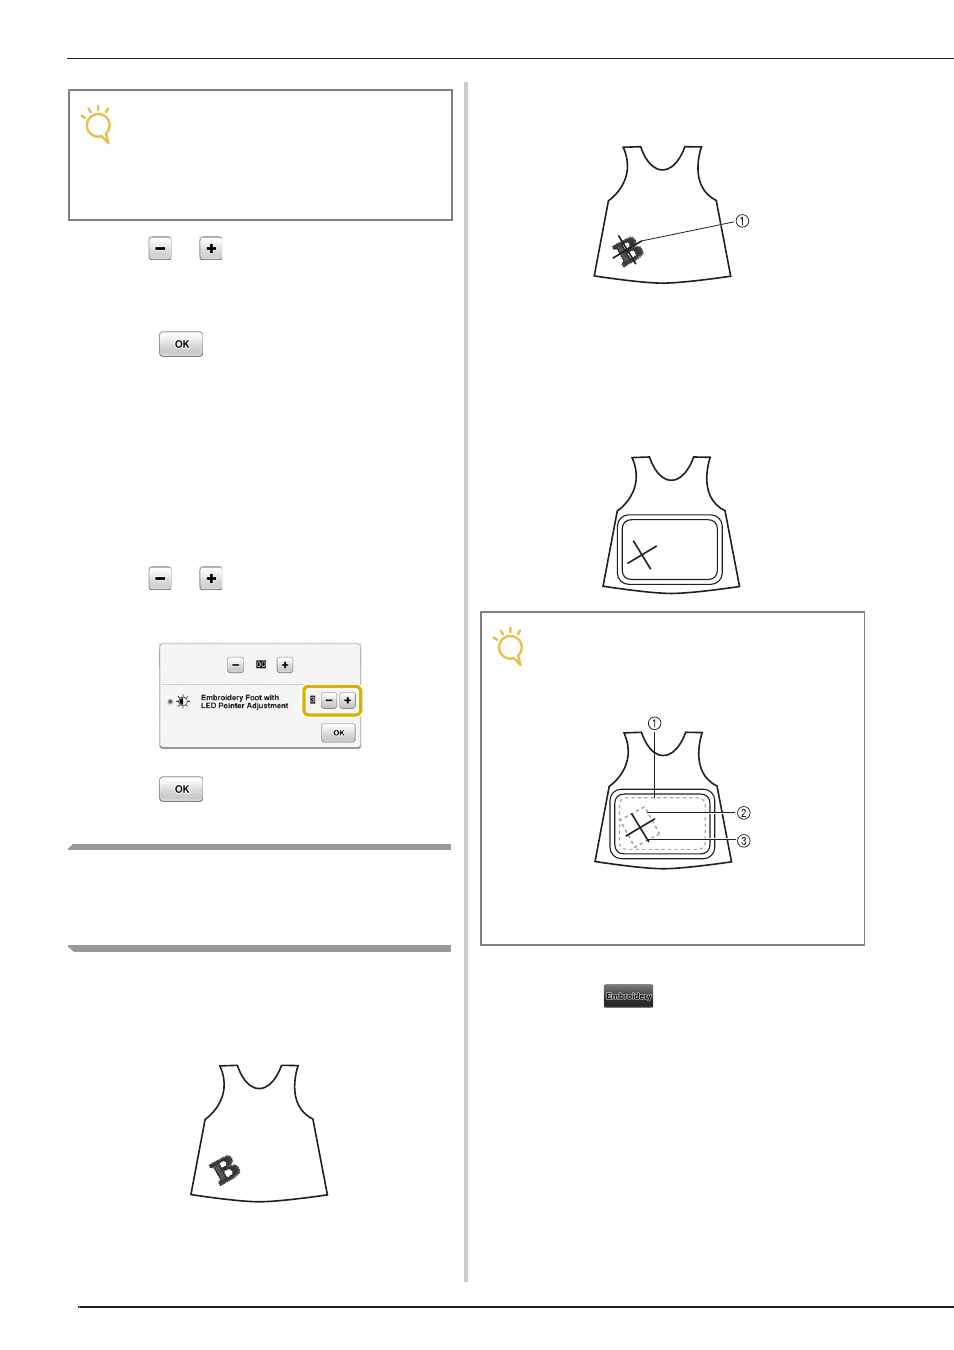
Aligning the Embroidering
Position Using the Built-In
Camera
The camera built into this machine can be used to
easily align the embroidering position. This is
useful for patterns which need to be embroidered
in a particular position as shown below.
a
Use a chalk pencil to draw a cross at the
desired embroidering location.
a Chalk pencil mark
*
Display the grid lines or cross grid lines in the
pattern display area to check the pattern orientation.
(Refer to “Changing the Embroidery Frame Display”
on page 292.)
b
Hoop the fabric.
c
Select the pattern on your sewing machine
and press
.
Note
• The specified setting is saved in the
machine’s memory. This is useful for
positioning during continuous
embroidering.
• For normal use, return the setting to “00”.
Note
• When hooping the fabric in the embroidery frame,
make sure that the embroidery pattern will fit within
the embroidering area of the frame being used.
a Embroidering area
b Embroidery pattern size
c Chalk pencil mark