Changing the position of a sticker – Baby Lock Destiny (BLDY) Instruction & Reference Guide-Part2 User Manual
Page 120
USING THE CAMERA TO CONNECT PATTERNS
313
Ad
va
n
ced
Em
br
oi
d
er
y
6
→ Message appears on screen and carriage will move
after pressing
.
w
Lower the presser foot, and then embroider
the third pattern.
→ When embroidering is finished, the following
message appears. When finished connecting
patterns, press
.
→ After embroidering is finished,
is no longer
located at the top left of LCD screen.
The three patterns have been connected.
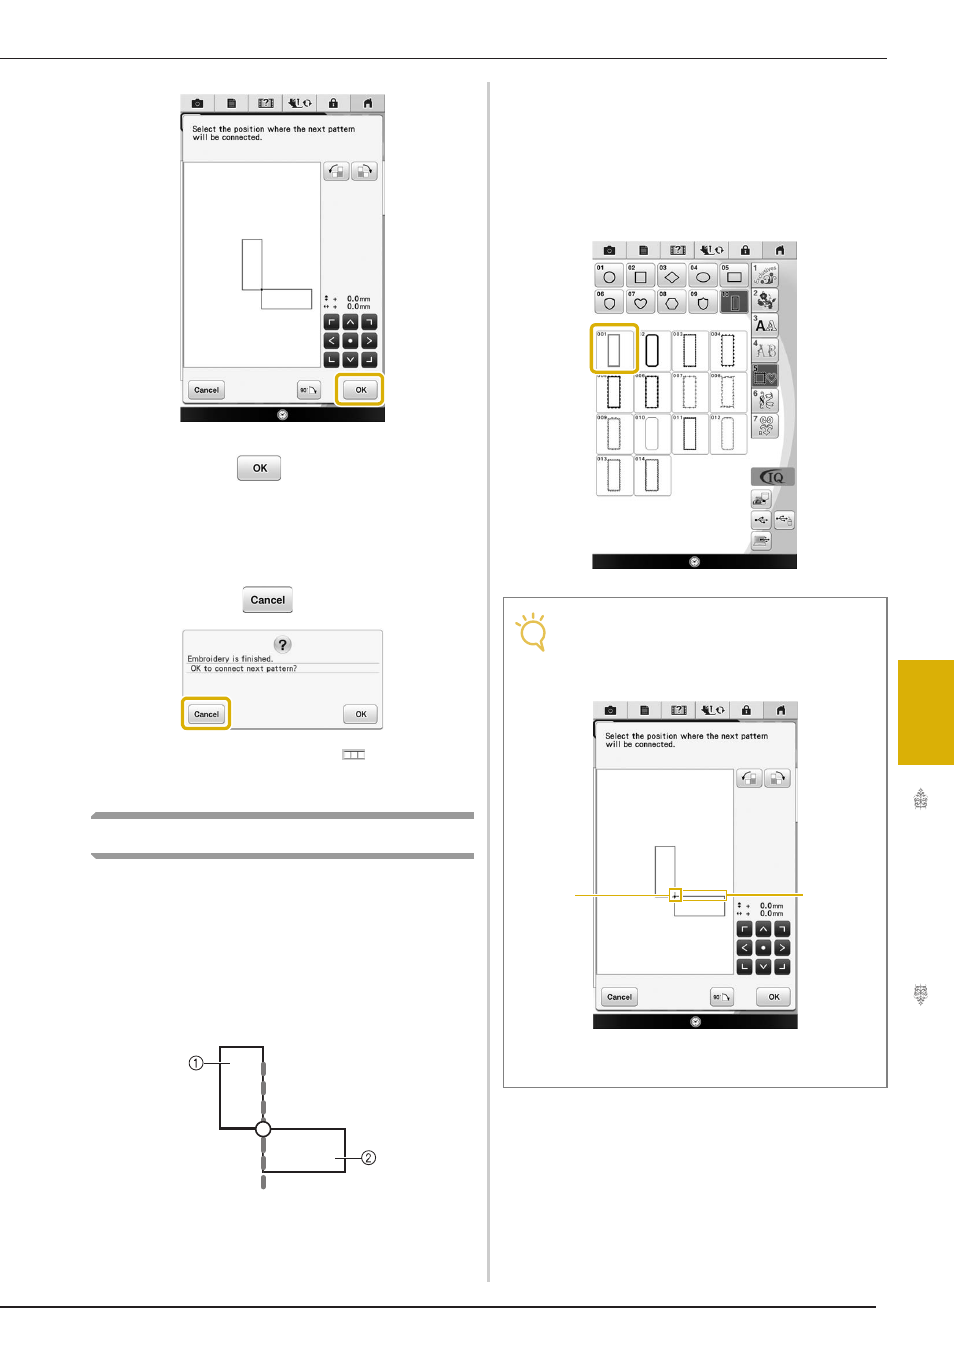
Changing the Position of a Sticker
If the selected pattern or positioning stickers for
connecting the next pattern do not easily fit in the
embroidering area, follow the on-screen instructions
that appear after step
o
on page 310 in order to move
the positioning stickers.
For an example, the on-screen instruction appears
when you use the embroidery frame with a size of 10
cm × 10 cm (4 inches × 4 inches) to connect patterns as
shown below.
a Pattern A
b Pattern B
a
Refer to steps
a
through
o
of
“Connecting Three Patterns” using the
embroidery frame with a size of 10 cm × 10
cm (4 inches × 4 inches) to embroider the
first pattern and to connect the second
pattern.
Note
• When referring to steps
a
through
o
,
make sure you change the reference edge
and reference point to reflect this exercise.
a Reference point
b Reference edge
b
a