TeeJet RMS Office User Manual
Page 63
RMS Office
Software Version 3.10
Chapter 3 - RMS Tools 3-15
Report Wizard
Report Banner
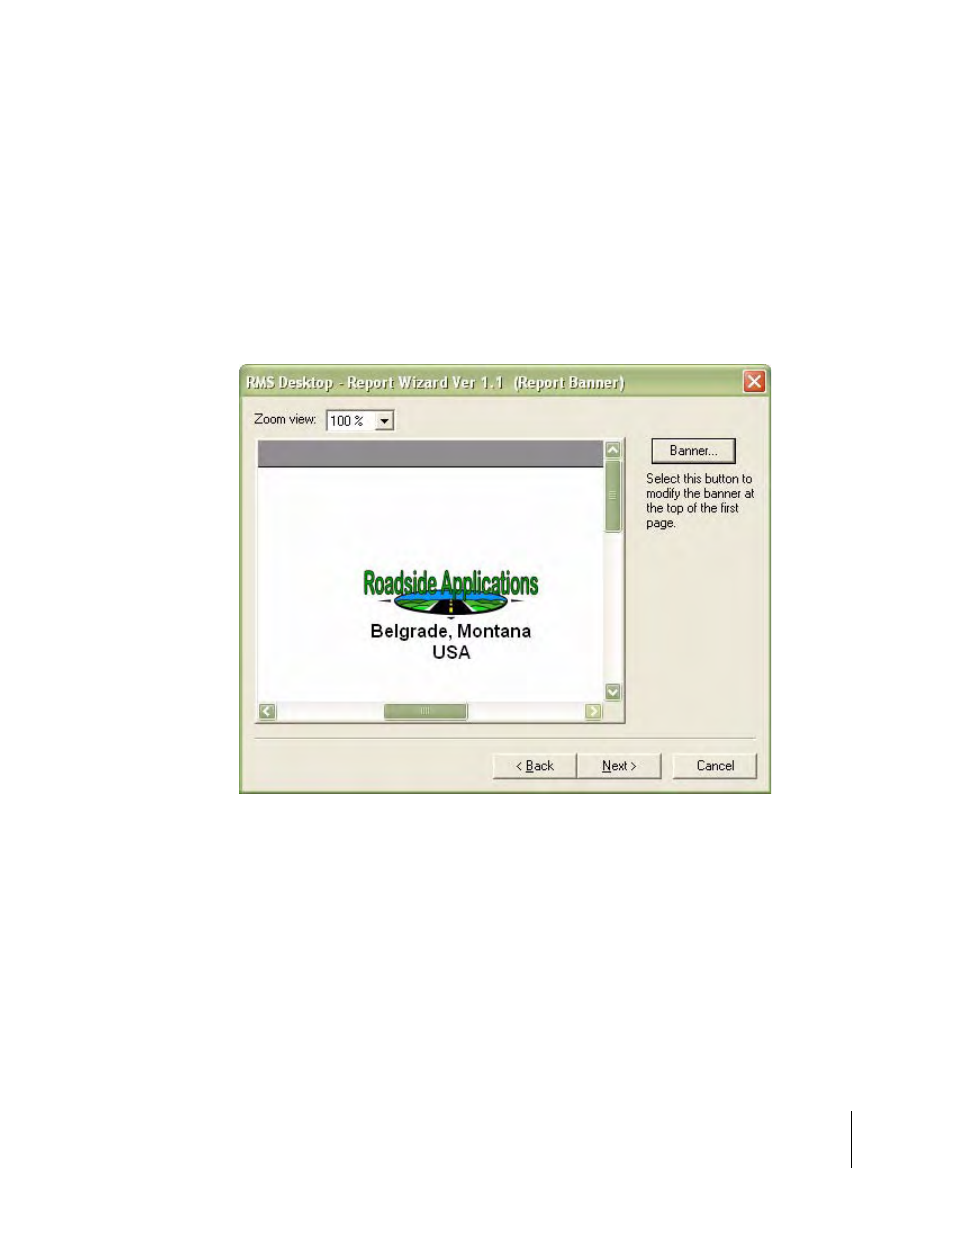
The report Banner dialog allows you to add any information, such as your company logo and
address, to the first page of the final report. In our example we have added the company logo and
address (see Figure 3-13). If you have your company logo in a Bitmap file format (.BMP), you can
insert that image into the banner. See “Customizing your Report Banner" below.
When the Report Banner dialog is complete, press the "next" button to move to the next Report
Wizard dialog.
Customizing your Report Banner
To customize your report banner, press the “banner” button in the upper right corner (see Figure 3-
13”. This pops up a word processor, like Edit Banner window (see Figure 3-14). This figure shows
an empty Edit Banner window. This edit window has many features similar to a word processor. To
add text, just start typing. To insert a logo, place your cursor at the desired logo location, click on
the “Insert” pull down menu and select picture. This pops up a Windows explorer browse dialog
(see Figure 3-15). Move to the folder that contains your logo in bitmap form (.BMP). Select the
desired bitmap file and press the open button in the browser dialog box. Your logo should now
appear at the cursor position in the Banner Edit window. In our example, we selected the bitmap
file Roadside Spraying Services.bmp (Figure 3-15), and can now view it in the Banner Edit window
(Figure 3-16).
Figure 3-13: Report Wizard Report Banner Dialog