TeeJet RMS Office User Manual
Page 43
RMS Office
Software Version 3.10
Chapter 2 - RMS Profiles 2-25
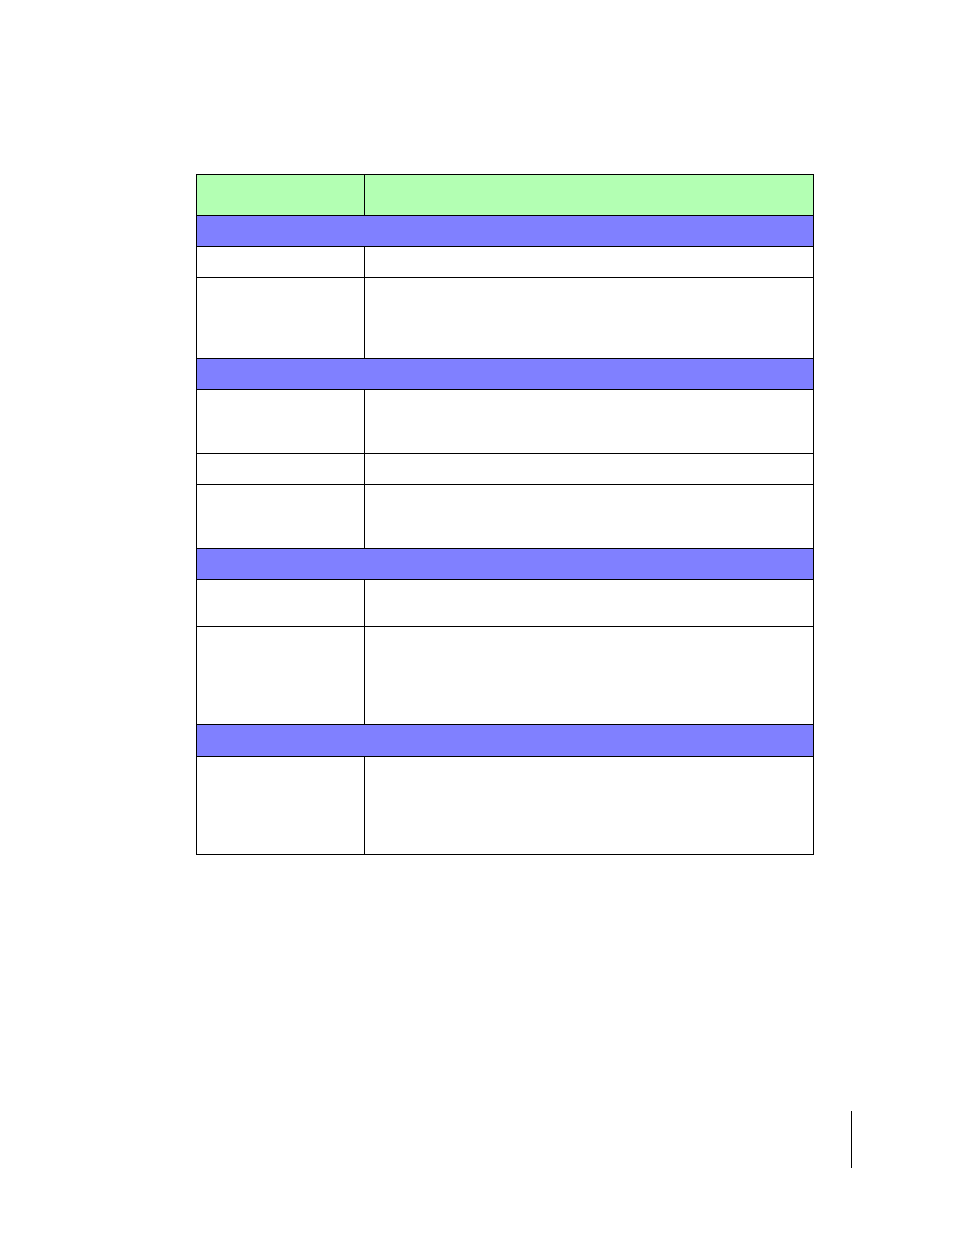
The Vehicle Profile
Profile Field
Description
The Main Page
Vehicle ID
A unique identifier for the vehicle being entered.
Controller
Selecting this controller menu item brings up a Controller dialog box
(see Figure 2-21). This dialog contains a list of Mid-Tech controller
drivers that are compatible with the RMS software. Select the control-
ler driver that matches the rate controller installed on the vehicle.
The Tanks Page
Volume Unit
Enter the unit of volume used in this profile. Selecting this menu field
activates a Volume Units dialog. Pick the volume unit used from this
dialog.
Carrier
Enter the volume of the Carrier tank.
Tank #1 - #8
The menu fields for Tanks 1 though 8 are identical. Enter the volume
for each tank installed on the vehicle. If the vehicle does not have 8
tanks, leave any non-existent tank menu fields blank.
The Channels Page
Carrier
This is the pump associated with the carrier tank. Typically, select the
carrier tank from the Carrier Assignment dialog.
Pumps #1 - #9
Selecting any of these Pump menu fields activates a Pump dialog box
(see Figure 2-23). From the dialog box, select the desired tank for the
pump. Pumps and tanks can be mixed and matched (e.g. Pump 2 can
have Tank 3 assigned to it). Do not assign a tank to more than one
pump.
Admin Page
Record Status
Setting a profile to Active makes that profile viewable and selectable
when transferred to the Legacy 6000. Setting a profile to Hidden pre-
vents it’s being selected or viewed by the operator, when it is trans-
ferred to a Legacy 6000. This allows a manager to limit the number of
in-field selections an operator has to make while in the field.
Table 2-6: Vehicle Profile Description