Configuring live view – Interlogix NVR 21 (S/P) User Manual User Manual
Page 42
Chapter 5: Live view
36
TruVision NVR 21(S/P) User Manual
3. Left-click the mouse and drag the red square to the area of interest, or press the
directional buttons on the front panel to position the red square. The selected area is
magnified.
4. To exit digital zoom, right-click the mouse or press the
Zoom
-
button on the front
panel.
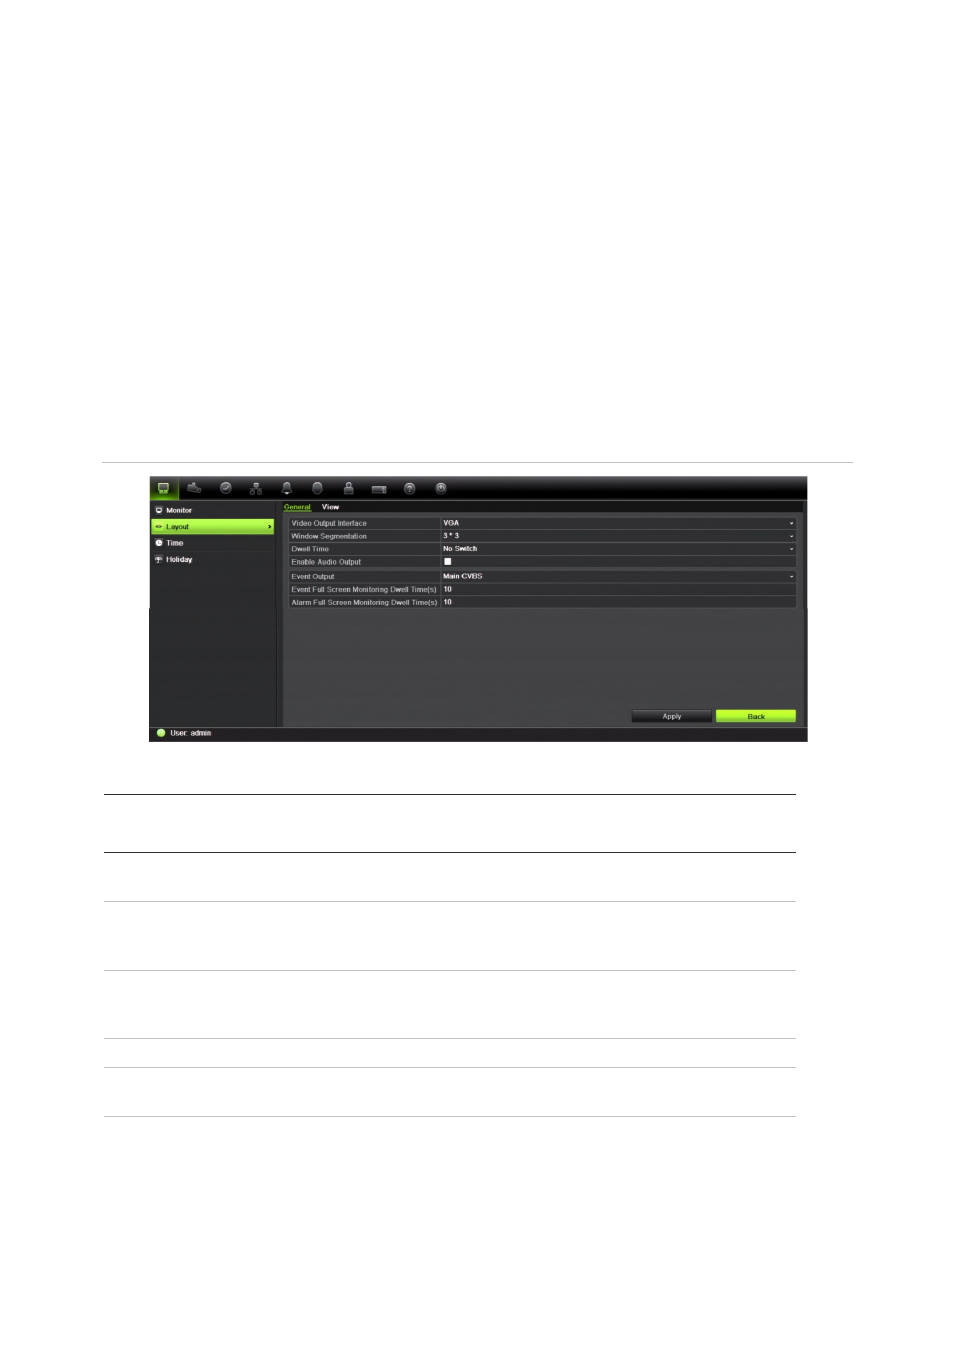
Configuring live view
The setup of live view can be modified from the main menu to suit different needs, such
as the different monitors, multiview layout, and dwell time options. You can also enable
audio output.
Figure 15: Layout screen
Table 11: Description of the layout screen
Submenu name
Description
General tab
Video output interface
Select which monitor will be the main monitor: HDMI (depends on
recorder model), VGA, and main CVBS. Default is VGA, if connected.
Live view mode
Select which multiview layout will be default in live view mode. Default
is 3x3 multiview layout for the 8-channel recorder and 4x4 for the 16
or 32-channel recorder.
Dwell time
Set the length of time for which a camera image is displayed on the
selected monitor before moving to the next camera during
sequencing. Default is off (“No switch”).
Enable audio out
Check the box to enable/disable audio output. Default is disable.
Event output
Designates which monitor will be the output to show the event. Default
is HDMI.
Event full screen
monitoring dwell time
Set the length of time for which an event appears on the output
monitor before moving to the next camera during sequencing. Default
is 10 seconds.