EVCO EVF328J9 User Manual
Page 32
EVCO S.p.A.
EVF 300 series | Installer manual ver. 1.1 | Code 144F300E114
Page 32 of 62
Setting the day of the week and the time
14.2
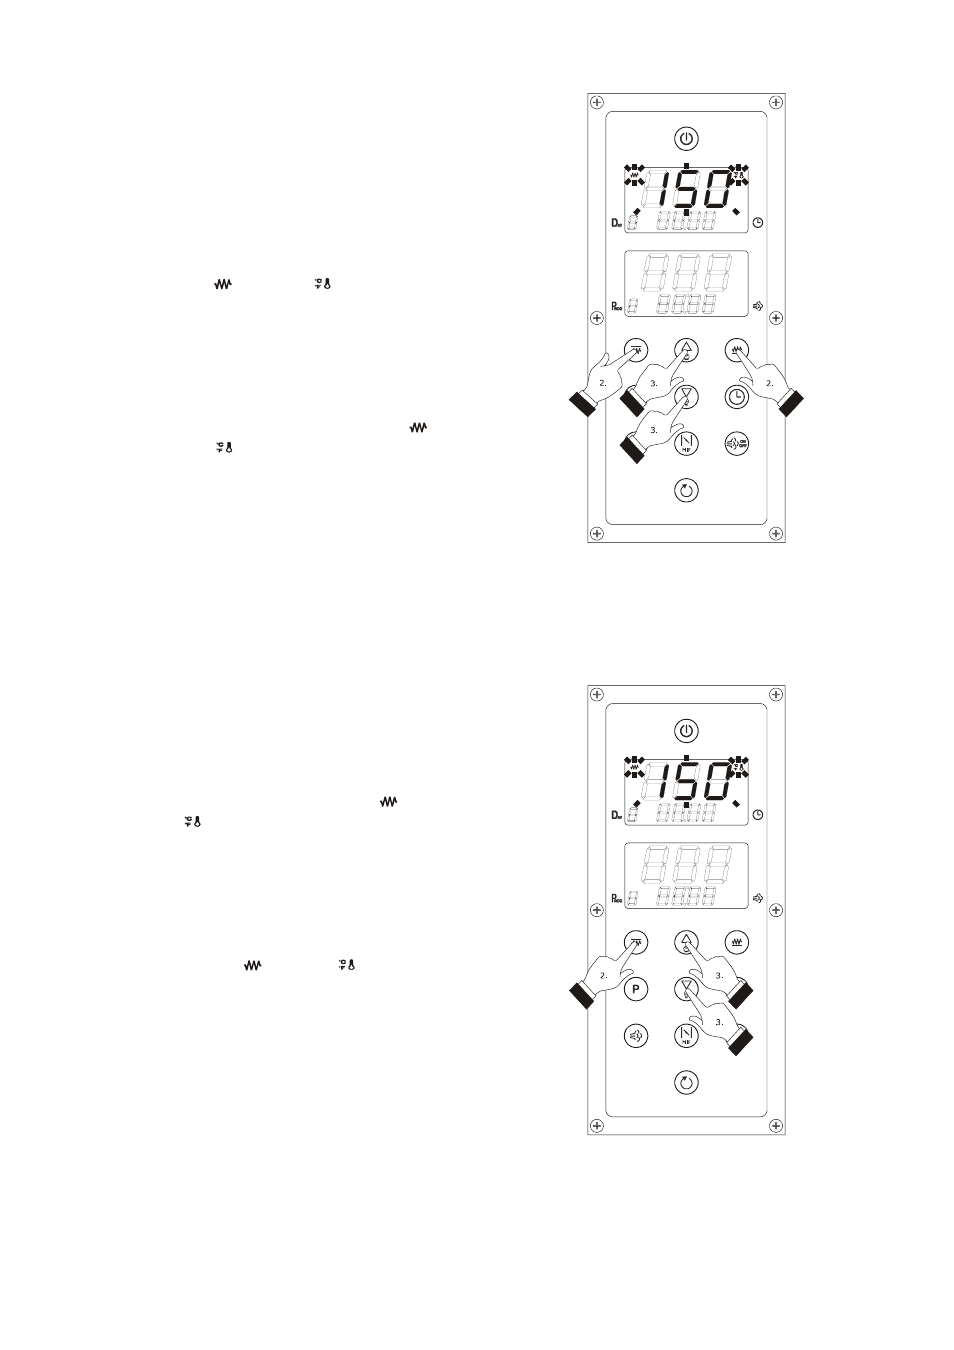
Setting the work set-point
(only if the CFG parameter is
set at 0)
Operate as follows to set the work set-point:
1.
Ensure that the device is switched on and that no
other procedure is in progress.
2.
Press and release the “TOP” key or the “FLOOR”
key: the
LED and the
LED of the “UPPER”
display will flash and the top part of the display
will show the flashing set-point value.
3.
Press and release the "UP" or "DOWN" key within
15 s to set the set-point value, see also
parameters r1 and r2.
4.
Press and release the “TOP” key or the “FLOOR”
key twice or do not operate for 15 s: the “
LED
and the
LED” will switch off and then the
device will exit the procedure.
Operate as follows to exit the procedure before the operation
is complete:
5.
Do not operate for 15 sec (any changes will be
saved).
The working set-point can also be set via parameter SP.
14.3
Setting the top set-point and
the floor set-point (only if the
CFG parameter is set at 1)
Operate as follows to set the top set-point:
1.
Ensure that the device is switched on and that no
other procedure is in progress.
2.
Press and release the "TOP" key: the
LED and
the
LED of the “UPPER” display will flash and
the top part of the display will show the flashing
set-point value.
3.
Press and release the "UP" or "DOWN" key within
15 s to set the set-point value, see also
parameters r1 and r2.
4.
Press and release the "TOP" key or do not operate
for 15 s: the “
LED and the
LED” will switch
off and then the device will exit the procedure.
Operate as follows to exit the procedure before the operation
is complete:
5.
Do not operate for 15 sec (any changes will be
saved).
It is also possible to set the top set-point via parameter SP1.
Setting the work set-point
Setting the top set-point